Rambler No.3 Glamor Shot

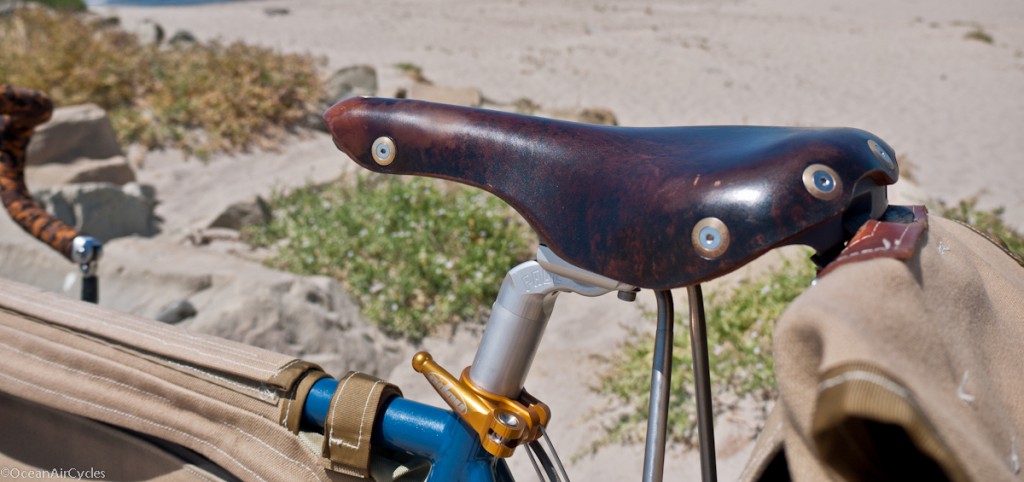
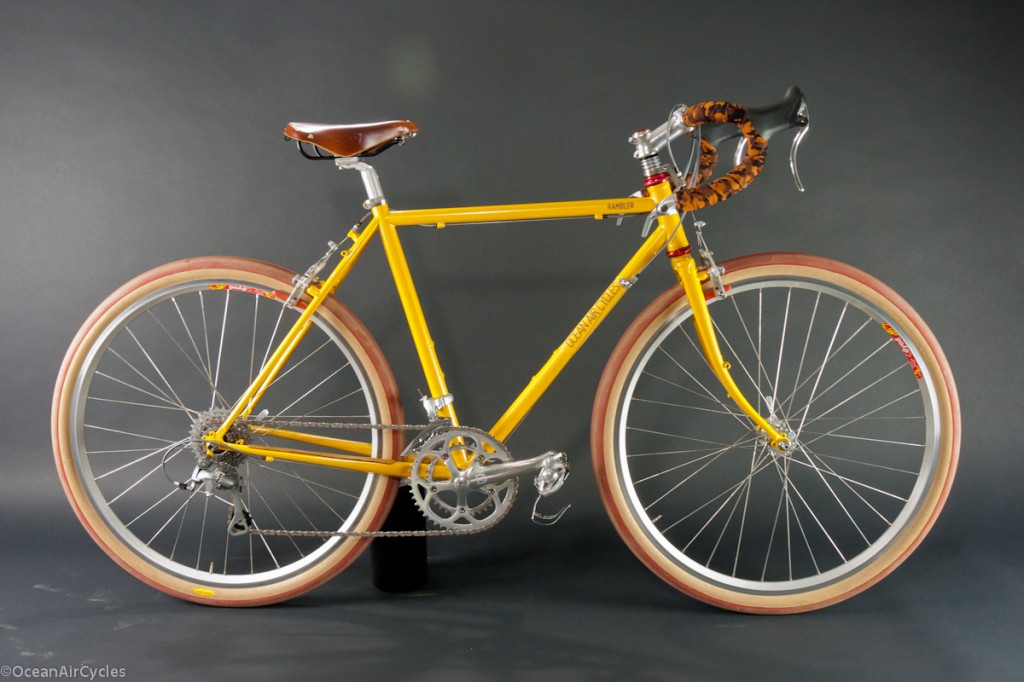
The current work space is pretty big, but I still have to rotate the functionality to one tasks at a time.  This week has been photo studio.  The cutting table gets cleared off, lights and back drops come out, and the product gets cycled through. Here is Rambler No.3 with the bars wrapped.

I thoroughly enjoy getting to have a hand in every aspect of this venture, including the photography.  Yes it keeps me pretty busy, but I love the work.  Next week, back to wrenching and sewing.

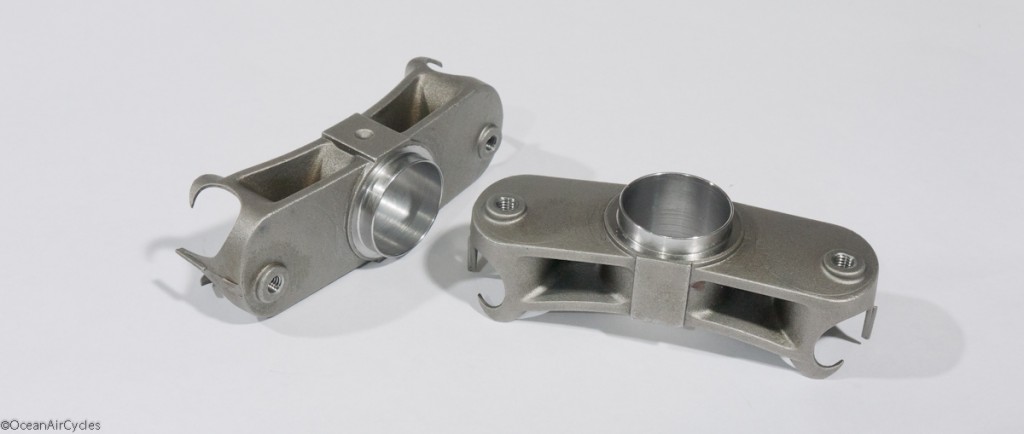
PB Crown with Rack Bosses

I have been working with Kirk Pacenti of bikelugs.com fame to get the Paris Brest fork crown made with M5 rack bosses built into the shoulder of the crown during casting.  I Samples are here and I am very excited for these.

Until now if you were working on a Porteur / Randonneur style of bike you options were limited to bosses that were hand brazed into the top of the fork.  Having the bosses as an integral part of the casting will shave man hours and result in a stronger more consistent product.  These crowns will make this style of front rack mount more approachable for builders and designers.

There are a couple of strong benefits to having crown mounted rack bosses.  Foremost is the added stiffness you will get from a rack with two well spaced upper mounting points as opposed to the more common single point in the center.  Running a close second is having redundancy of upper mounting points, two is better than one.  If a bolt were to come loose or a rack strut fail, the loaded rack is less likely to immediately drop into the rider’s front wheel.  I believe this mode of failure is more common than thought if the number CPSC recall notices on production front racks is any indicator.

I hope that by pushing this fork to market we will see an increase in the number of well designed front loading bikes and front racks on the market in the coming years.  The crown specs are the same to the existing Paris Brest in every way other than the added rack bosses.  Spacing between holes is 80mm.  If we as designers and builders were to adopt this as a standard it will help with the proliferation of the niche. bringing a level of consistency across brands.

After talking with Kirk today, these crowns will be available through Bikelugs.com  in 6-8 weeks.

Rambler No.3 Test Rides

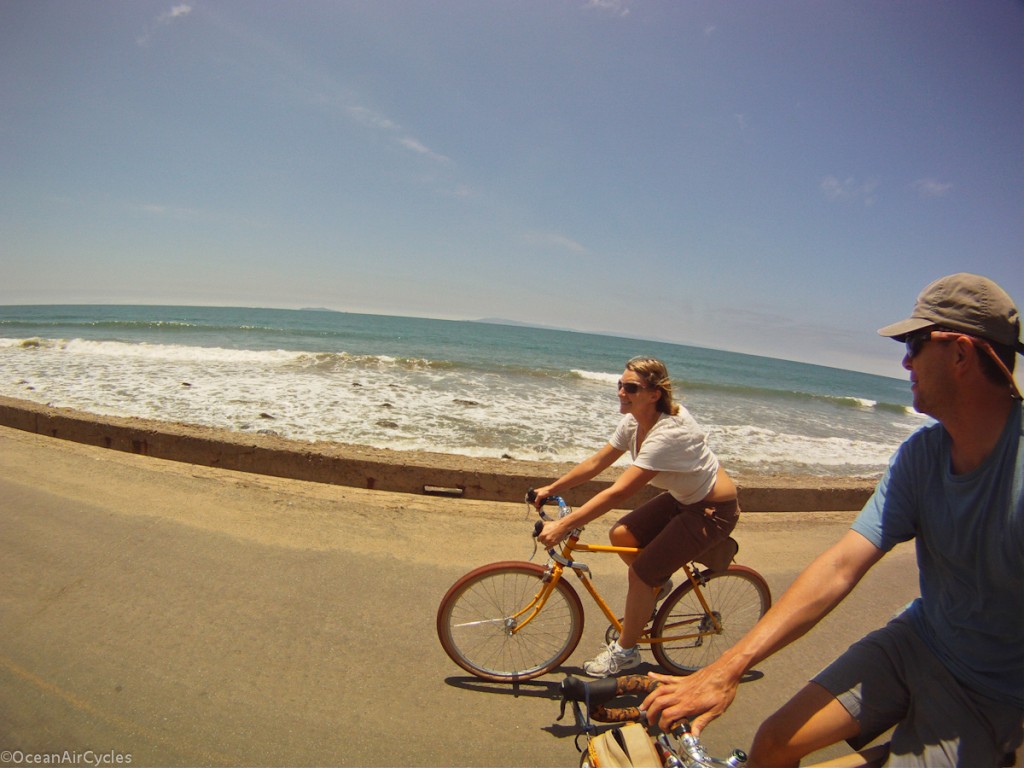
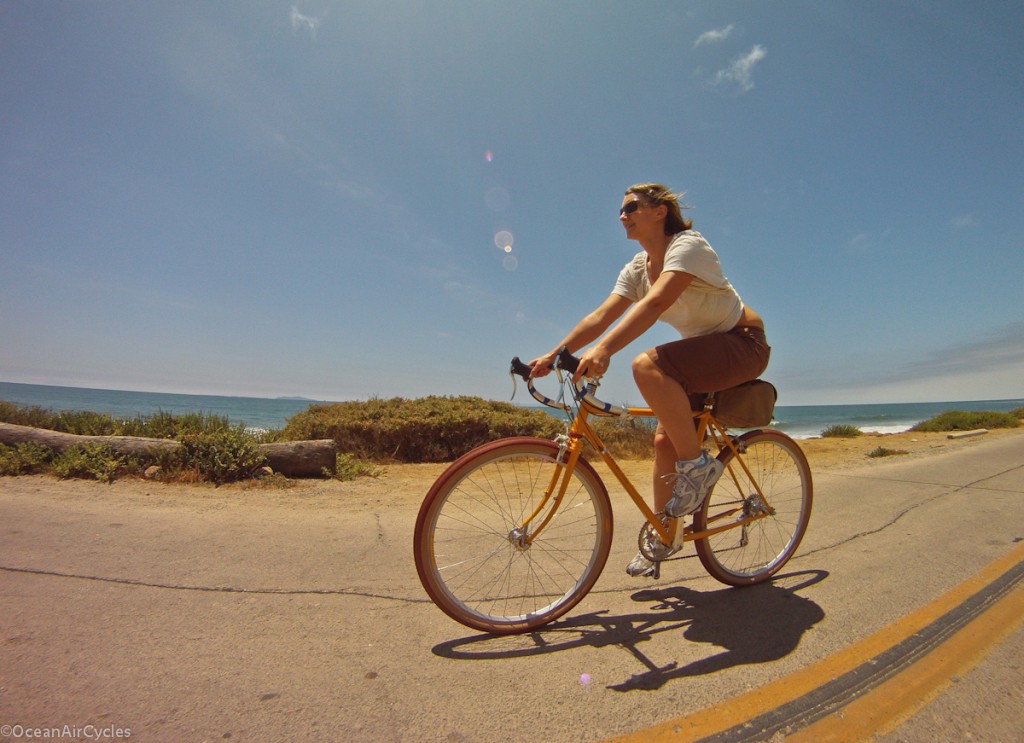
We have been getting out on Rambler No.3 for a few test rides.  There will probably be a couple of minor adjustments to the cockpit, but it is pretty close to spot on.

After years of trying to find an off the rack bike that will fit my wife and smaller friends properly it looks like we have a winner.  A common problem with many smaller frames is an overly long top tube combined with a steep seat tube.  IF the rider is even able to get the saddle into the proper position with a conventional seatpost, the reach to the bars is usually far too long.  The most common fix is to push the saddle forward and throw on a super short stem.  Unfortunately this often results in too much weight on the hands, possible knee pain and a generally poor fit for the smaller riders.

The 51 Rambler solves this issue with a 51cm top tube and 73deg seat tube angle.  This keeps the drop bars at a comfortable distance with a properly positioned Brooks saddle.  After more modern shop bike test rides, and a few vintage offerings that have passed through our stable, this is the first time ever that I have had her on a bike with drop bars and seen a smile.

The next step is fine tuning a few things, wrapping the bars, likely swapping out the Hetres for PariMoto tires and getting her Honjo fenders dialed in. More pictures soon!

Tried and Liked – White Industries VBC Double

As part of the OAC Rambler program I have been installing a bunch of components and accessories to make sure they fit.  The good news is that just about everything has fit as planned.  Some things go on easier than others, and often stay on the bike longer.

The White Industries VBC double crank set is one of those shining stars.  The crank set is machined here in California, completely, arms, rings and bottom bracket.  The most unique feature being the proprietary outer ring.  It mates directly to the crank arm, and has 5 radial slots in lieu of the traditional bolt circle pattern.  The in turn removes many of the tooth count constraints imposed by bolt circle diameters.  I have ours set up as a wide range double, 48 tooth outer ring and 28 tooth inner.
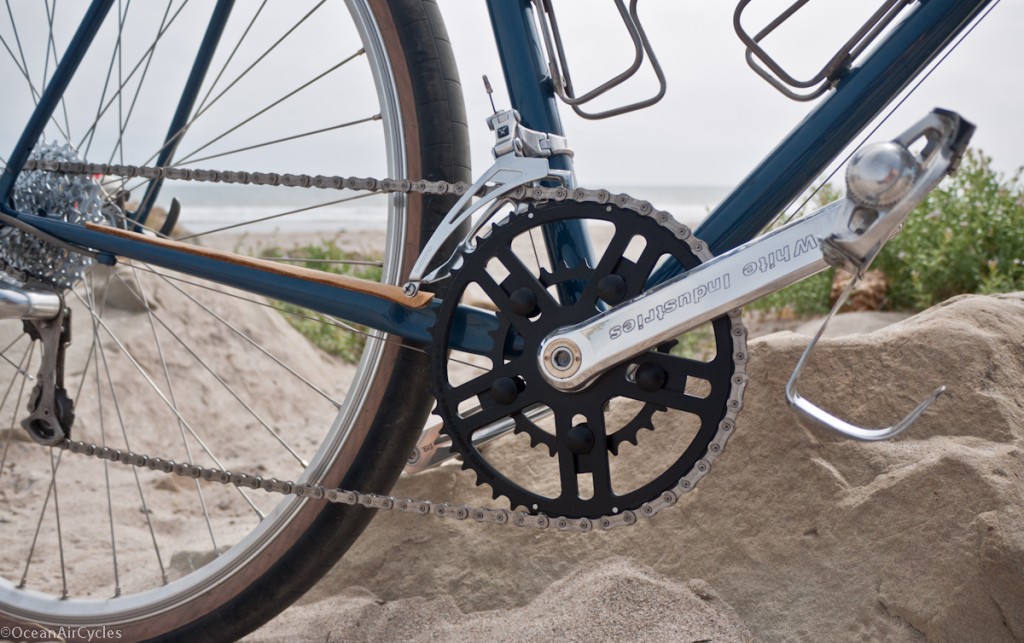
95% of my riding is on the larger ring, and I only shift down to the inner ring when the road starts to point up sharply. The biggest gain is simplified shifting, fringe benefit is dropping a little weight compared to a triple ring set up

I have pushed various vintage cranks into similar chain ring combinations, some intended, some with a bit of creativity.  I appreciate that the WI crank set is purpose built to this design.  Everything goes together perfectly, as it should.  One thing that is hard to explain is the feel of some components going together.  This “feeling” can only come from installing and removing lots of components, at a wide range of price points.  The bottom bracket and crank set went on silky smooth.  Everything threaded on easily, comes up to torque spec easily and has stayed there for months.  This can not be said for some of the more affordable offerings on the market.  While the price is a bit steeper than some, these are a solid example of getting what you paid for, and will likely outlive the bike you first put them on.

Performance on the road has been great.  Shifting has been smooth, and after some fine tuning of the front derailer there have been no dropped chains.  If you are thinking of going this route, I would recommend the FSA compact double front derailer.  It works well with compact or wide doubles  due to the flat outer cage and being radiused to a 48 tooth ring.  Other derailers will work, but set up may be a bit finicky.

I will be adding these to the web store as a special order item in the next week.  Keep your eyes peeled if you have been thinking about migrating from a triple to this set up.  The initial offering will be at a price that is hard to beat, particularly when combined with the coupon code for news letter subscribers.
Tried and Liked – Paul Tall and Handsome Seatpost

I have been using the Paul Tall and Handsome seatpost for a couple of months now.  It has done everything you would want from a seat post and a little more.

The biggest differentiation is the setback, a full 26mm, but it gets better.  The two bolt vintage campy style upper clamps allow you to get yet another mm or two of setback.  For those who dream of getting the brooks back just a little further this could be the ticket.

The two bolt set up is extremely secure Tilt adjustment is a cinch to manage by loosening one bolt, tightening the other.  Likewise, 1 turn of each bolt and you can slide the saddle forward and back, tighten both up evenly and your tilt is preserved.

I have been happy with my Berthoud saddle for a couple of years now, but things got even better with it just that little bit further back.  My sit bones hit further ahead of the cantle plate (rear saddle support).  Hard to believe such a subtle difference could yield such big results.

The one great irony is that I am using a 360mm post with about 50mm exposed.  I had to cut the post for the 51 Rambler so that it did not interfere with the bottle bosses.  For now I will live with it, but will likely cut mine short in the future, not that I am a weight weenie, but it does shave close to 100g.

I can get these on a special order basis at the moment.  As Ramblers start to roll though I will be adding them to the regular stock.  Maybe Paul will do a run of Sort and Handsomes if I ask.