Carrying A Pump on the Rambler

it is time to address how to carry your pump on the Rambler.  The air pump for fixing flats can be a contentious issue.  Not quite as volatile as saddles an handlebars, but there are still strong feelings with regard to mini or full frame options as well as the now common CO2 cartridges.  Personally I have never fallen in love with the full frame pumps, and tend towards the hybrid mini pump with a hose.  These get me an acceptable inflation speed and are easy to use with close to zero chance of tearing off a valve stem.

10.23 Pump-1140766
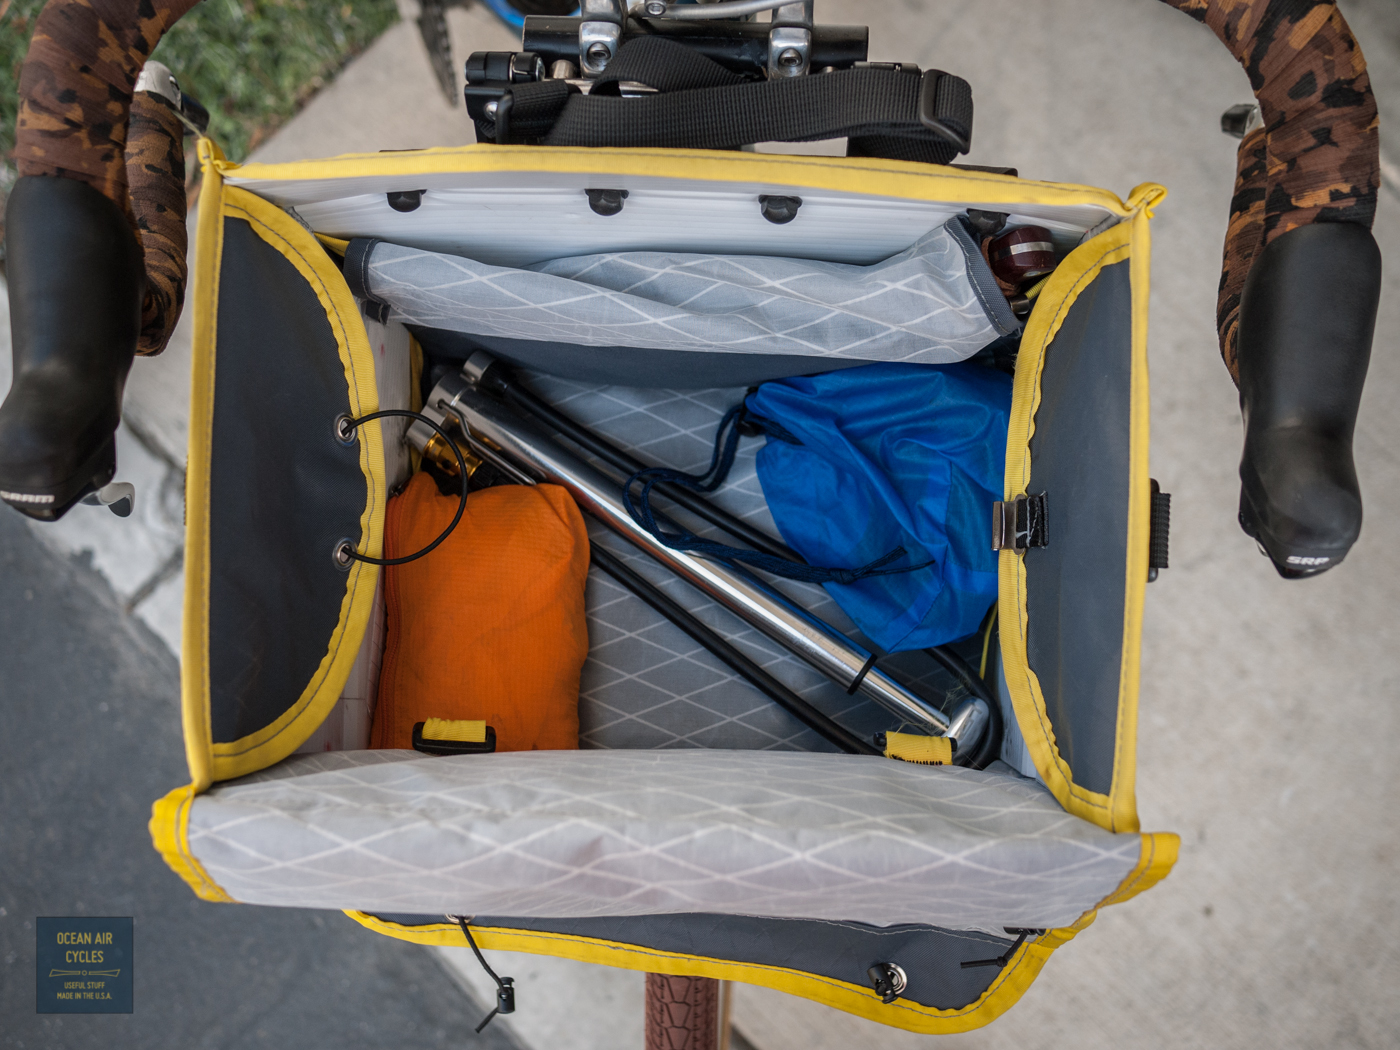
With my bias towards this pump as well as frame bags, the long narrow bag often seen under my top tube, I decided to omit a frame pump nub on the Rambler.  The nub will rapidly wear a hole in most frame bag materials.  That said there are still a couple of ways to get a frame pump on your Rambler.  The first is between your rear axle quick release and the seat tube weld cluster.

10.23 Pump-1140767
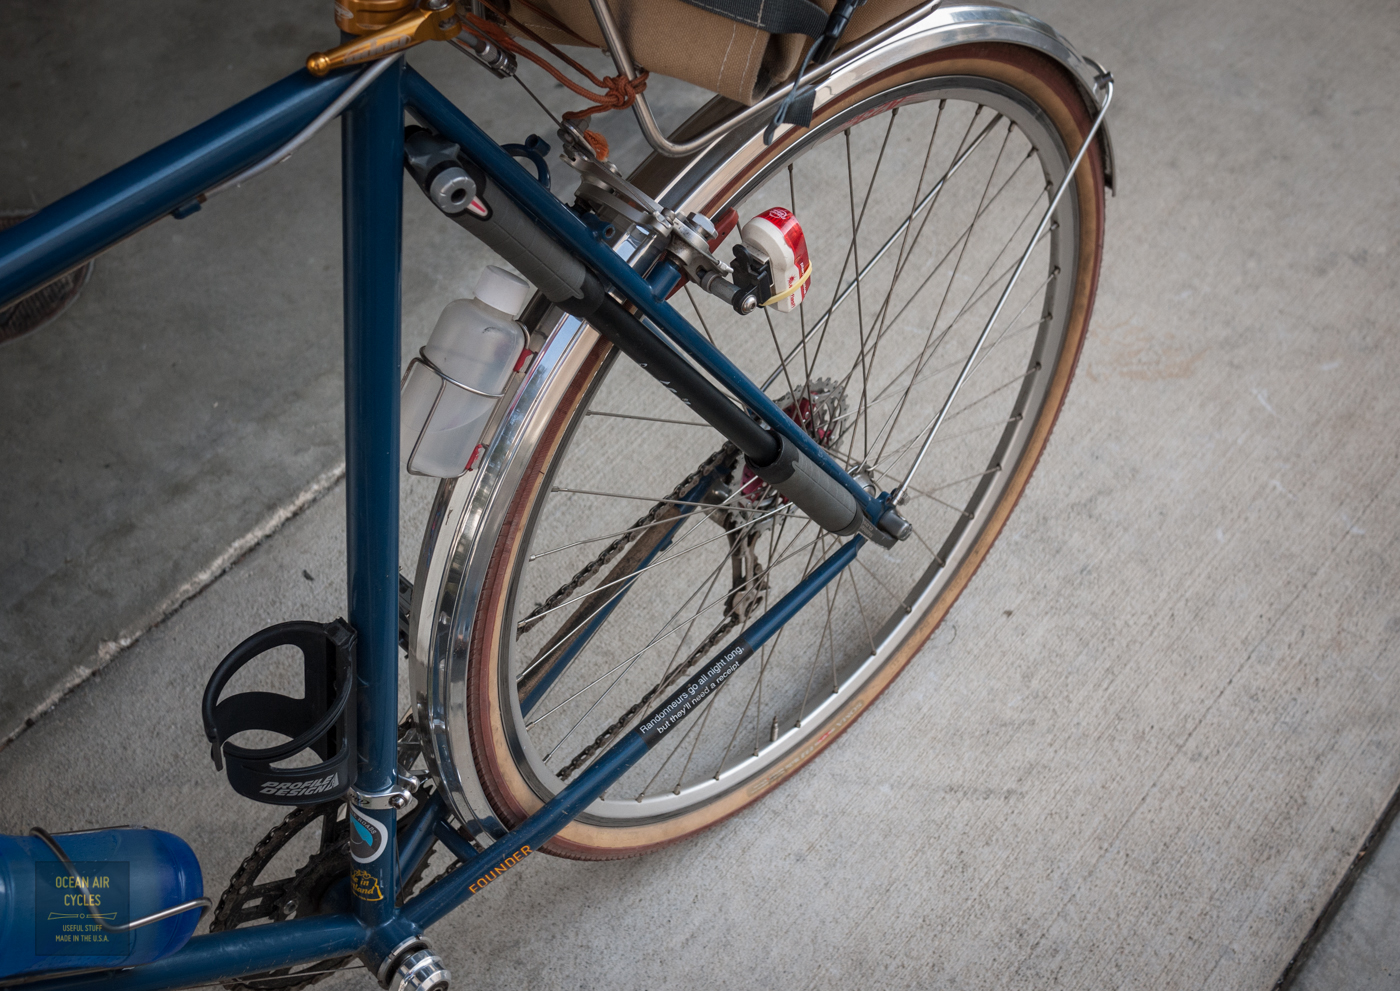
I have used this method in the past with great success, on and off-road.  In general I would strongly recommend a velcro strap between around the pump and seat stay as a secondary bit of insurance that it does not self deploy.  The other options involve old-fashioned clamp on bits.  Either the once ubiquitous “umbrella holder”

10.23 Pump-1140768 10.23 Pump-1140769
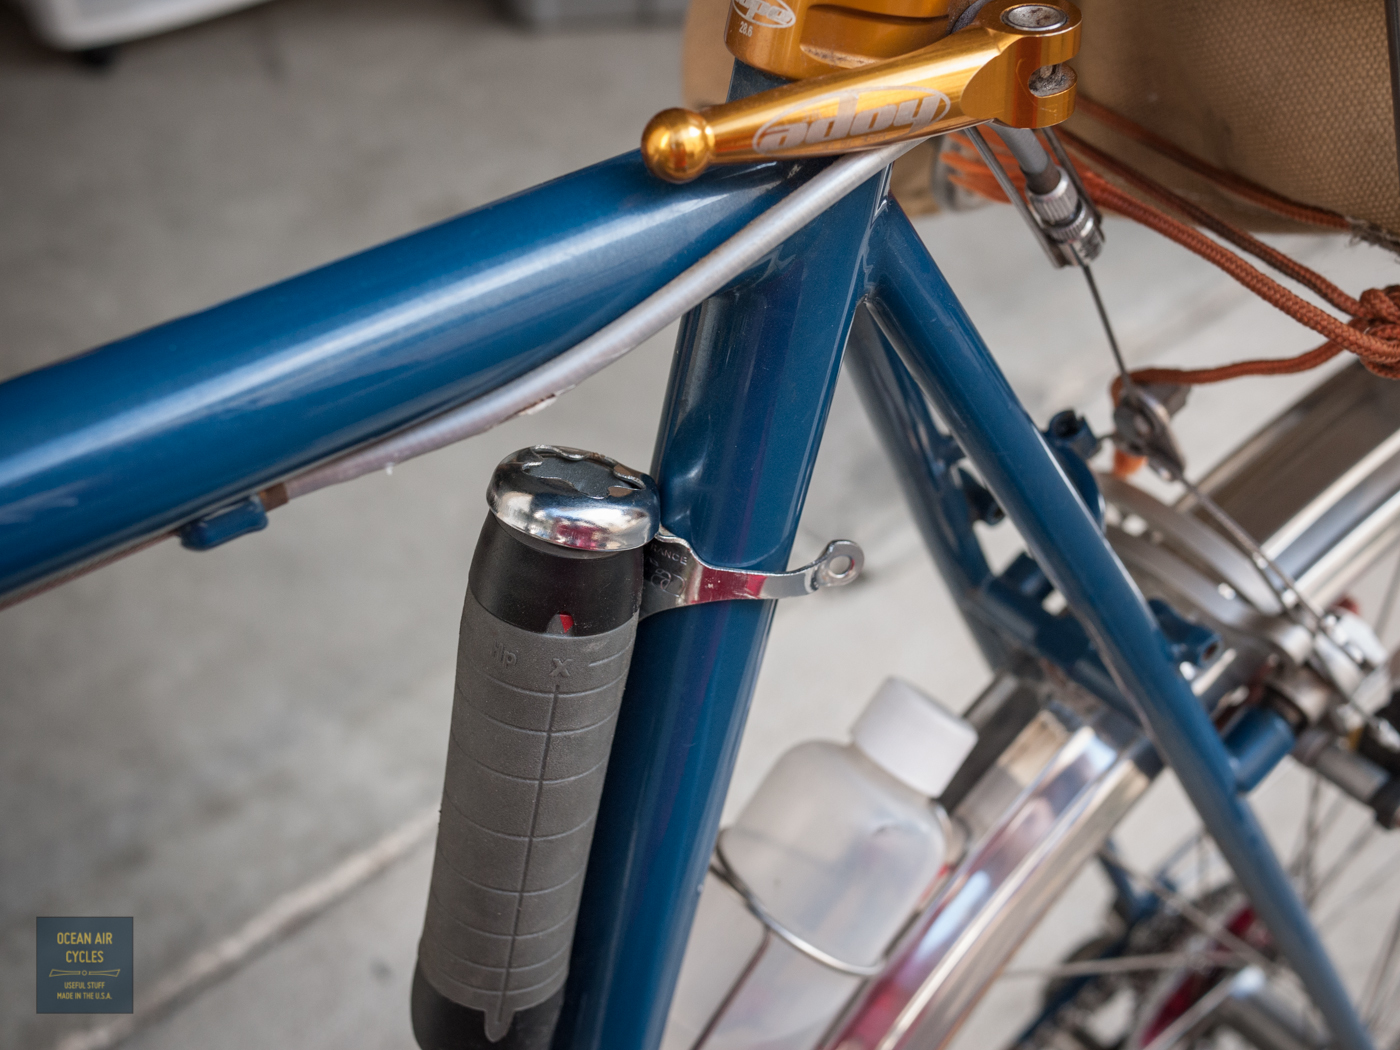
Or one of the clamp on pegs sold by Zefal.  On the 650b models there is also generally sufficient room to mount the pump on the rear side of the seat tube.

Why We Shouldn’t Bike with a Helmet

I will seldom post a “hey look at this” but I liked this one.

Mikael Colville-Andersen giving a speech at TEDx in Copenhagen on Why We Shouldn’t Bike with a Helmet.  Grant at Rivendell tipped me to this through their Blog.  This is the most concise expression I have yet seen on brining bicycles back into our culture as everyday transportation and not just play things or exercise equipment.   Enjoy, and spread the word.  Actively riding in your own community every day will help to improve the quality of your rides, be the front edge of the rising tide.

Regularly scheduled posting will catch up later this week, Daylight Saving Time is spinning me sideways still.

Wald Basket with Old Man Mountain Mounts

Earlier today a thread came up on the webs about the challenges of mounting a Wald basket to a front wheel using a quick release.  A few years ago I worked through this problem with a set of Old Man Mountain rack mounts that I had sitting in the parts bin.

It has held up as well as one could hope for.  The evidence remains of my first solution attempt with the slotted holes.  For the record that attempt was a total failure.

Columbine Quikchainger – Wow!!

This is on of those things you wish you had thought of first.  This little piece of brazed on metal will be on every bike I have built or re-coated from this day forward.

It has been almost a year now since I received my Roadeo from Rivendell.  When it came in from Waterford  Mark called to confirm my choice of color, or lack there of.  I asked if they could add a chain peg, and Mark told me I did not want one, what I really wanted was a Columbine Quikchainger. I had not really ever paid any attention to these before, and Mark assured me I would be much happier with one of these over a simple peg.  If you have never used either the point of each is to assist with keeping things clean when the rear wheel is out of the bike.

For the last year or so I have figured that this metal widget had some sort of magic spell over my bike, I have not needed to take the back wheel off in almost a year of riding.  I am doomed now that I put it in writing, but none the less, before Thursday morning of this past week the wheel had never come off since the original build last December.  I thought I had everything ready to go the night before for my morning ride, and came down in the morning to find the rear tire flat.  The thing is, I was actually excited to finally get to use the chainger. 

It is so simple I could not really believe it.  With the bike upright, you shift into the outermost cog, and remove the wheel as you normally would.  But you do not have to lay a finger on the chain.  It rests on the Quikchainger and is held cleanly above the stay.  To reinstall the wheel I pull the derailer back a bit, slip the wheel in with the chain on the outermost cog.  The distance between the rear dropout and the quickchainger  exposes a bit of chain for this engagement.  The only thing you touch is the wheel and the derailer, no greasy fingers from the chain.   Absolutely flawless, so simple, yet works so perfectly.  The pics give a step by step:

Thank you for Mark at Rivendell suggesting that I go with this, and the guys at Columbine Cycle Works for creating these.

Bruce Gordon Front Mountain Rack

I had this rack kicking around in the garage as a keeper from a craig’s list find.  The Bruce Gordon Front Mountain Rack made it into my possession a couple of years back when I was lucky enough to be the first responder to an ad for a “grocery getter” that turned out to be a 1985 Specialized Stumpjumper Sport, thanks to sharp eyes, was wearing this rack.  The bike was a very fun fire road machine, but had to go and now lives in the Pacific NW.  The rack however, stayed on the shelf for a later project.  Based on the Oregon location for Bruce’s shop on the sticker the rack is likely as old as the stumpjumper, Bruce is now in Petaluma, Ca.

I have been thinking about fitting a front rack to the Rawland, but after looking at the front racks available I was not really happy with what I saw.  The most likely candidate was a Surly nice rack with a bit of grinding it could be made to work, but all that hardware looked like trouble for trail days.  The BG rack was originally intended to clear the cantilever brakes that were popular for touring and off-road back in the 80’s, while keeping the bags clear of rocks and the load as close to the steering axis as possible.   I had used the rack on the stumpy and it had actually helped with the handling of the older slack geometry.  I pulled the rack down to see if and how it would play with the disc brake calipers on the Rawland. 

Low and behold the fit was almost perfect.  The biggest problem was with the design of the plug dropout and brazeon for the front fork.  This has always been a problem with this bike and required spacers to bolt on just about anything.  I mounted it up with 4mm of spacers, the original 2mm, a presta nut and the fender R-clip on each side.  The top is held in place with clamps for now, but if need arises or I get this bike re-coated, brazeons will be added.  I have now used the rack for a few weeks both on and off-road and it has been rock solid. 

The load has little detrimental effect on the handling at all.  I have used it mostly for errands and trips to the Sunday farmer’s market.  Average loads are around 15 lbs and handling was fine.  The heaviest was around 35, and yes the handling was a bit slow with that much weight in the front, but things never got out of control. 

I would recommend this rack to anybody in the market for a front rack that can clear you brakes.  This design proves to be fairly timeless as it predates the disc brake design by decades yet adapts easily.  Bruce is still making and selling these, and you should look him up if you are in the market.