The other day I was re-stitching a seam on a 15-year-old pair of fleece gloves that I love and will not give up on when it hit me. While repairing gear in lieu of replacing it is in my nature, thanks Dad, many out there may be intimidated to jump over the hump and start fixing things on their own. The reasons to fix instead of replace are many: Thrift, keep it out of the land fill, fun, satisfaction of knowing you had a hand in making something last, the list could go on and on.
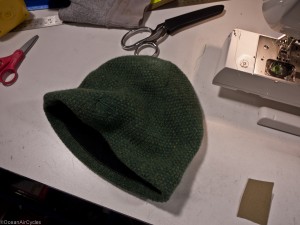 This beanie ended up on the free table at my wife’s work, and she knows I have had a cold head since getting the hair cut, so the hat came home. It likely ended up there due to the hole on the inside liner.
 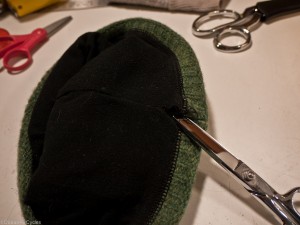 In this case the hat is fully lined with light fleece, the outer knit is stitched into shape and all the stitching is internal like a bag or teddy bear. There are a few ways to repair this. You have to decide if looks are really important of if this is going to be a “tractor repair”, what I call it when you just want it to work without getting worse. For the former, hand stitching would be the best path. Since I will be riding with this, and it is like a pair of sweat pants for my head, I took the tractor repair approach.
I have a sewing machine with a bunch of different stitches, but only end up using a few. Sewing is easier than you think, and you probably know somebody with a machine who can help if you do not have one yourself. A friend with a sewing machine can be as or more useful than a friend with a pickup truck.
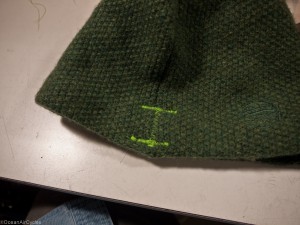
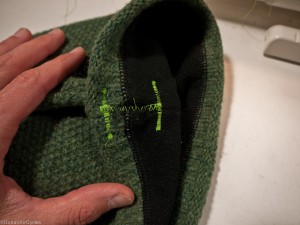
For this repair I used the zig zag, first to bar tack the ends of the failing seam and then to throw a quick stitch over the seam. I picked a polyester thread for its strength and the green sort of matched the hat in a complementary way, while showing up well enough for these pictures.
The bar tack will cross over the seam on both sides of the opening where the stitching still holds so that things will not unravel any further. Set the machine to a medium wide zig zag with a very narrow stitch spacing.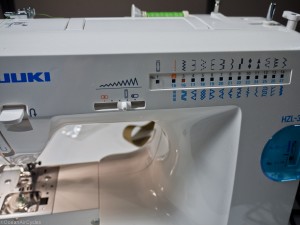 Set the hat under the presser foot and stitch away. The thickness and texture of the material in this case was a bit of a problem, the feed dogs were not grabbing onto the knit and I ended up feeding the material through by hand. This resulted in a stitch with poor spacing, but it will serve its purpose.
 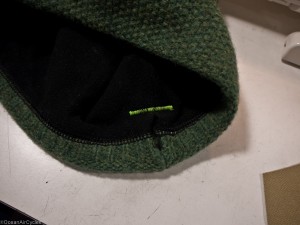 The process is repeated at the bottom of the hole as well. I could have stopped here and the hole would not get any bigger. I decided to throw a wider zig zag along the length of the hole just because, well I could.
 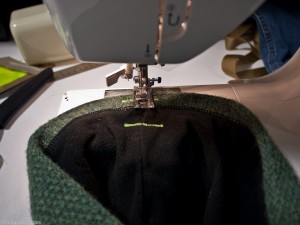 This will likely keep the hole closed up as long as the rest of the hat survives.
The end result is not too bad and I have a “new” hat for my morning rides. Off to the laundry pile in case there were other reasons it is sitting on the free table.
