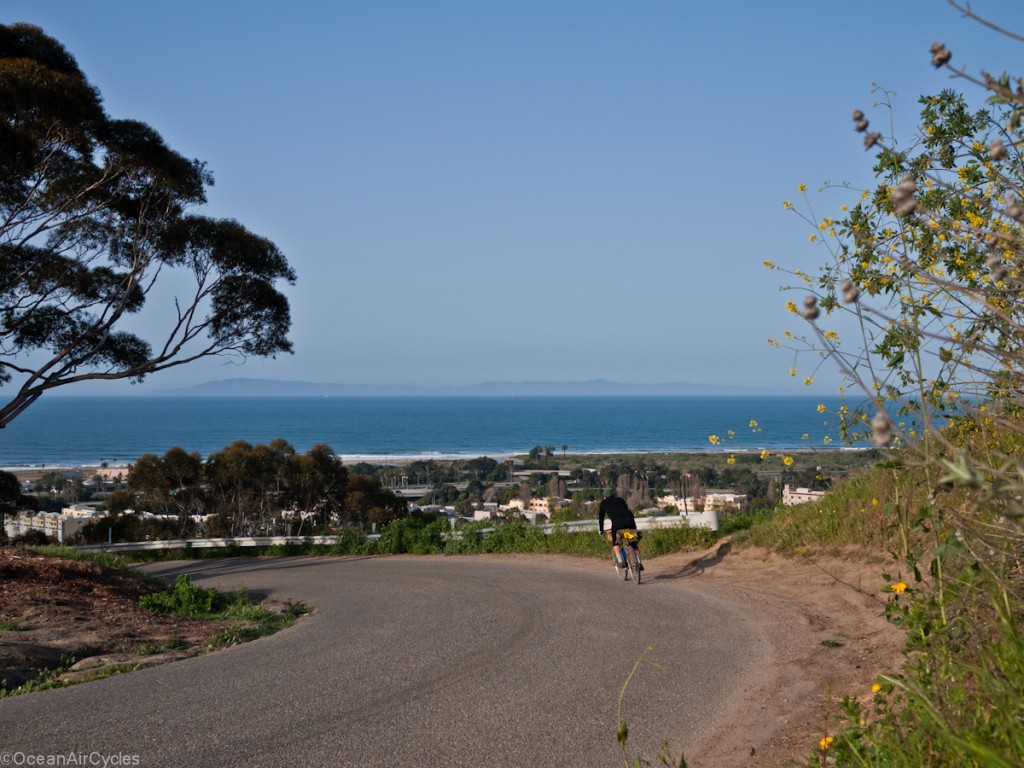
Getting the Shot

This one is for all of you out there who carry your cameras on the bike on EVERY ride.  Just like saddles and helmets, choice of camera gear and how to carry it can spark endless debate.  You have seen the bags I use, but may wonder how I am getting some of the shots you see here on the site.

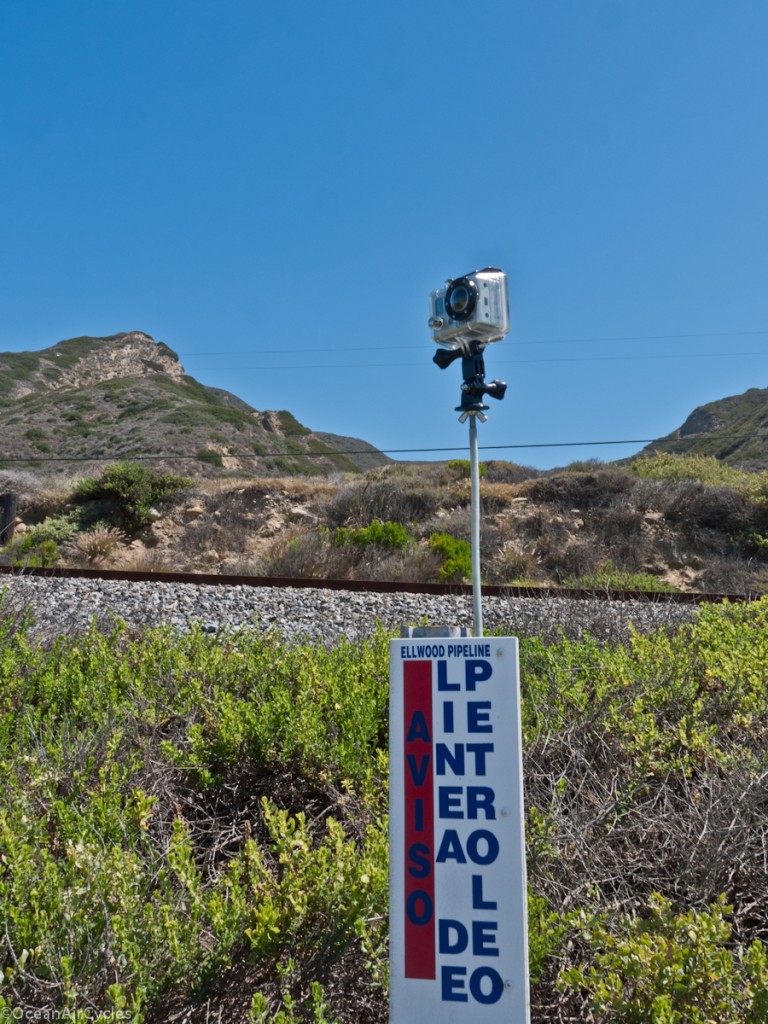
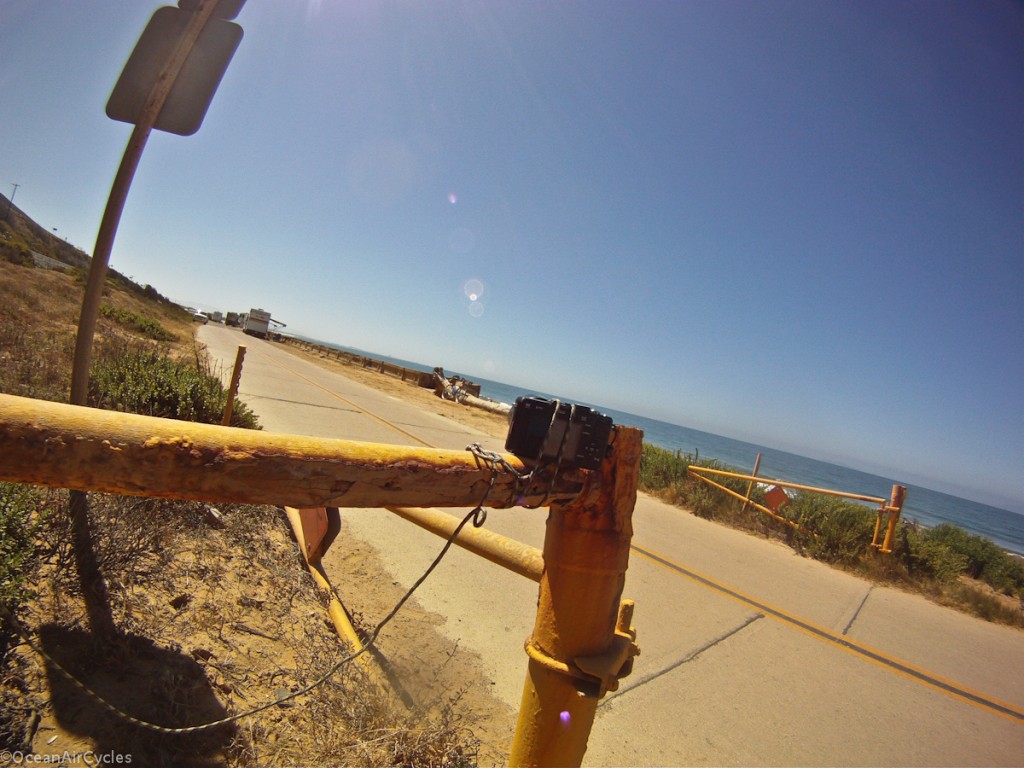
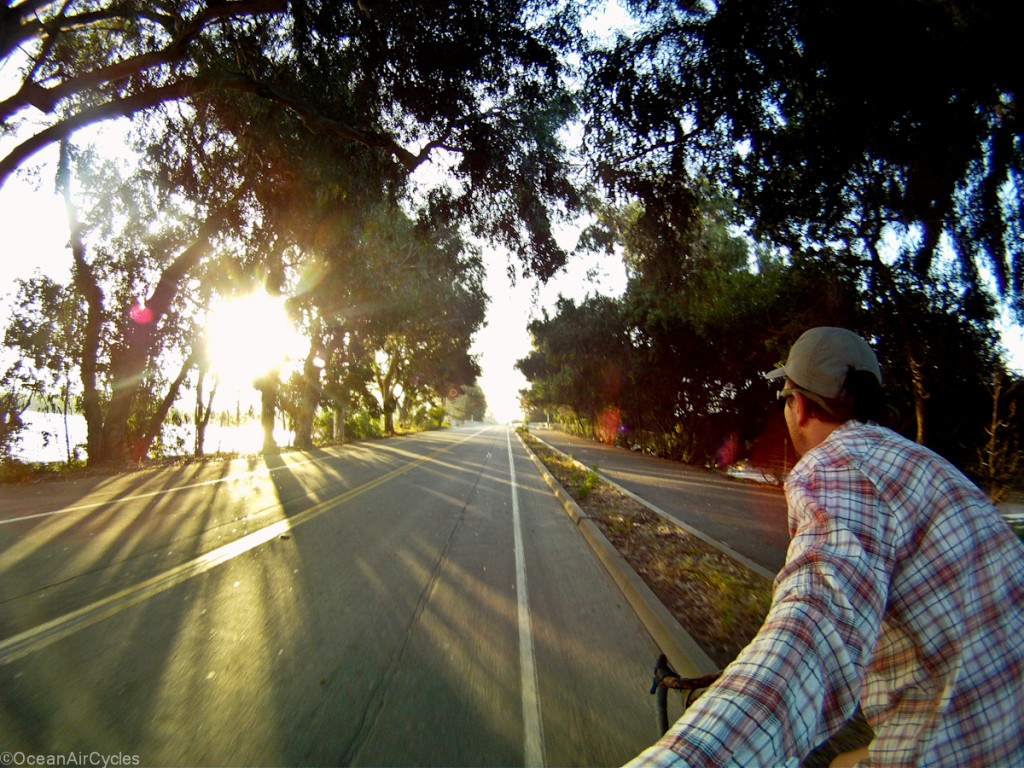
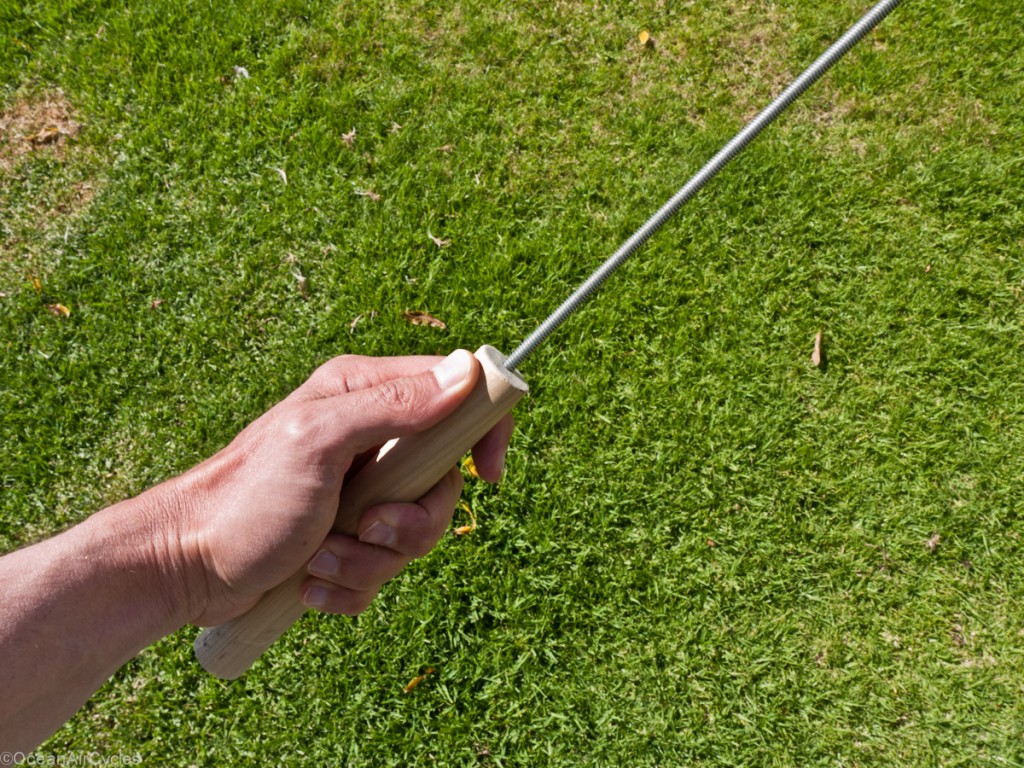
My Kit now consists of two cameras, GoPro and Panasonic GF1.  The one that is always with me is the GoPro.  Is small, light and so simple you can not over think it.  180deg field of view means you just point it an a direction and work with what you have.  I generally set it to capture a still picture every 2 seconds, set up the shot and take a series.  Weeding out the best shots during post processing at home only takes a few minutes.  I often shoot while in the saddle and moving.  To get the camera away from my hand I have worked through a series of short poles.  This helps to create an image that transmits the feeling of “being there, with me”, not the usual GoPro point of view shot where you feel like the doer of the activity.  The latest poles are about to go into a period of refinement, but I am really happy with where they are at now.  The handle has a flat section that helps mentally index the way the camera is pointing without having to look at it.  The flat combined with a couple of inset magnets has also allowed me to turn in into a self supporting mono pod with the help of found steel: signs, fence posts, guard rails, electrical boxes etc.
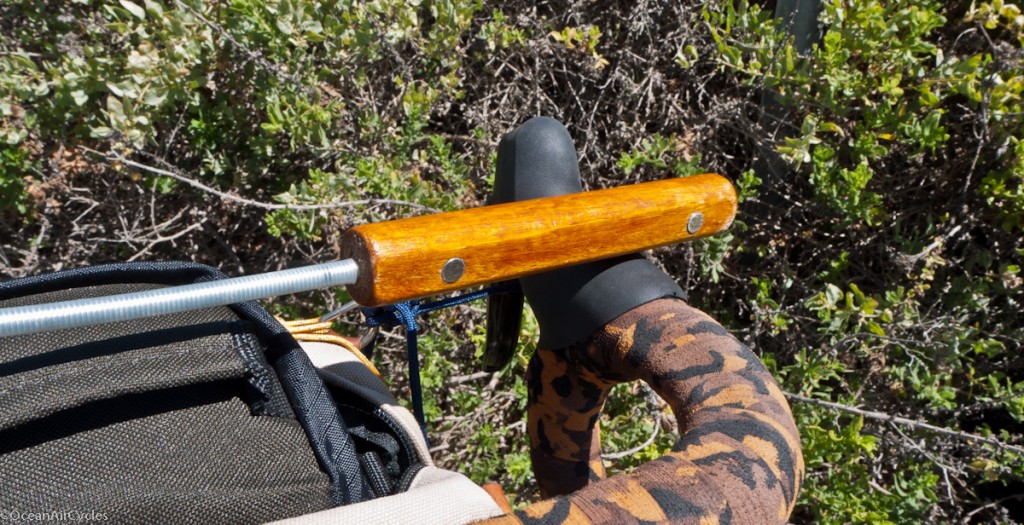
I still have and use my Joby Gorilapod often.  The pole above weighs 1/3 of the gorillapod, has 90% of the usefulness for a camera as light as the GoPro, and therefor ends up in my frame bag on every ride.  The gorillapod holds up my other camera, Panasonic GF1, which while half the size of a traditional DSLR is still a tank compared to the GoPro.  Then there are the times that you forget the tripod, and just work with what you have.

While not ideal, it did just fine.  I was able to capture the image currently serving as the header for r the site.

Such are the joys of photocycycling, the merger of two passions, photography and cycling.  The fun only extends into making the gear that works and the gear work for you.  Have fun, play outside, and take lots of photos.
First Panda Poles for Sale

I think many of you are familiar with the shots I am able to get with my pole and GoPro set up.  Almost every fish eye shot of me on my Roadeo in the last 6 months was taken with one of these combinations.

I have started to make these by hand in small batches, and am offering them for sale. 

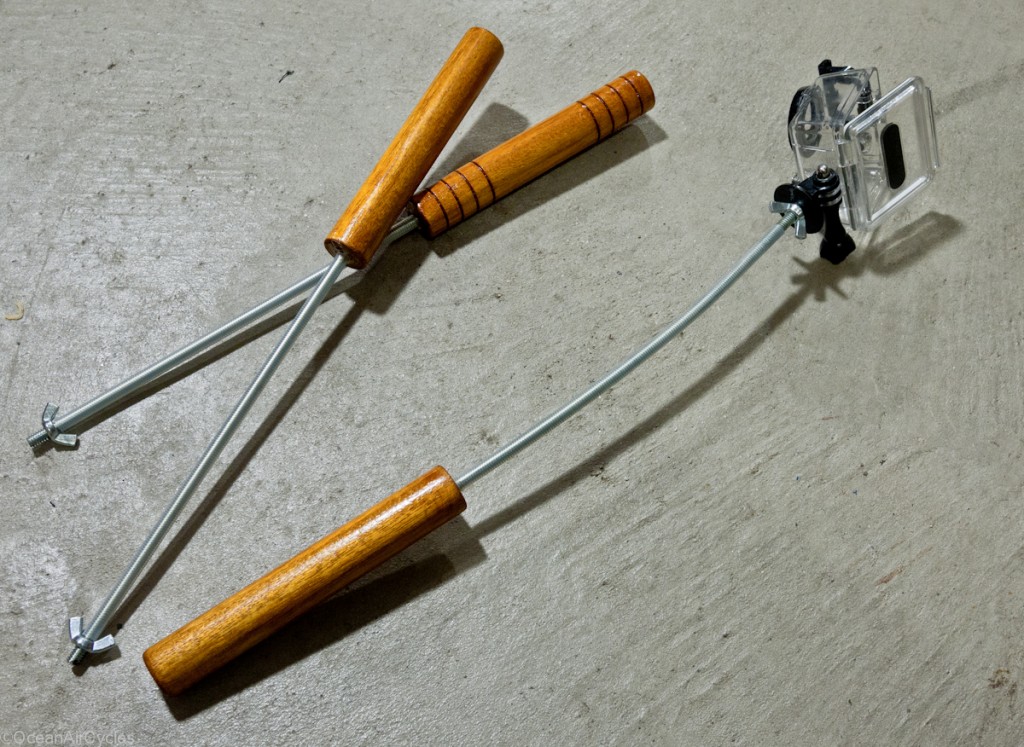
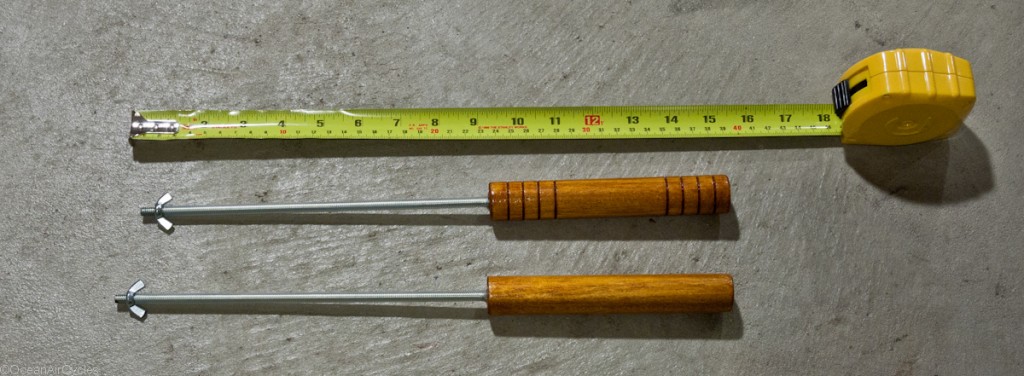
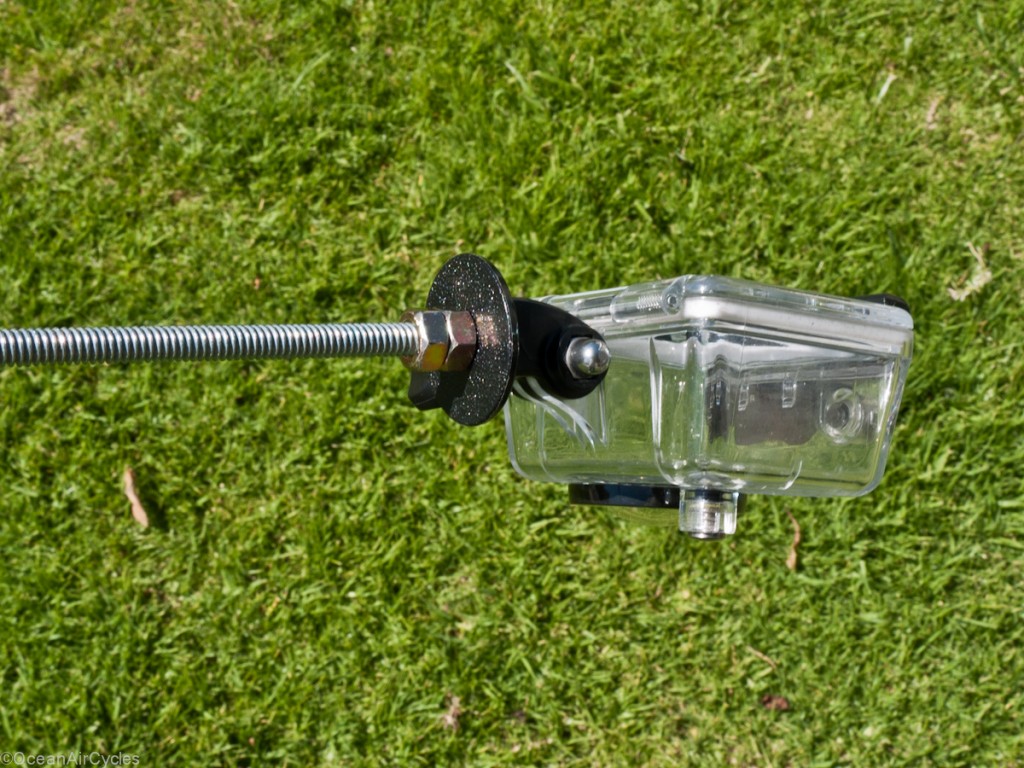
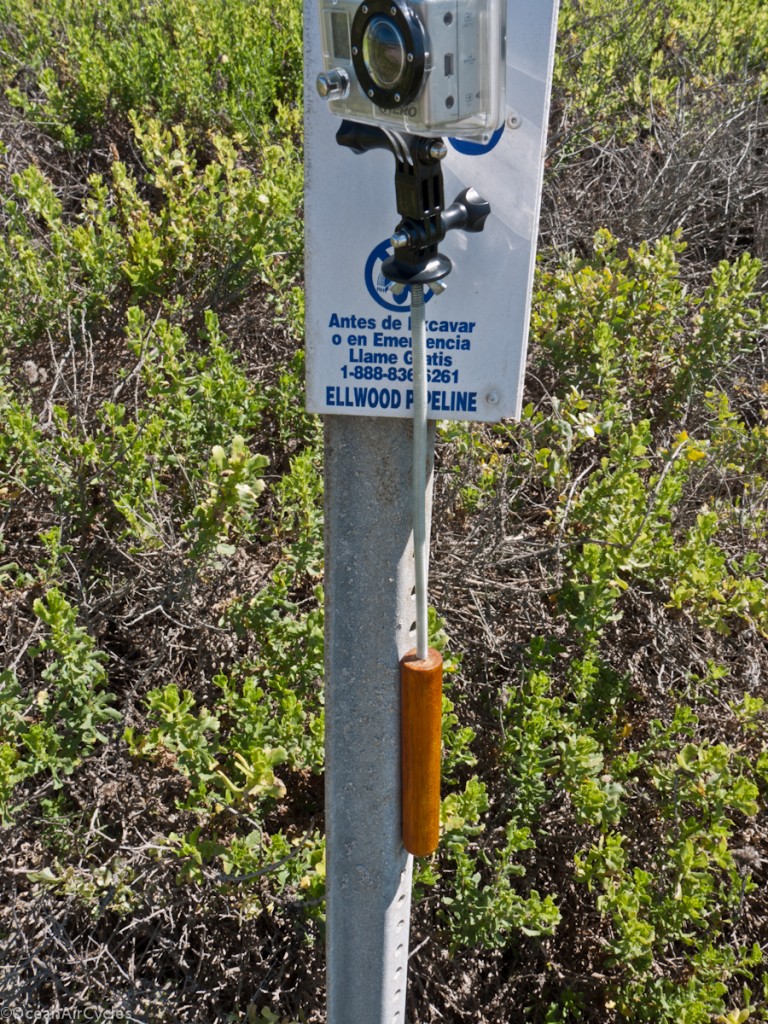
This example shows the one I use almost daily, with the first two that are available.

They are about 15″ long, custom lengths are available by request.  The handles are 1″ Diameter by 6″ long with shellac to seal them.  The all-thread is 1/4″ 20 and will fit most common camera tripod lugs and or Micro ball head mounts for greater angle control.  I cover the thread with shrink-wrap to protect you and your gear while leaving the end exposed for the jam nut and camera to mount.  Please note that the GoPro housing is there for example and not included.

I would only recommend these for use with light cameras like the GoPro or smaller point and shoot models.  I have tried it with my 3 pound GF1 and it did not go well.  With a little creativity you can capture a variety of angles:

  • Hand held of course
  • The shrink-wrap allows you to hold it in your teeth if needed
  • Stab it into the sand on the side of the road
  • Prop it up in the top of a pole or sign post
  • Stoker on the tandem
  • Toe strap to hold it to a pole or tree

As for how to carry them?  Mine fits well into the frame bag or saddle bag.  For shorter rides I leave it sticking out of my handlebar bag or lay it across the hoods of the brake levers.

Starting price on these is $25 shipped in the US.  Please use the contact page to purchase on while I am getting my shopping cart sorted out.

Thanks – Rob

P.S. I am also starting to re-populate the yard sale page a bit each day.

Pole Cam 1.1 and 2.0 Revisions

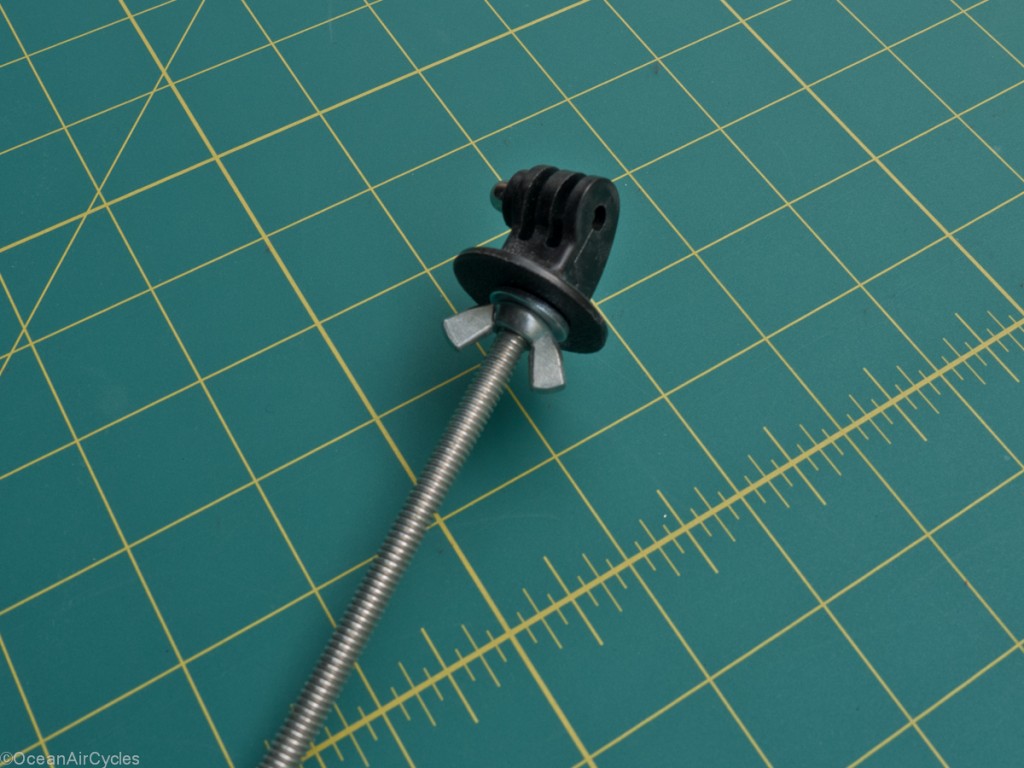
The long and light pole cam 1.0 was upgraded to a wingnut for the jam nut today.  This makes the removal of the GoPro attachment much quicker.

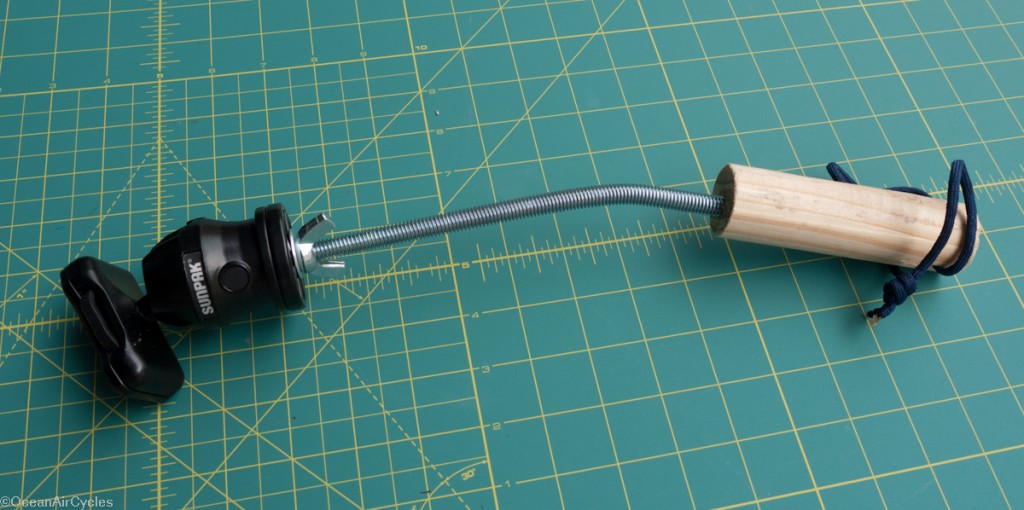
While at the hardware store I also picked up some thicker all thread to make a short and stout model capable of slinging the GF1.  It went together well enough, but I will be shopping for a lighter ball head mount.

These are pretty good for prototyping, the all thread needs something to cover the edges though, I am thinking thin tubing?

Pole Mounted Camera

One of the challenges of being the photographer and the model is getting the camera far enough away to capture the angle of view you a shooting for while still being able to control the camera.  Often times is will use a combination of tripod, remotes and timers.  Other times, as readers likely know, I use the low tech solution of keeping my arm stretched out as far as I can without dropping the camera.  This past week I put a little time into fleshing out a pole mount for the camera. 

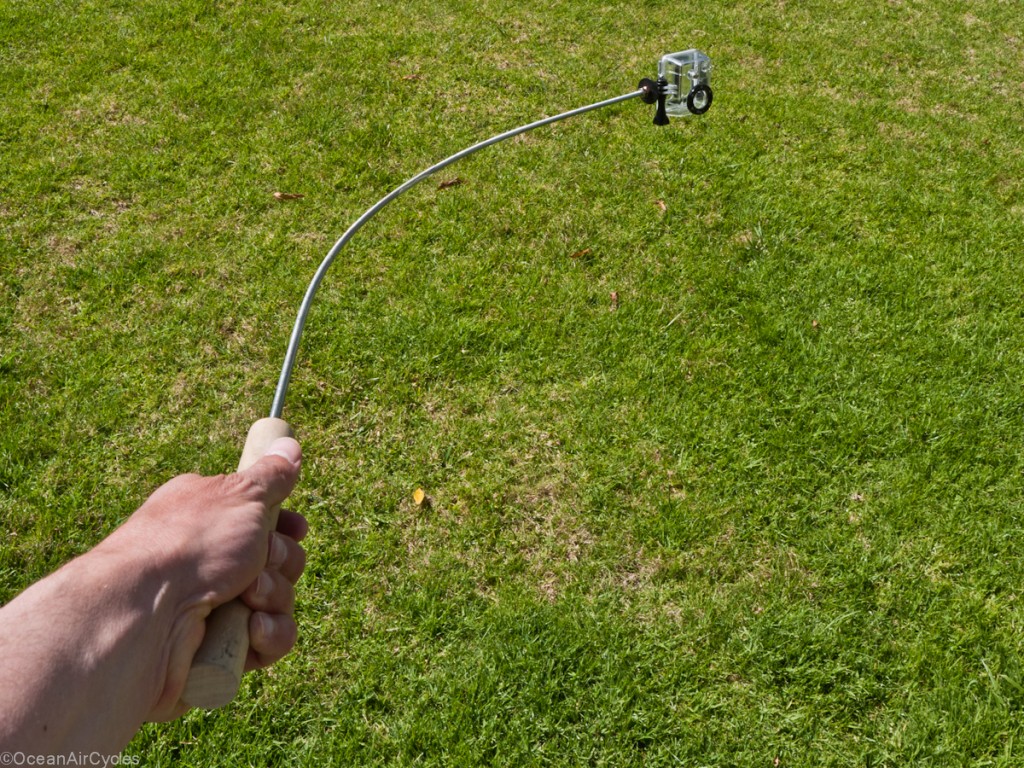
Version 1.0 has been going pretty well.  Materials list includes; 1/4 – 20 all thread, a piece of scrap dowel and a couple of cinch nuts to keep the mount secure at the camera end.  It is a little whippy, but more than stout enough for the GoPro.  The bend in the first picture is cold set using an old 26″ wheel as a mandrel.  The length works well for the Xtracycle.  I am not sure how to carry it on my other bikes, and now I have a shorter version on the project list as well as a stouter model for the GF1

Getting the Shot

I love making photographs. 

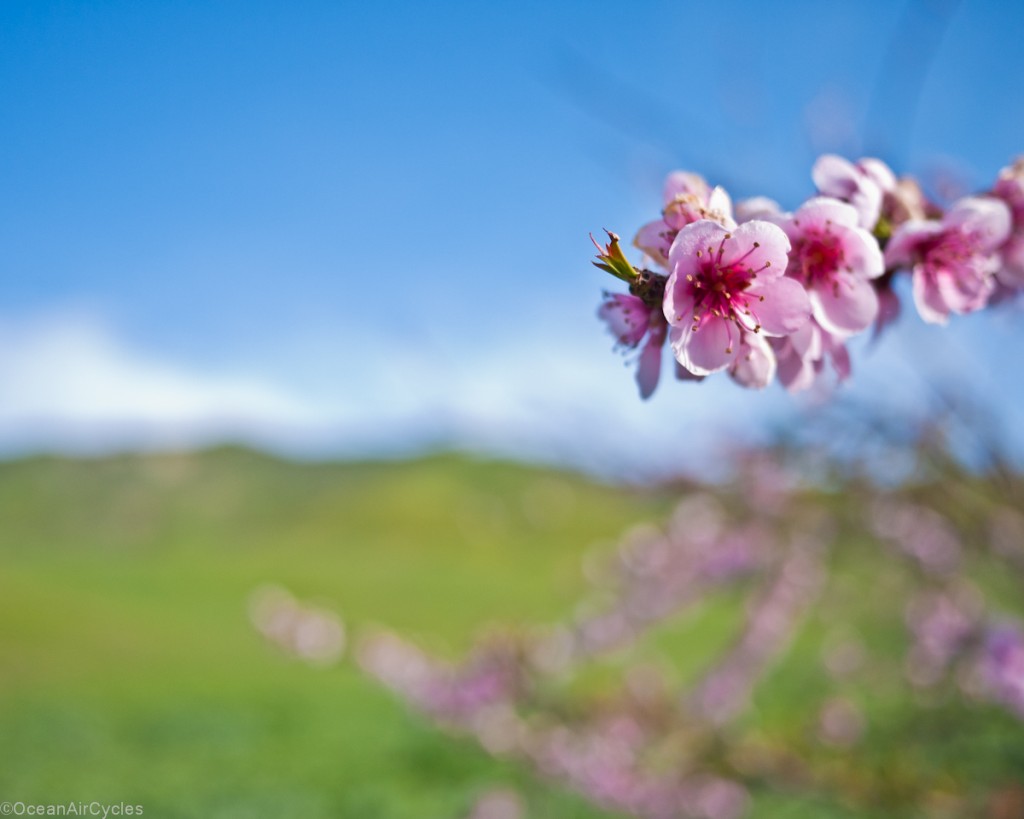
I ride for fun, transportation and exorcise.  While out I am always thinking about the photo, it is the way I see things, saving data in the background for when an angle of view and the light may come together just right.  Often times this will help guide the direction I head out on a ride.  Sometimes it works as planned, often times I catch things unplanned during the ride and get shots like this gem on Wednesday,

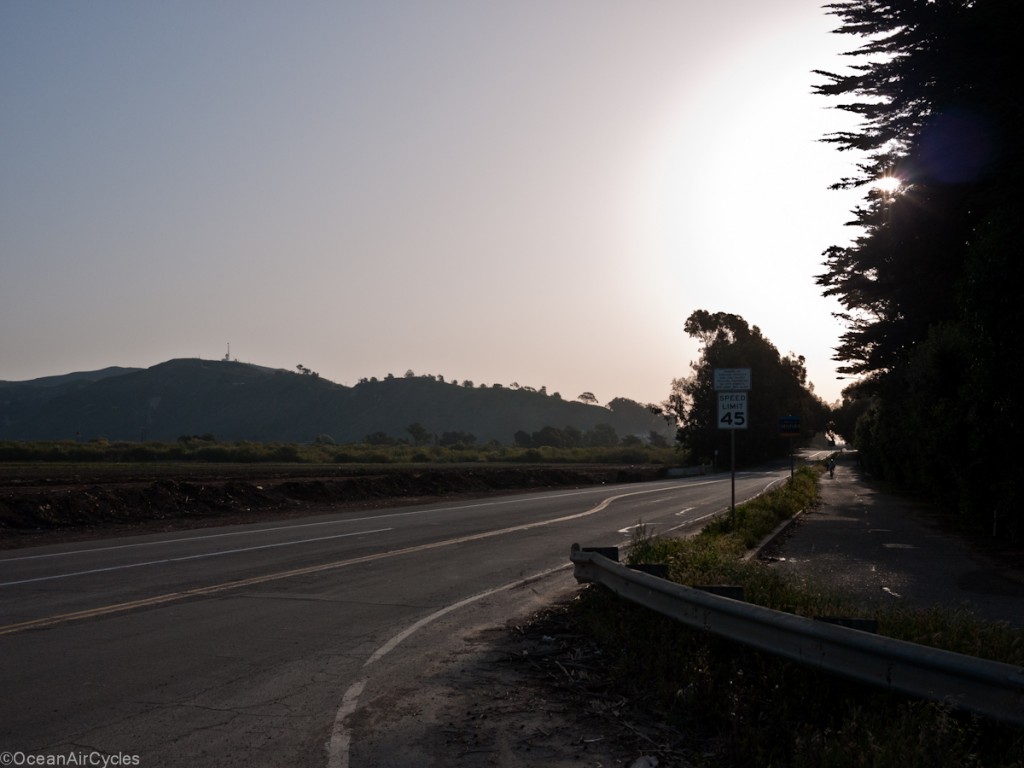
This morning on the other hand was hazy, I woke up late and was hoping to just get a few miles in and see if anything presented itself.  Heading back home with a little extra time I looked up and saw the tree at one of my favorite turns,

Just a little left of the sign you can see the eucalyptus up on the hill above town.  Inspired, Five minutes and a couple hundred feet of climbing later I was set up and ready, bagged the shot and made it home.

Have fun this weekend, play outside and enjoy your family.