Caldera Cone Stoves

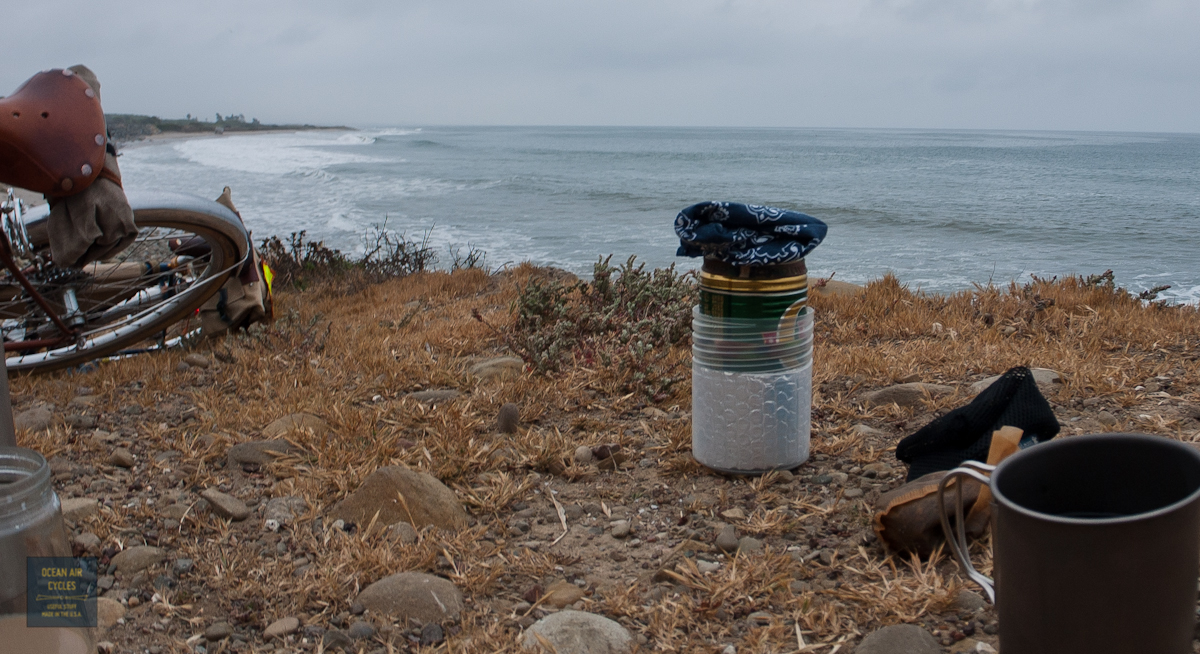
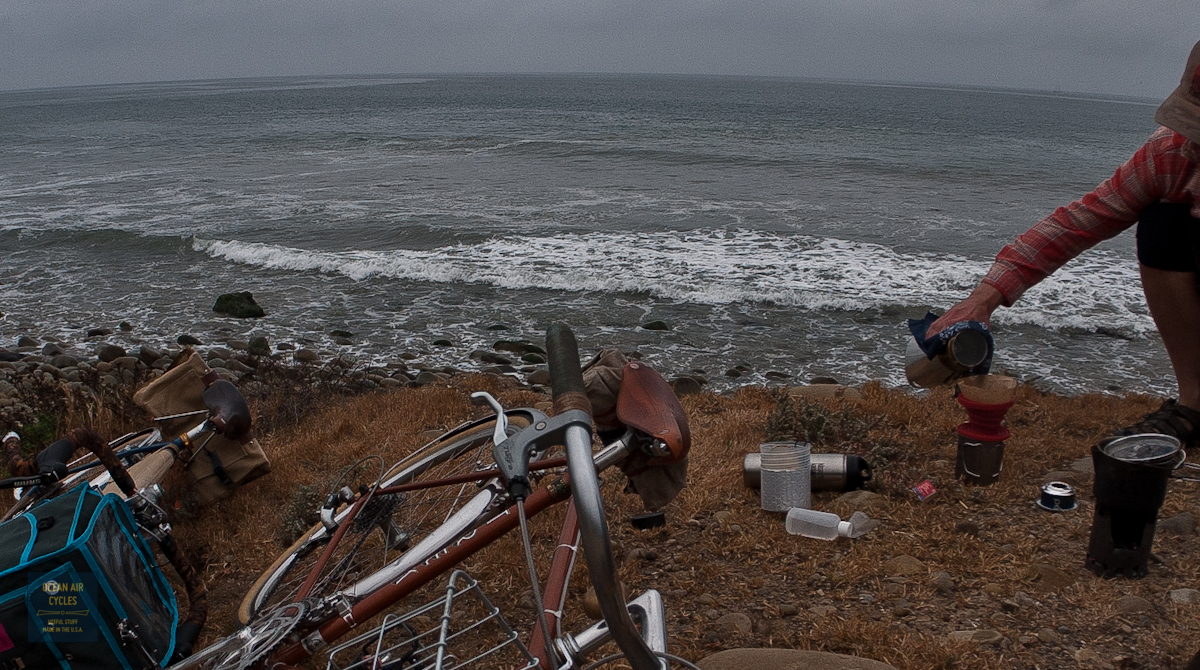
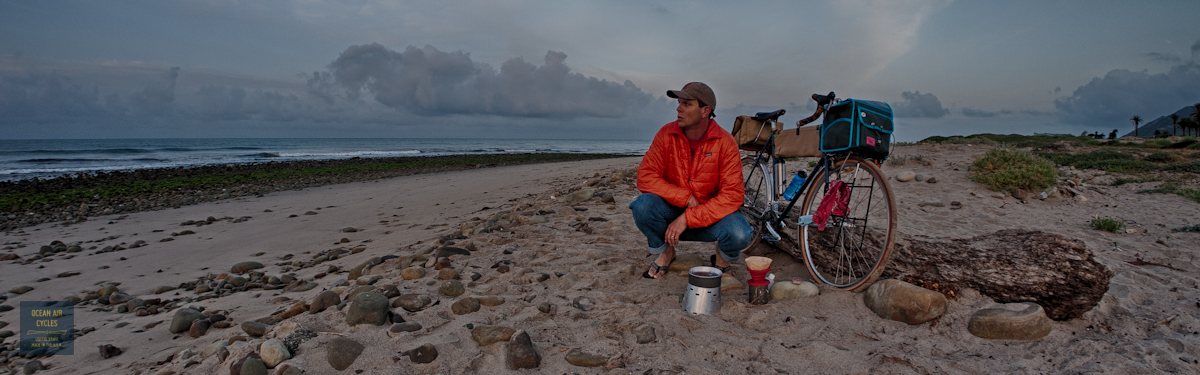
I have been having a ton of fun getting out in the mornings to take a little extra time, boil up my water outside and brew up a cup of coffee.  I hope that it is inspiring a few of you to do the same.  For me it has been mostly for fun, and partially to rack up some quick hours on some sample stoves.

5.13 Stoves c-

I have been working with Trail Designs to take some of their basic stove kits and tweak them a bit for cyclotouring.   Cylotouring subjects the packed stove to more vibration, jostling and potential crushing abuse than an average hiking trip.

I first heard of Trail Designs a few years back while doing some research on the backpackinglight forums.  As an aside, there is a ton of good information over there on ways to lighten your load while maintaining the comforts you want to bring with you on outdoor adventures.  It seems that the alcohol, in many versions, stove the most popular choice, and the king of ready-made systems is the Caldera Cone.  These are often custom-made to fit a specific pot or mug, there are a couple of form factor variations as well as aluminum or titanium versions.  For the sake of keeping things simple and cost reasonable I started with their Sidewinder System and Caldera Keg.  Both of these are complete kits that include the pot, cone, stove, and everything short of fuel and water that you will need to get started boiling water outside.

5.13 Stoves-1130208The Caldera Cone system is unique in a couple of ways.  The pot stand and wind screen are one in the same.  The shape of the cone and location of vent holes focuses the heat, with little waste on the bottom of the pot, contains some heat around the sides, and maximizes efficient burn of the fuel.  Efficiency of the burn is huge, resulting in less fuel needed to boil more water, and less fuel that you need to carry.  The whole cone / pot assembly sits over the included 12-10 stove.

5.13 Stoves-1130211

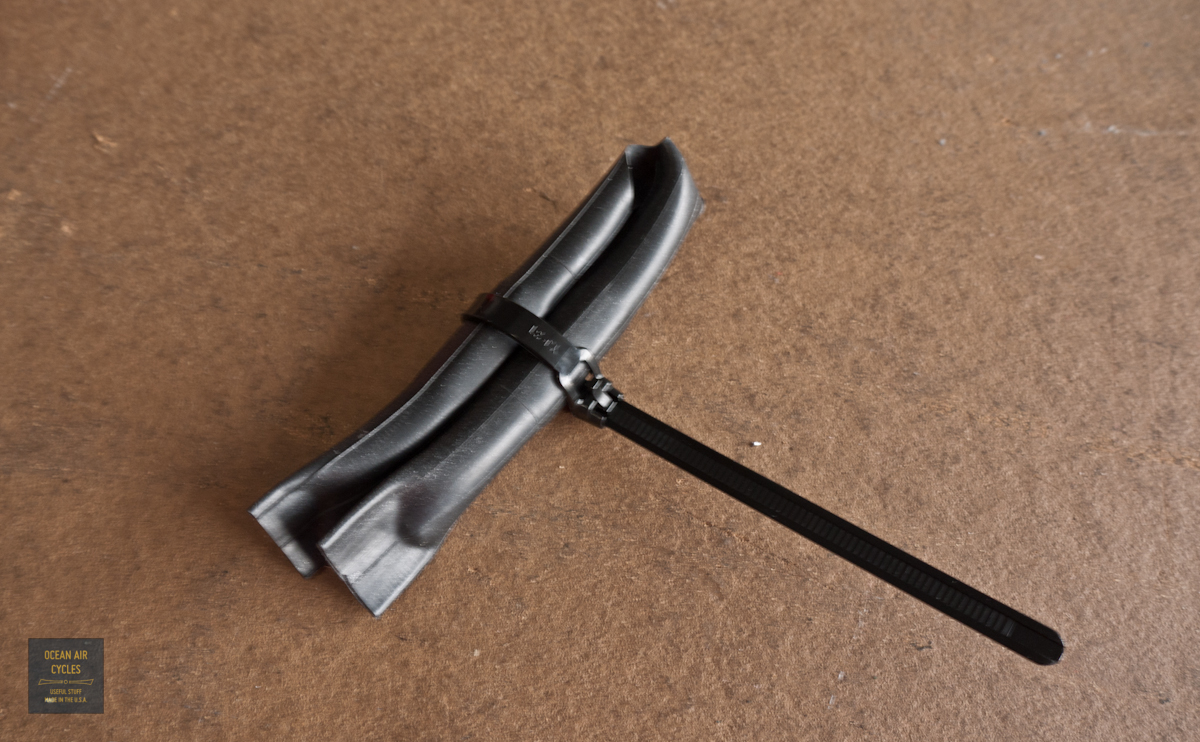
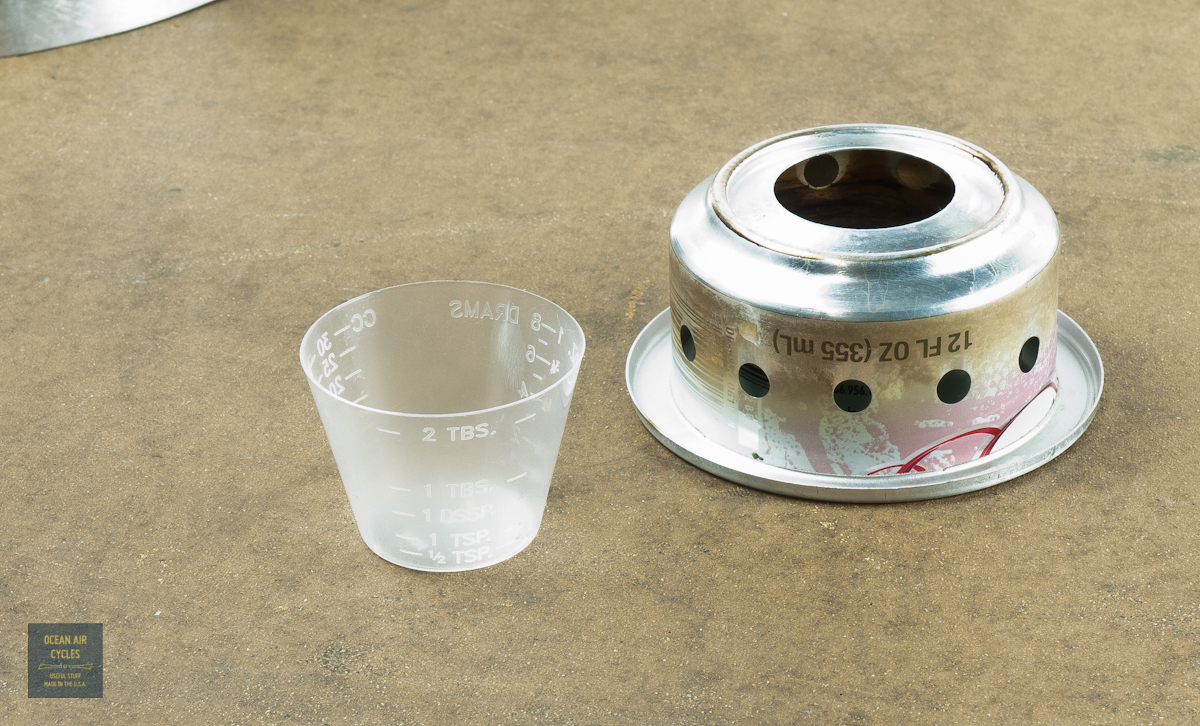
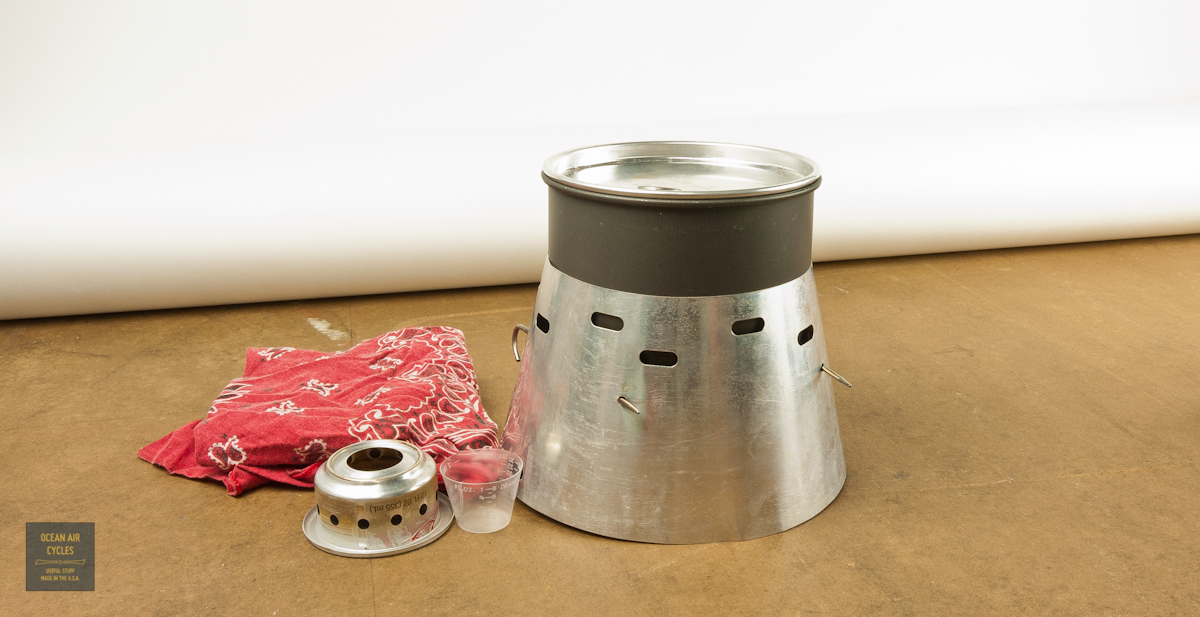
All caldera systems are optimized to work with the 12/10 alcohol stove system.  This is an open non pressurized design made from upcycled cans, and a custom integrated priming pan for cold weather

5.13 Stoves-1130212

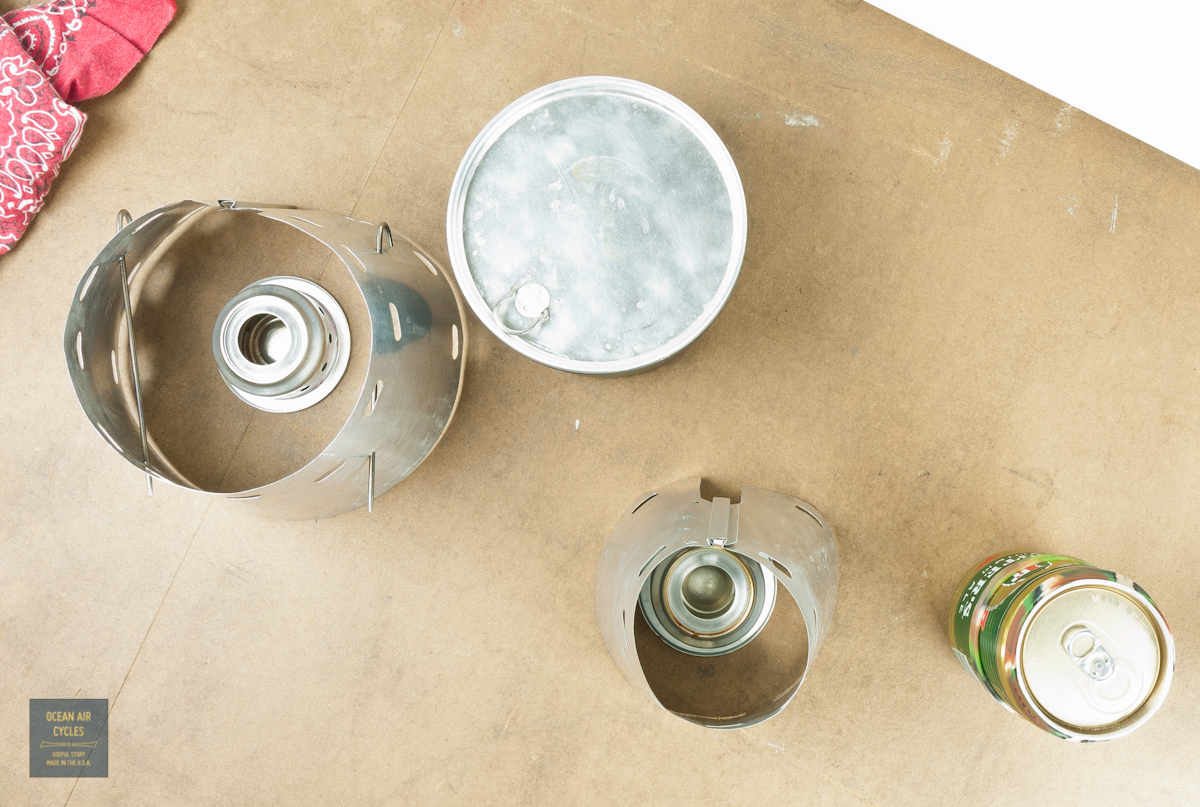
Both systems will bring 24oz of water to boil in a few minutes with about 1.25oz of fuel.  The major difference between kits is the volume of the pots, the resulting form factor and weight.

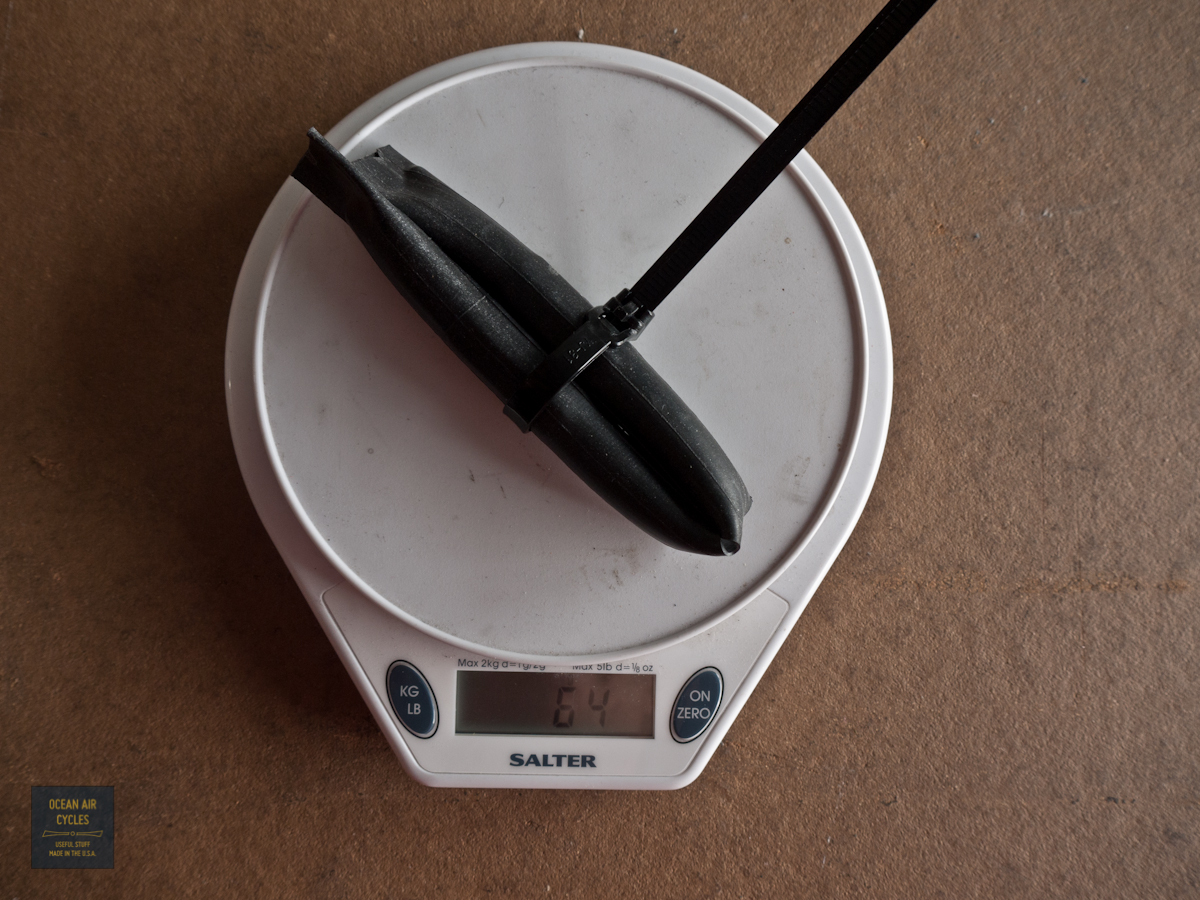
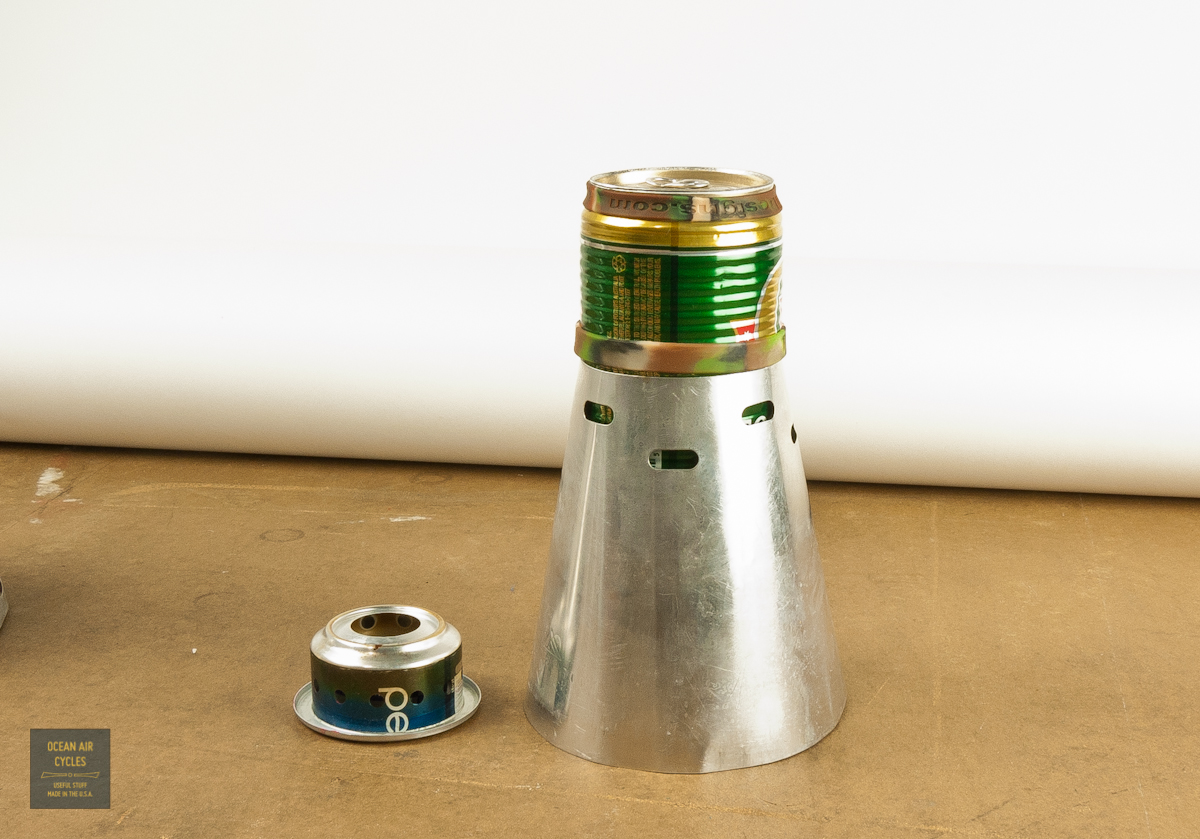
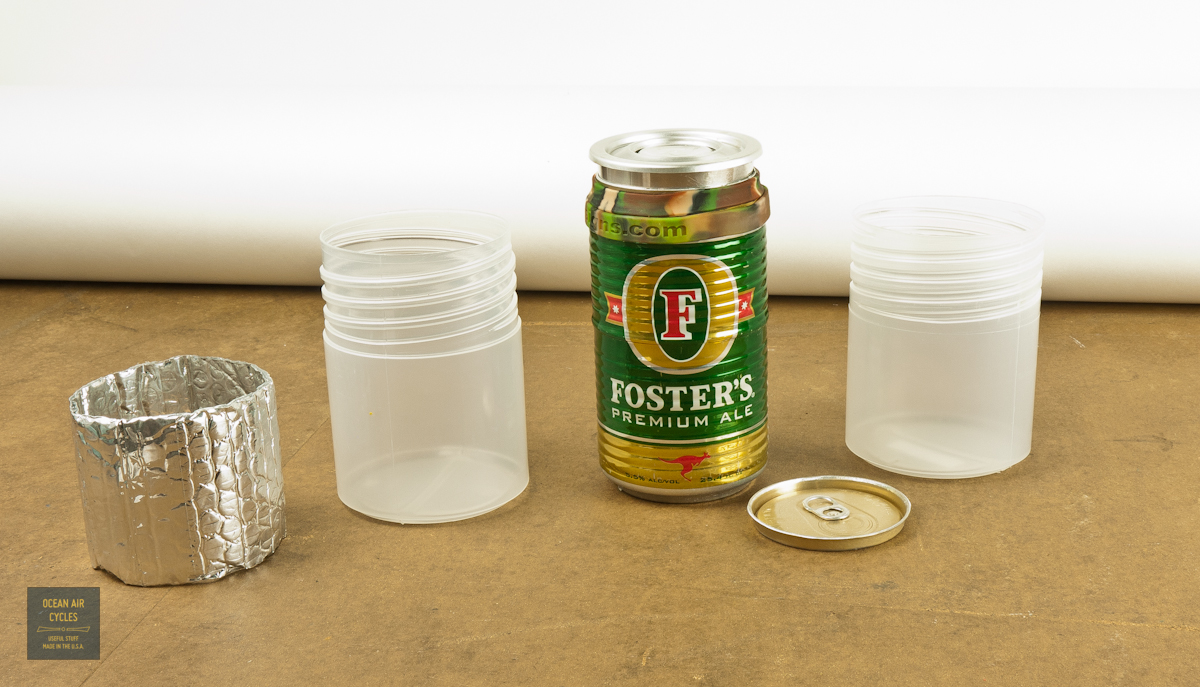
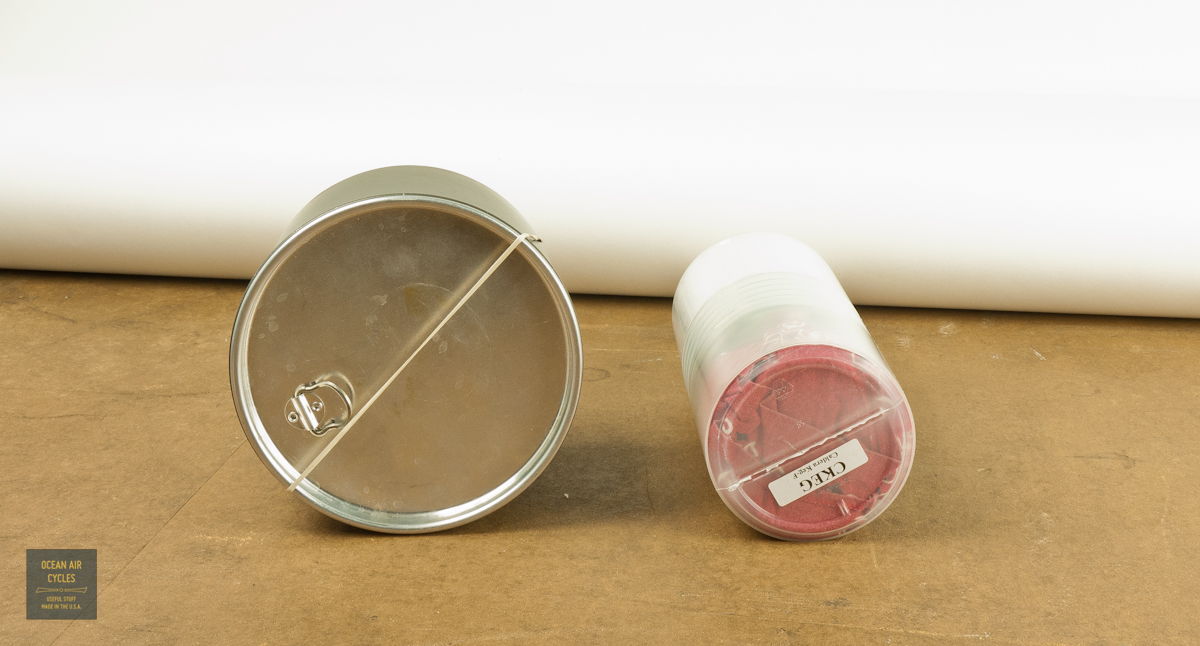
The Keg System is designed around a upcycled Fosters beer can, maxes out with a volume of 24oz of water.  The pot has a bulge formed near its center to add strength and a resting point against the top edge of the cone.  The Pot, lid and cone weigh a flyweight 84g with the silicone gripper bands in place.  The stove is not fragile, but takes some care, and includes a plastic caddy for packing protection.

5.13 Stoves-11302105.13 Stoves-1130222

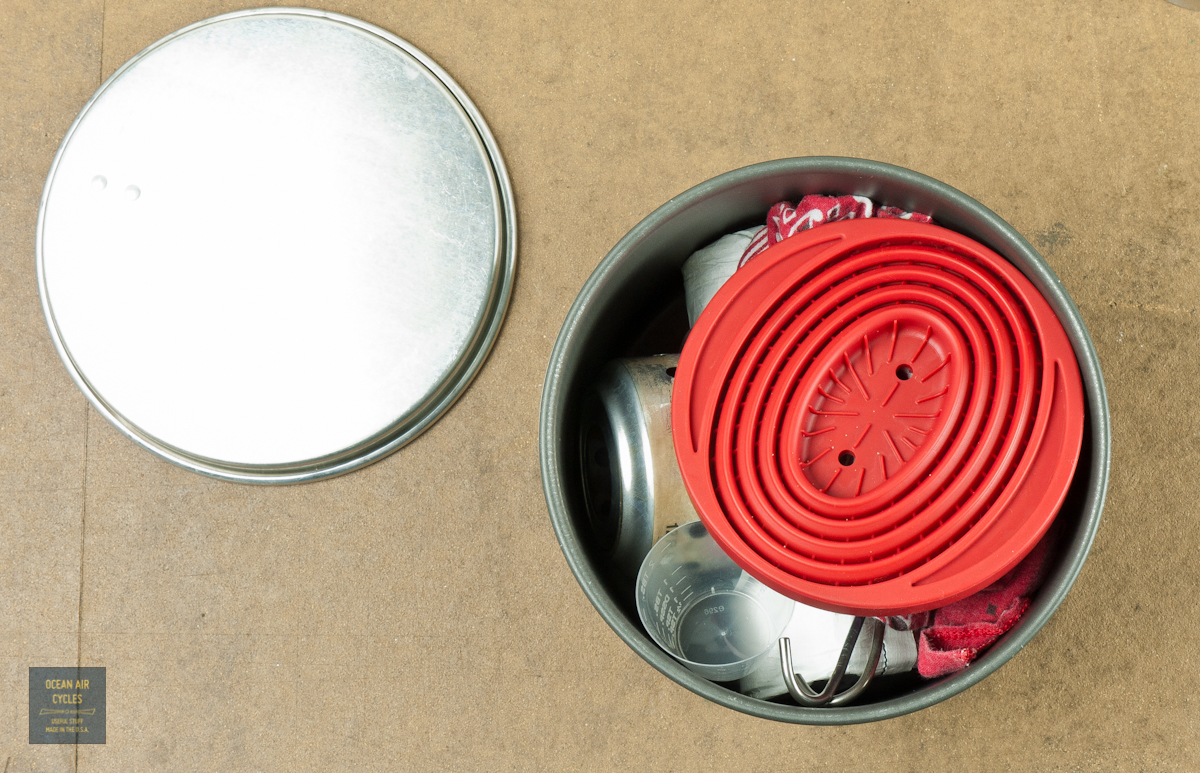
The Sidewinder kit is designed around a Made in In the USA Open Country 2qt Aluminum pot.    This is a much higher volume cook set with a 64oz capacity.  This comes at the price of weight, 340g for pot lid and cone.  While the jump in weight from the keg system seems large, this system is still 220g lighter than the 50oz JetBoil group system.  The upside of the weight gain is self-containment of the whole system when packed, and the ability to boil larger volumes of water in one go, e.g. enough for coffee and oatmeal.

5.13 Stoves-11302095.13 Stoves-1130219

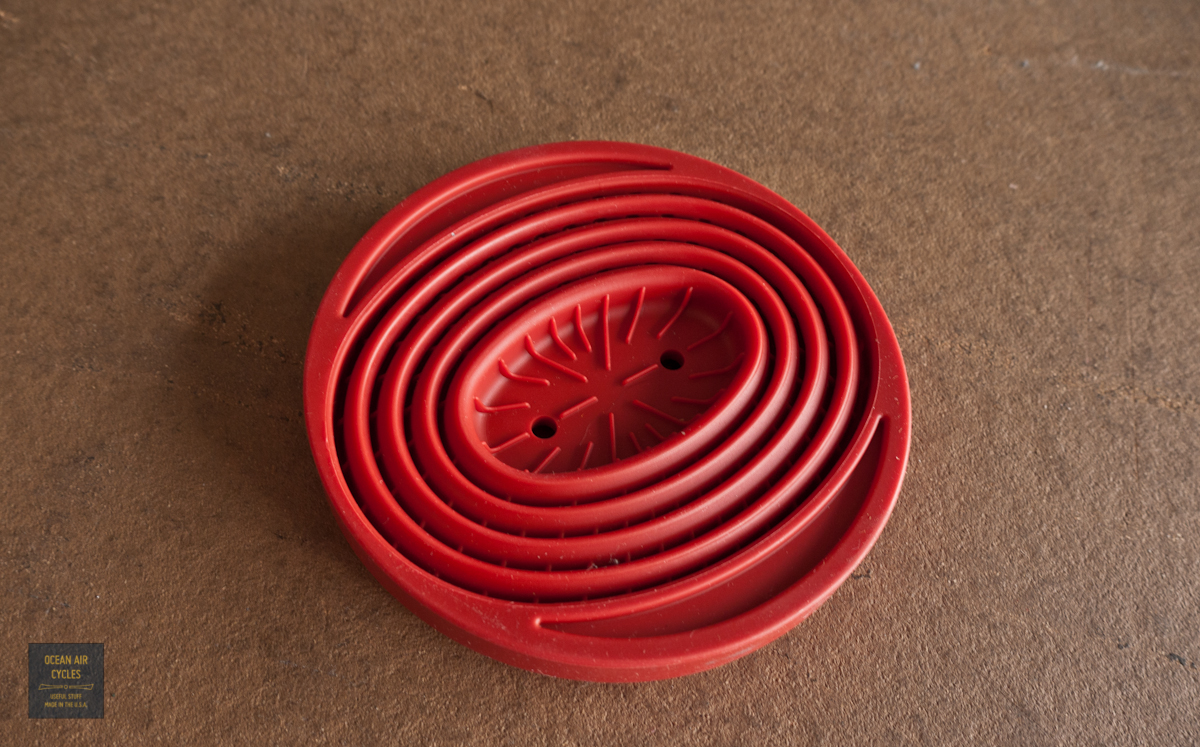
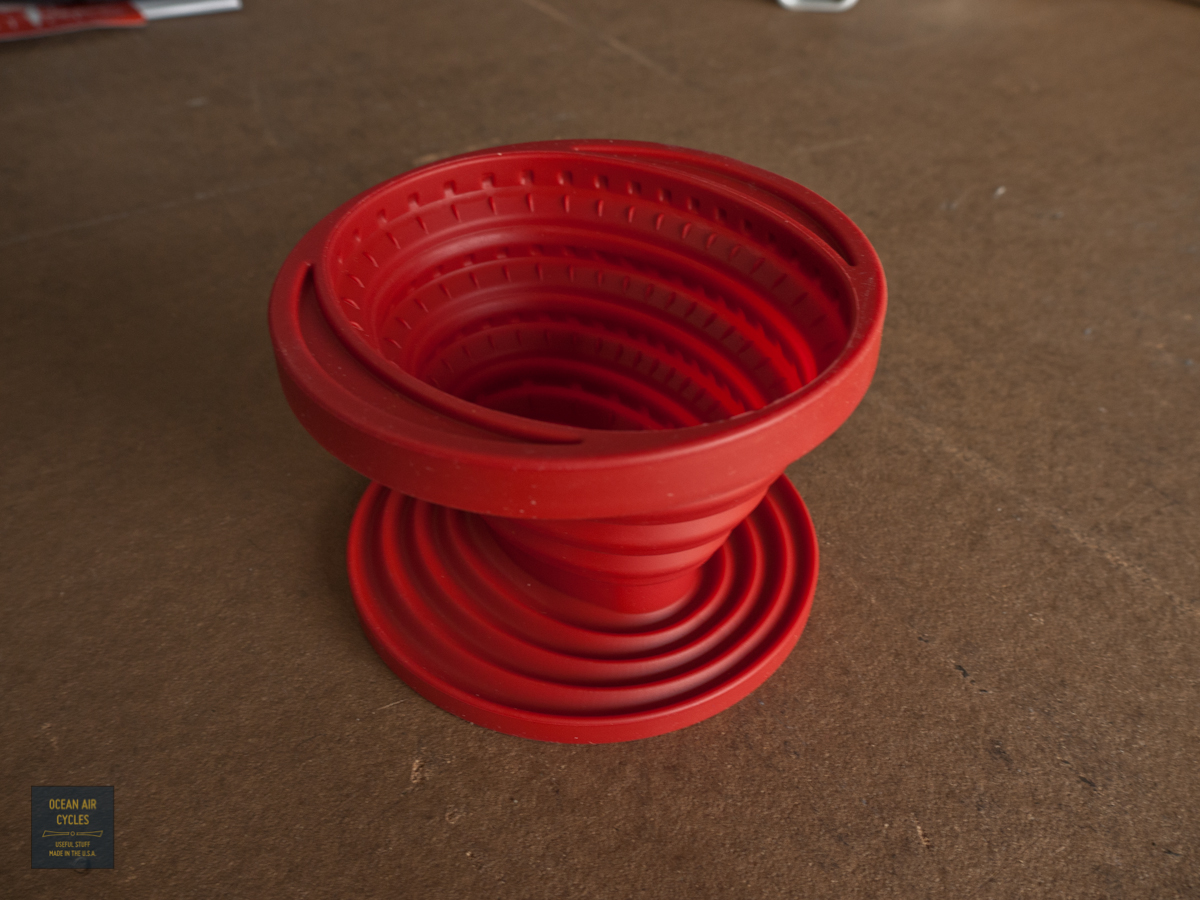
The larger pot has room to spare for my coffee filter cone and some small portions of food if needed as well.

5.13 Stoves-1130220

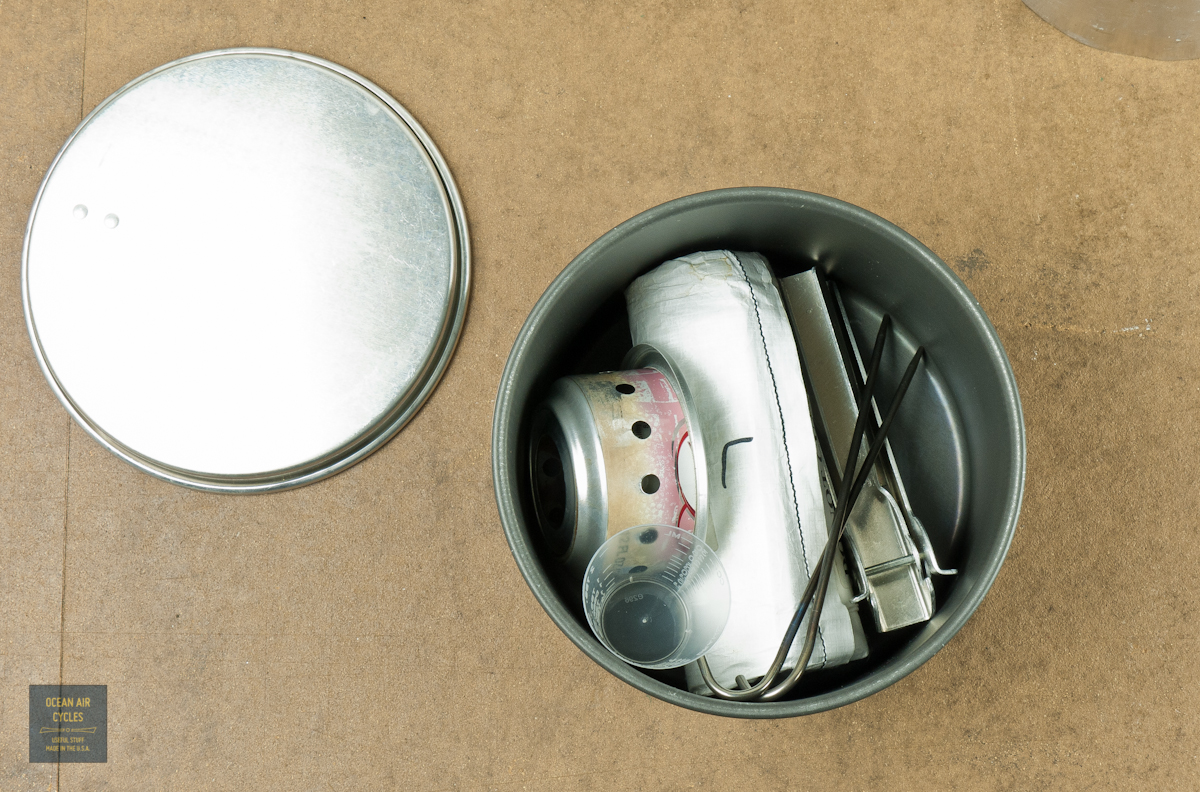
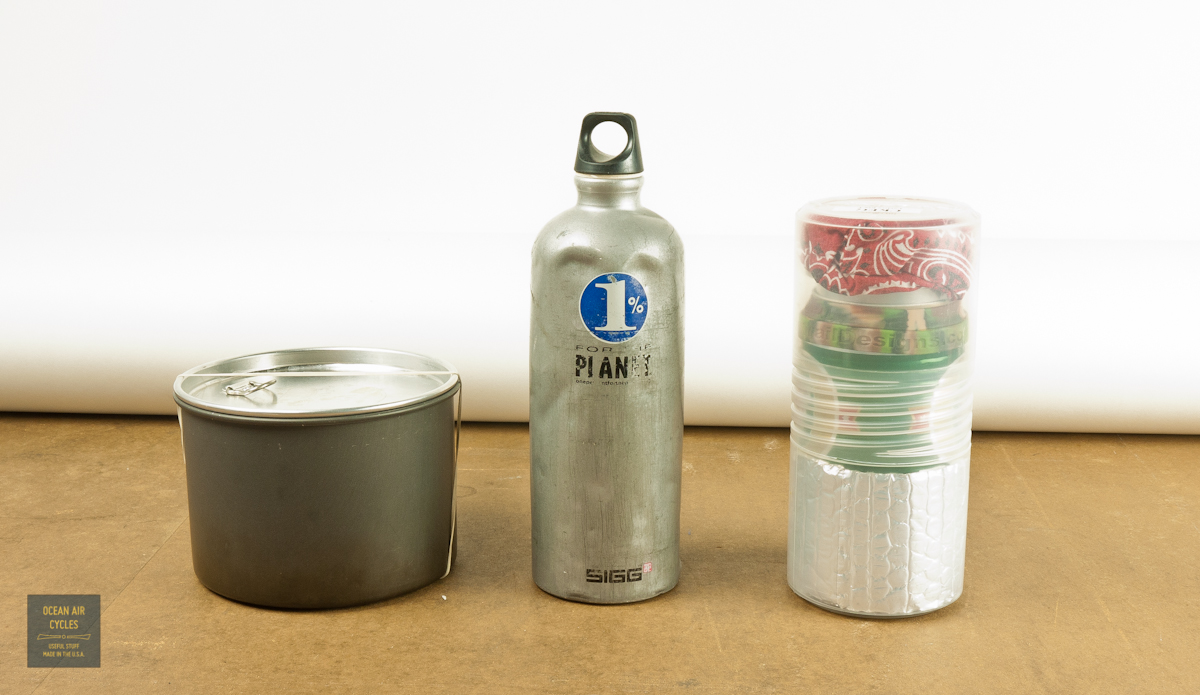
Both of the systems pack up into completely self-contained units.  Both are equally portable and significantly lighter than the stove systems you will find at your local outdoor store.  Here is the packed up shot with an older 1L Sigg bottle to give you an idea of scale.

5.13 Stoves-1130224 5.13 Stoves-1130227

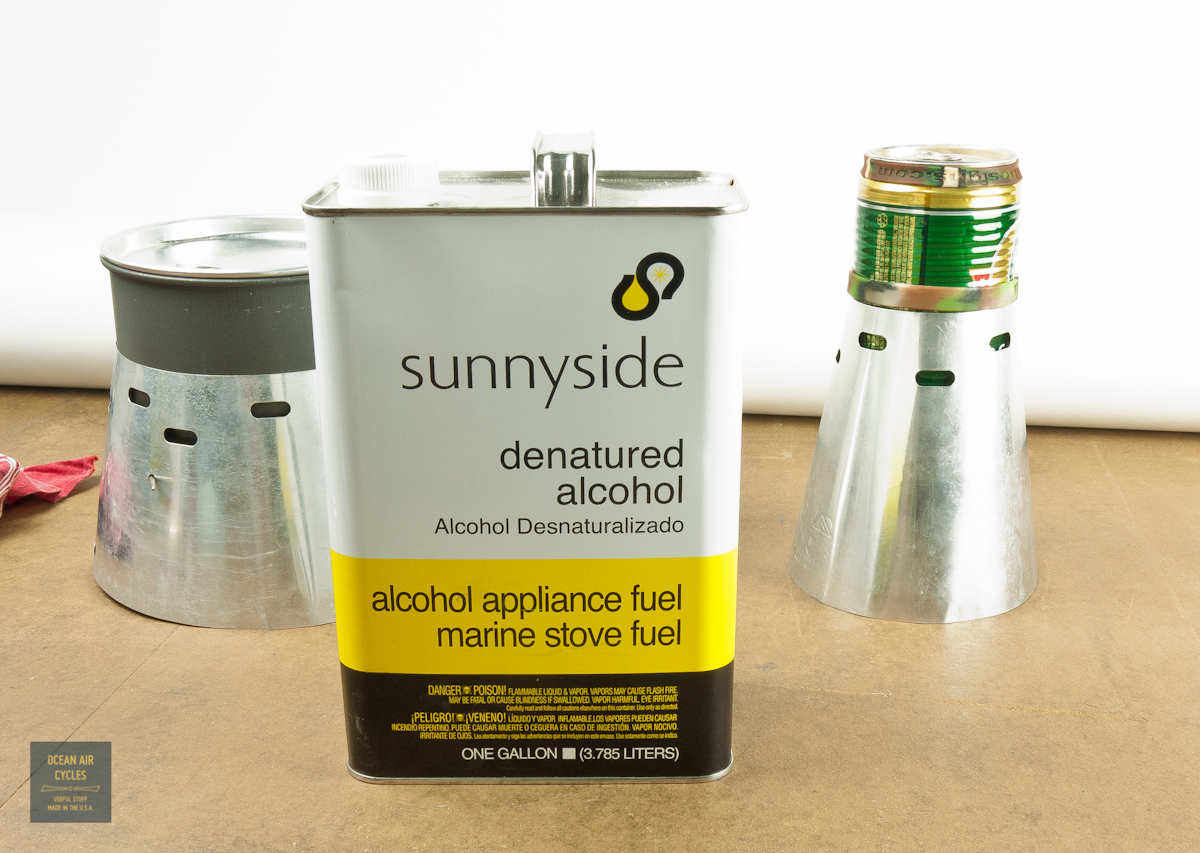
The primary fuel for these stoves is denatured alcohol.  It is easily found at most hardware or paint stores.  You can also use 190 proof grain alcohol if you are so inclined, and the fuel could also be consumed (as in a drink) in a pinch.  The denatured variety is no good for your insides, but great for other things like mixing up shellac or cleaning up grease on your bike.

5.13 Stoves-1130213

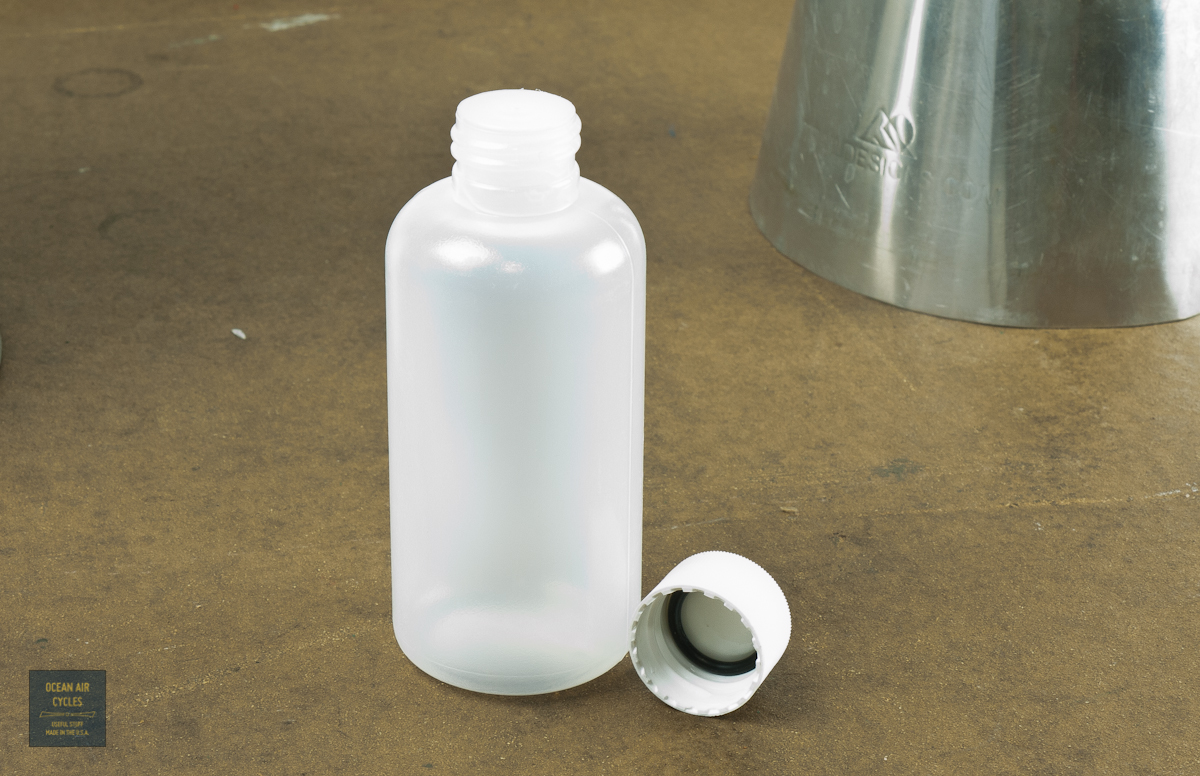
The kits include an 8oz fuel bottle for managing  smaller portions of fuel.  The 8oz oz of fuel has been getting me through 6 or so 22oz boils for my coffee and should be more than enough for a weekend or overnight trip.  The bottle seals with an o-ring and  is slightly squeezy for easy portioning into the measuring cup

5.13 Stoves-1130214 
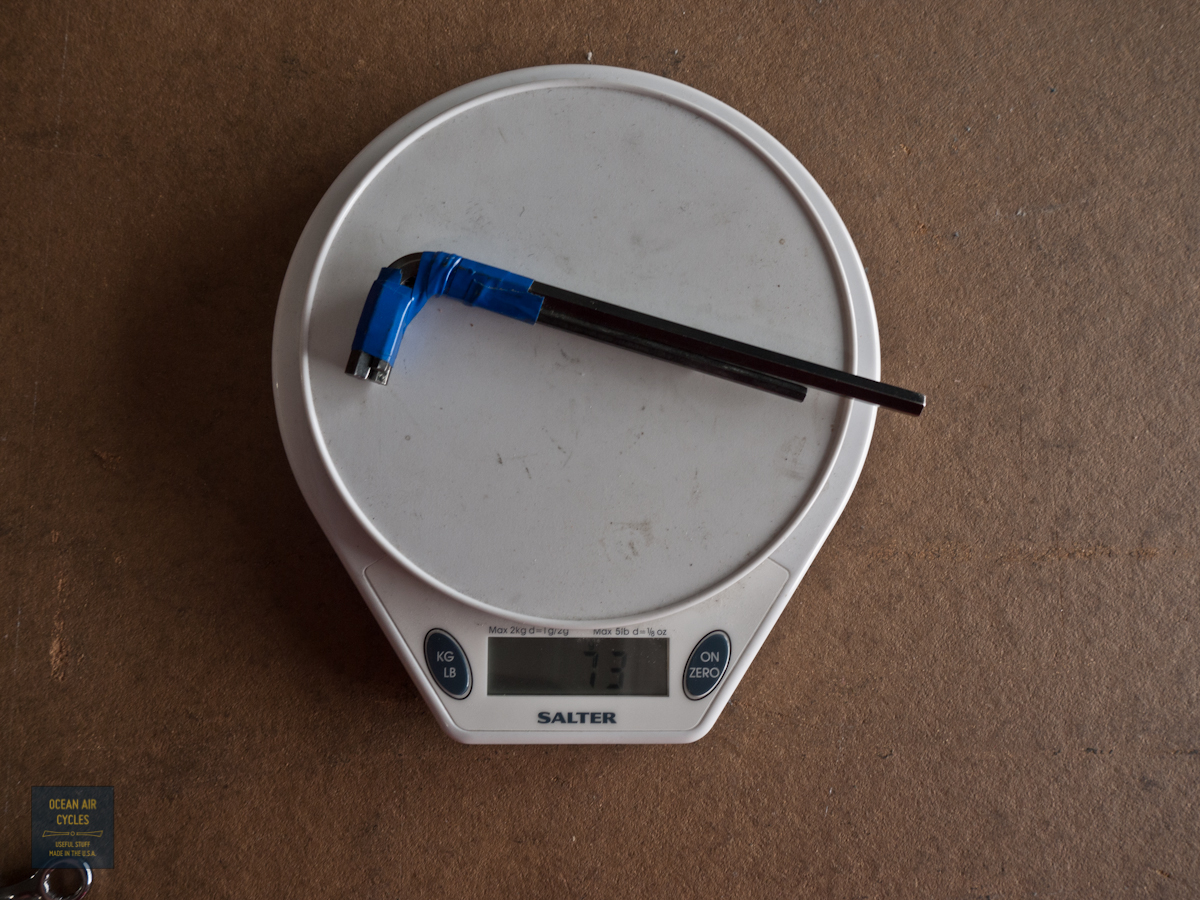
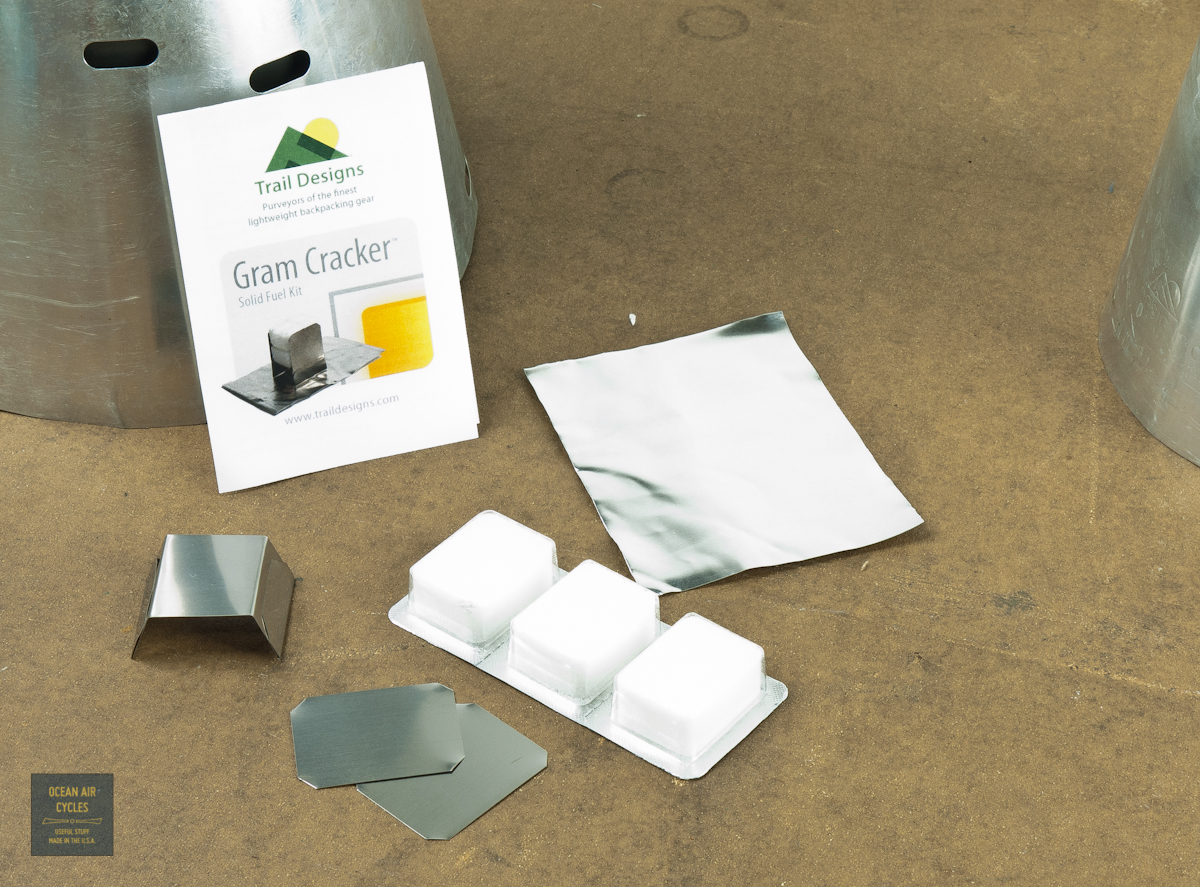
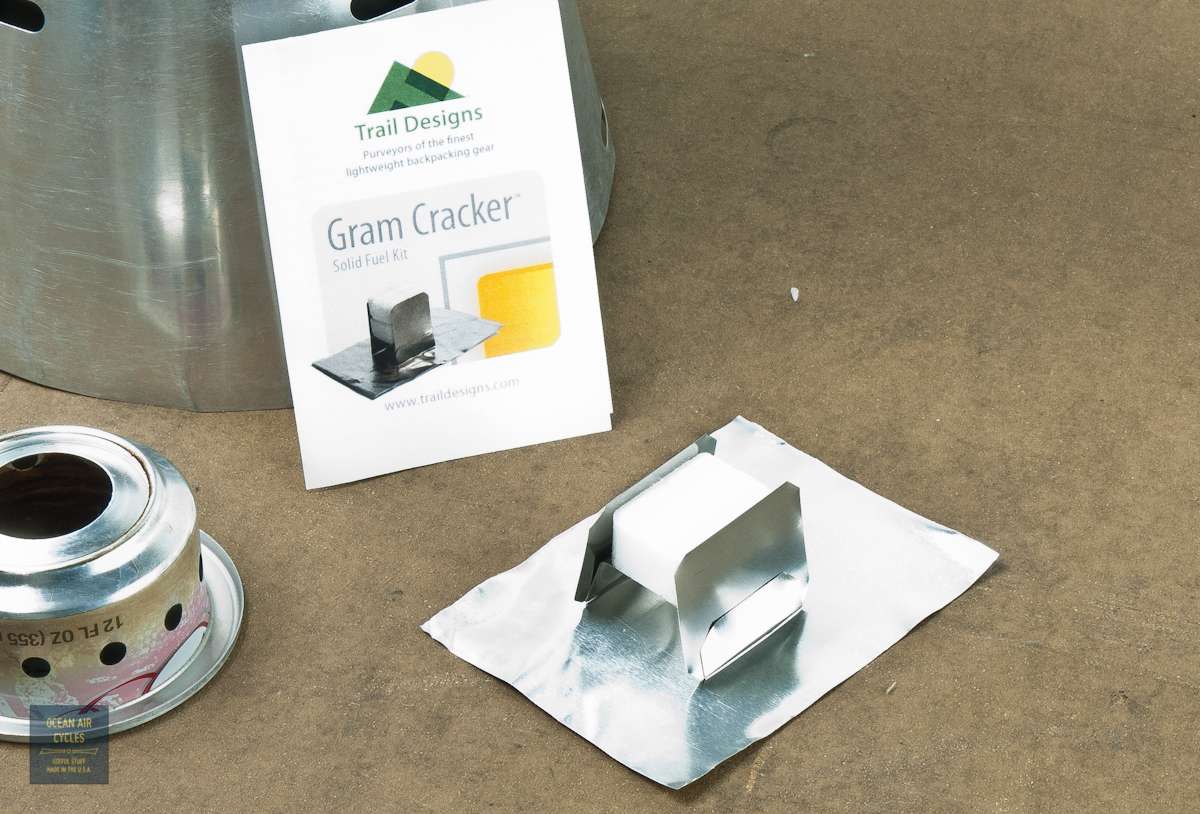
If you are going on a trip that might take that little extra bit of fuel you can buy the Gram Cracker  stove that holds Esbit tabs.  The stove itself weighs in at 7g, and will optimize the burn of the esbit tab.  There are slide in wings that will hold one or two tabs in place,  and slightly slow the burn rate for getting the most heat out of each tablet.

5.13 Stoves-1130216 5.13 Stoves-1130217Having used a bunch of different stoves and fuel systems over the years of camping, I am completely sold on the Caldera Cone system.  They are incredibly light and efficient.  The stove itself is silent and burns fuel from a renewable source.  Fuel can be bought in bulk, cheaply and there is not as many single use throw away containers as with propane systems.  Many of the parts in the system come from upcycled waste products, beer and soda cans.  The cones and kits are put together by guys doing what they love in the Sierras.

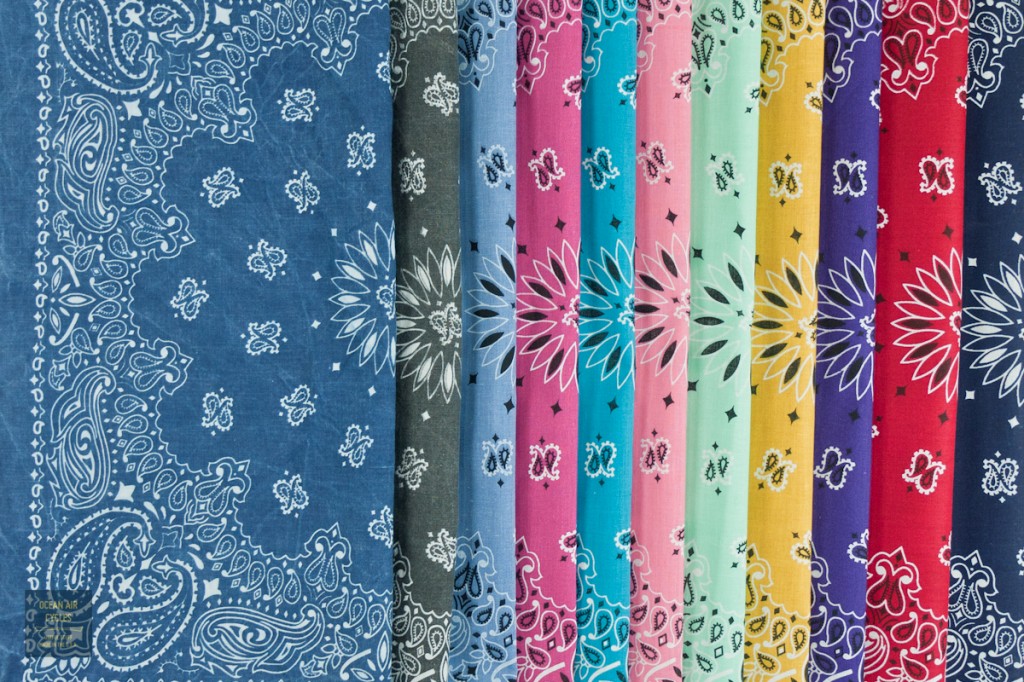
So what would I change with both or either of these kits to make them better?  First thing is add a bandana to each one.  It has turned out that is all it took to stop the rattling  and keep all the components secure in the kits.  For the sake of getting started that is how I will be adding these to the storefront.  The basic kits plus bandana.  If I had to pick just one it would be the larger pot, I like a big cup of coffee, and tend to eat big.  If you are used to average sized solo camp cook sets the Keg is a great super light choice, and fits a little better into most bike bags.

In the long run I would like to work on a single kit that splits the difference in volume and weight.  I find the Keg system is good for a single portion at a time, and the pot is bigger than I need for most things.  Both work just fine, so good that it may be a while until I have the time to throw at making a dream kit.  The guys at Trail Designs can put together a huge variety of custom kits if the Goldilocks syndrome is unrelenting.  They also have a titanium version that opens up the option of burning wood for fuel.  The Ti is a great system as well, but does come with some tradeoffs, that will take another post though.

When we were working on this project it became apparent that sourcing pots consistently is the biggest hurdle, and the pot is the backbone of the system.  Until I have the pot portion sorted out there will be the two basic kits.  Keep an Eye on the store front, they will be going up in the next couple of days.

The stove systems are up now

Caldera Sidewinder Kit

Caldera Keg Kit

Pole Mount for GoPro

Lately I have been getting some inquiries about the pole cam system I was/am using to get some of the shots I was with the GoPro camera over the last couple of years.  I worked out a portable system that would allow me to shoot point of view style, but from angles away from the body and not having the hand holding the camera in the shot.  There were quite a few revisions.  Most of them worked just fine, but the overall length was best carried in a frame bag.  To overcome that I ended up segmenting the pole.  Here is a peak at my latest compact version.

5.9 Pole Cam-11302025.9 Pole Cam-11302035.9 Pole Cam-11302045.9 Pole Cam-1130205

Key Features:

  • The pole moves the GoPro about 12 inches from your hand
  • The pole breaks down into sections about 8 inches long
  • Additional extension pieces can be used for added length
  • 1/4″ 20 threat will work with existing camera tripod mounts and accessories
  • Rare Earth magnets in the handle allow for quick mounting to sign posts, fence rails, guard rails, etc.  The world is your tripod
  • Hand shaped wooden handle with flat side for indexing camera orientation and durable shellac finish

As with a bunch of things these will be added to the storefront in the coming weeks, with a street price around $30.  If you are interested drop me an email through the contact page.

As for capturing the images, I set the camera to grab stills every 2 seconds, trigger it, hold it out to get a series of shots, then turn it off that simple.  It is the same basic process for video or riding past it mounted to something.  An easy and portable way to get more creative shots with you GoPro while on tour this summer.

DCIM100GOPRO

Bandannas Added to the Storefront

I believe Bandannas are the second most under rated thing everybody should have with them at all times, second only to a really good pocket knife.  I always have one or more at hand, in the pocket, bike bag, or in the mess kit.

4.26 Bandannas use-1120735

The Paisley bandanna is the traditional kerchief used by our grandpas and their’s before them.  A 21×21 inch square of 100% cotton being the most useful accessory you can keep with you every day.  Like a pocket knife that is with you every day, you will eventually wonder what you were doing before you had these.  Things I use mine for: Handkerchief, napkin, pot grabber, bandage, rag, shade for your neck, sweat band, bandage, stop that something from rattling in your bag…..on and on.

4.26 Bandannas use-1120730

These are made in the Carolinas by one of the last remaining bandanna companies in the USA.  100% cotton, dyed, printed, cut and edges sewn here, keeping jobs here.   The “Traditional” bandannas  are mill fresh and start out crisp and stiff.  A few trips in your pocket and through the laundry will get them soft.  For that extra bit of instant gratification we also have “stone washed” bandannas that are silky soft right from the start.

4.25 Bandannas 23-1120783

Like many thing you can never have too many, always one in your pocket, one in you bike bag.  Making the transition you will be amazed how much longer the roll of paper towels and box of tissues will last.

As with everything that ends up on the storefront, it is there because I use it, and am pretty sure other people do to.  You can find the bandannas by clicking the pic above or here.

Note: if you have kids you may end up needing more than one a day, trust me on this.

VP Vice and 001 Pedal Comparison

I have been riding flat, non retaining system, pedals for a long time.  Most of my youth, and for recent years thanks to Grant at Rivendell, I have been pedaling free.  There are a variety of options at the full range of price points.   At the lower end you can get very basic touring or BMX pedals with decent traction for $20.  The upper end is dominated by very thin machined aluminum mountain bike race pedals these go well up into the $hundreds with exotic materials in the pursuit of weight savings and thinness.  I have been testing a range off offerings in pursuit of offering a pedal that strikes a balance of performance and value.

What are things I consider key?

  • Wide and long platform for maximum foot support.  This puts much of the stiffness burden back on the pedal and reduces or completely removes the need for stiffness in the shoe.
  • Traction pins that are integral to the design, easily replaceable and in useful places.  The pins keep you foot from slipping off of the pedal.  There are lots of types, from cast in to screws that come in from the top or bottom.
  • Sealed Cartridge bearings.  This is where the price can go up fast compared to basic pedals.  While most pedals can be serviced and last a life time, good seals and bearings increase the time between servicing as well as the ease of the process.
  • Thinness.  As downhill and dirt jumping have dominated this pedal market segment the pedals keep getting thinner.  Older pedals are generally 25-30mm thick.  The newest versions are 5-15mm thick.  Thinner pedals get you closer to the ground.  The change of center of gravity is probably insignificant, but you are 5-10mm closer to the ground and that helps to get more than the tip of your toe on the ground at a stop while your rear is still on the saddle.  The truly ultra thin pedals generally make compromises in the bearing and spindle design to achieve the thinness.

Most pedals in this category are coming from overseas at this point in time.  US made pedals are out there, but come at a high price and limited options.  For now I have been looking at the imports.

The line that struck the best value when considering price and the above key elements was VP Components, and two pedals in particular the VP-001 and the Vice

4.22 Pedals-1120683
Red VP001 and Blue VP Vice

Both are good pedals for about $65-70 street price.  Both are a bit wider than some other common pedals, MKS Grip King (lambda) and RMX “sneeker” pedals, as well as have more aggressive pins.  The following comparison pictures tell the story.

4.22 Pedals-1120685
Red VP001 and Blue VP Vice

4.22 Pedals-1120690 4.22 Pedals-1120691 4.22 Pedals-1120692 4.22 Pedals-1120694The difference in thinness is remarkable.  The MKS pedals are 26mm while the VP are 16mm.  The means your saddle height will come down 5mm and your toe will me 5mm closer to the ground at a stop without bringing the pedal any closer to the ground or threatening a strike.

4.22  pedals th-1120702
Red VP001 and Blue VP Vice

There are also some subtle but important differences between the VP-001 and the Vice.  For me the Vise is the clear winner.  The VP-001 has a more traditional spindle that allows the pedal to be installed with a 6mm allen wrench or traditional 15mm pedal wrench.  The Vise on the other hand requires a 8mm key.  Why the difference?  The vice allows the whole platform to sit closer to the crank arm, and thus your foot closer reducing the overall Q-factor.  Q is the distance between crank arms, narrower Q generally feels more normal, and is used in traditional road biking designs.

4.22 Pedals-1120684
Red VP001 and Blue VP Vice

The platforms are both quite large compared to traditional pedals.  Compared to each other the Vice has more supporting area at the outer corners as well as through the center of the platform.

4.22 Pedals-1120687
Red VP001 and Blue VP Vice
4.22 Pedals-1120688
Red VP001 and Blue VP Vice

The axle on the Vice is longer and the outboard bearing is placed a full 2cm further out board from the crank arm.  This will reduce the loading on the bearing reducing wear and time between service.

4.22 Pedals-1120696
Red VP001 and Blue VP Vice

4.22 Pedals-1120697The last and a notable difference is the type and placement of the pins.  The VP-001 uses grub or set screws that are inserted from the top.  The hole for the wrench to remove and replace these can clog with crud and or be damaged from impact increasing the difficulty of replacement.  The Vice uses a combination of M4 bolts that come in from the underside of the platform and the above mentioned grub screws.  You can get rid of the grub screws and still have plenty of traction for touring and road riding.  The M4 bolts allow a better platform for replacement or tinkering with different lengths etc.  The stock M4 bolts are custom ground into pins, replacements are available, but an average M4 bolt from the store will work fine.

4.22 Pedals-1120699 4.22 Pedals-1120700The things that I see as improvements in the Vice over the 001 do come at a price.  The Vice is 28-30g heavier per pedal and the price is $5 more.  For the truly weight conscious there are Ti replacement spindles that will shave 35g per pedal.  Fine tuning the pins could sheave even more.  While both pedals are well overbuilt for street riding and touring, the added value of the Vice makes it the standout in my mind.

Bottom Line….I have been loving my pair of vices, plan on riding the heck out of them for a long time and will be adding the Vice pedals to the storefront this afternoon.

Ride free in the shoes that you like to walk in, it makes it more fun to ride to the places you are going during the day.  The change in riding speed really is insignificant from the majority of us, and did I mention that you are likely to have more FUN?

New Tools Shedding Grams

It has been a busy run here, and this week had some more incoming tools I want to test out.

4.18 tools WP-1120641

The easy one is the new silicone folding coffee cone.  I have been looking for something a bit more portable that does not weigh a ton, and can squeeze into my cook kit. we will see how it goes.

4.18 tools WP-1120642 4.18 tools WP-1120643

The other tool is a bit more interesting.  The Fix it Sticks are an interesting twist that I hope to have replace my long carried Alien tool.

4.18 tools WP-1120648They ran a successful Kick starter campaign to get these things out into the world.  They have even more tool options, but I stuck with the basic 4/5/6 since that is what I needed.  Hopes are high for these.  The tool bits are press fit with an epoxy as backup.  the body of the tool is aluminum and lighter than you night expect.  For the range of torques needed on the bike they should be more than robust enough, time will tell.  They take up about as much room as a set of tire levers and pack up neatly and rattle free in a upcycled tube

4.18 tools WP-1120646 4.18 tools WP-1120645

Thinking about how light they felt, and how heavy my decades old Alien tool felt I decided to pull out the scale (a task reserved only for shipping around here most of the time)

4.18 tools WP-1120649 4.18 tools WP-1120650 4.18 tools WP-1120651 4.18 tools WP-1120652Comparing the pile of tools to the alien it looks like I will shave about 38 grams.  While that is just a little bit, there were a ton of redundancies between the Alien and the rest of the tools in that pile I often carried any way.  Whey these neat little sticks will really do is convince me to jettison the 305g multi tool and eventually the backup allen keys, shaving almost 3/4 of a pound in the long run.

While that may sound like no big deal in a world of weight be damned bike touring, it means that I can effectively add my camp stove and cooking kit to the bar bag at all times with no weight penalty.  That is the point of counting the grams!  it is possible to carry the things you want and need without massive panniers and or a super stout bike.  With careful selection of your gear you can quite possibly have you comforts and not need a sherpa (or a car) to haul it around.  I am not cutting the handles off of my tooth brush, yet, but I am starting to think more about the stuff I haul, and what it weighs.

Enter the Rambler, light weight touring, and some fun.