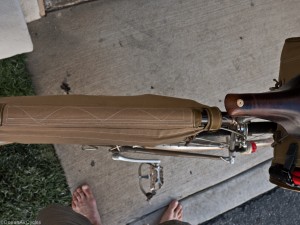
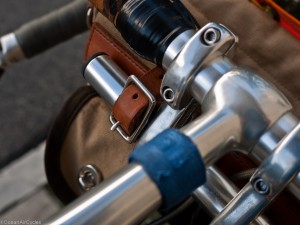
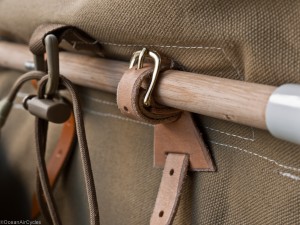
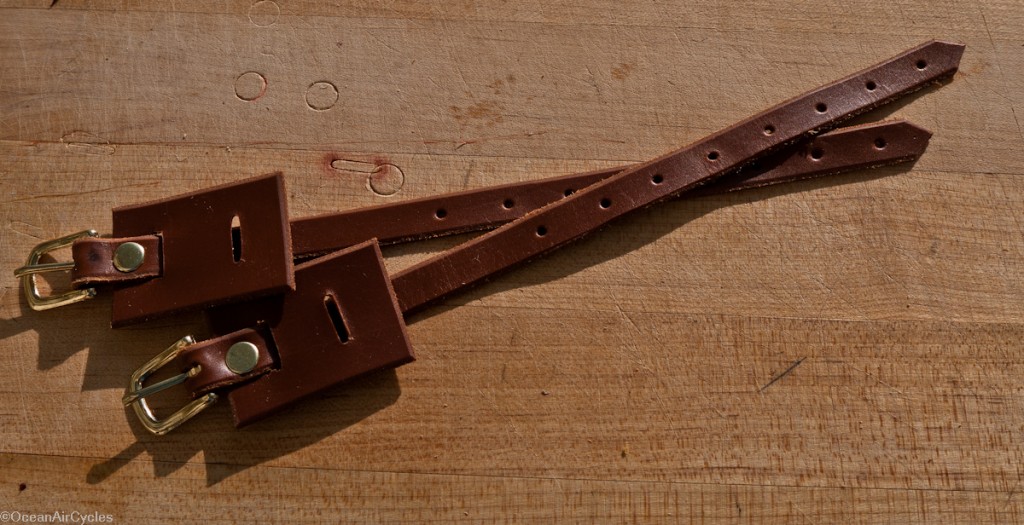
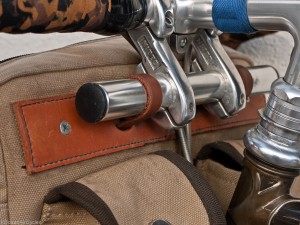
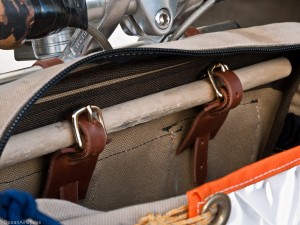
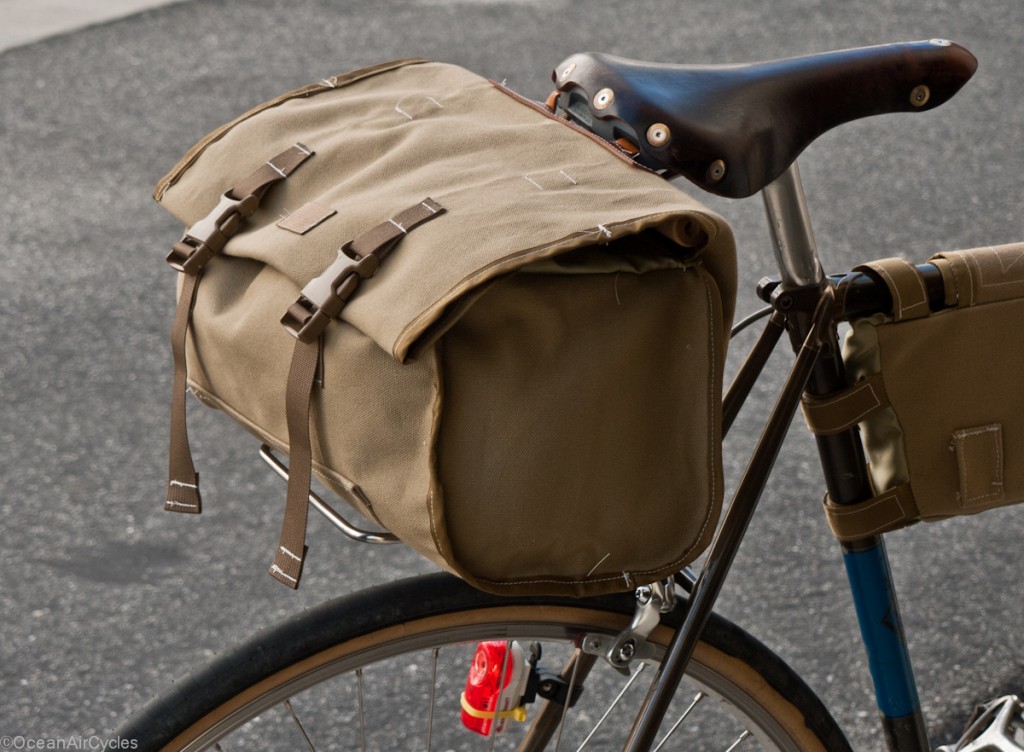
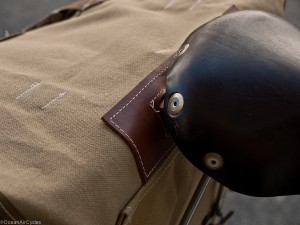
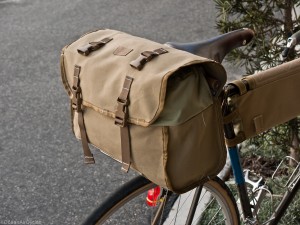
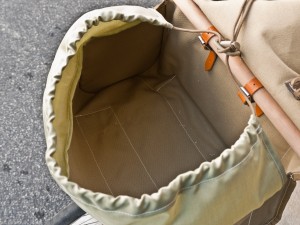
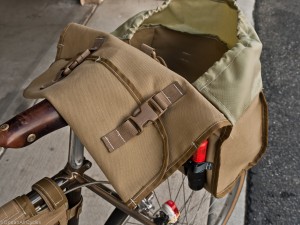
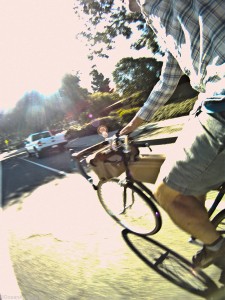
 This morning’s adventure started with what promised to be a casual grocery ride. It seemed like a great way to test out the real world load capacity on the new saddle bag. Weather was perfect with no clouds and light breezes. First stop was for the pound of coffee, that was about as easy as it gets, stuff it in the hobo bag up front, and then on to the next store for some heavy lifting.
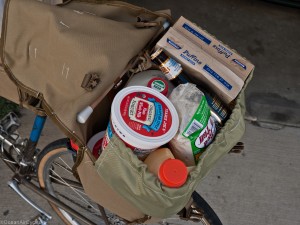
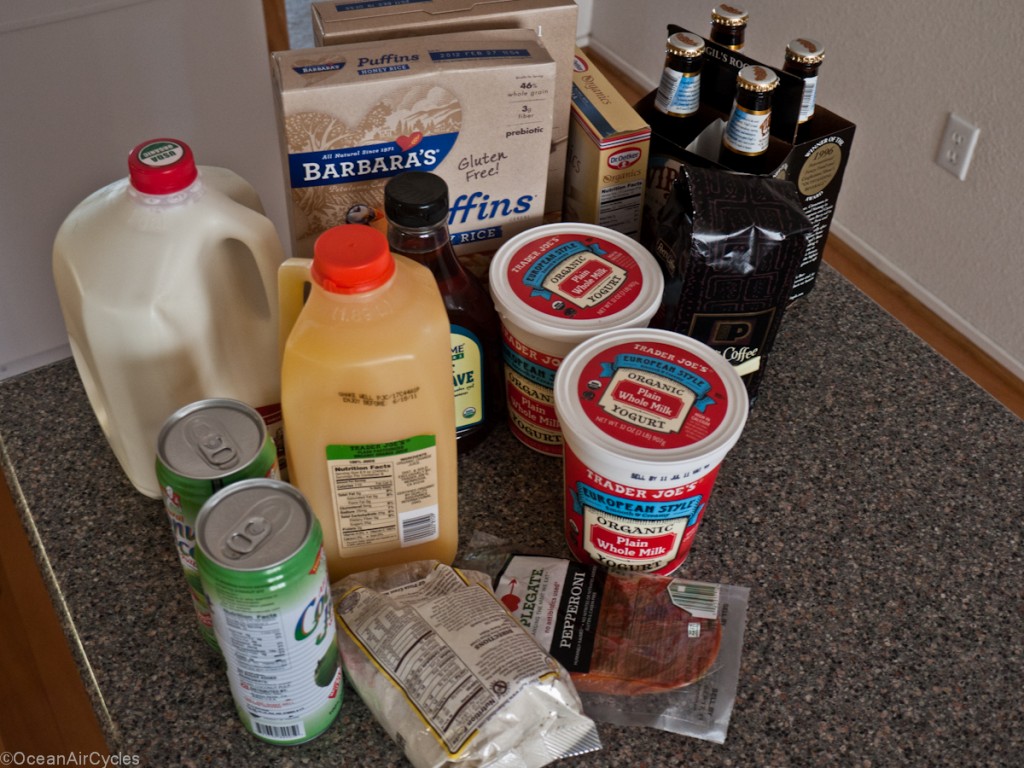
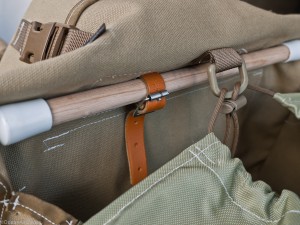
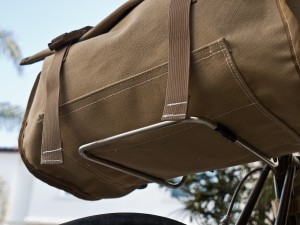
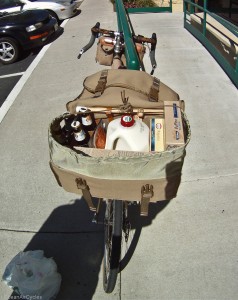 Not too bad fitting the gallon of milk, root beer, cereal and a bunch of other stuff in there. I did not even need to deploy the extra flap to keep it all secure. One of the secrets I have learned with these kind of loads in a saddle bag is placing the gallon of milk right over the center of the bagman or rack support. It is usually regretful to have it off to one side. Next stop Trader Joe’s for some more liquids (read weight)
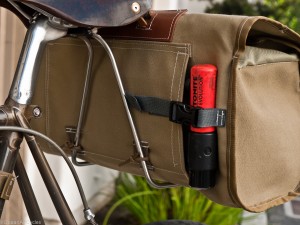
Adding the 1/2 gallon of OJ and two quarts of yogurt was no big deal after a bit of rearranging the load. I was pretty proud of myself, the lock even went easily in to the lock pocket with the bulging load. Then I looked down and noticed the dead flat rear tire. This is when a heavily loaded saddle bag really is a drag.
luckily I was prepared and set to work. Unloading the bag, taking advantage of the quikchainger, everything is going as well as you could hope. It was even simple to find the offending chunk of glass the size of a pencil eraser. I put a little air in the new tube and the fun begins. The threaded chuck on the Lezyne pump unscrewed the valve core upon removal.
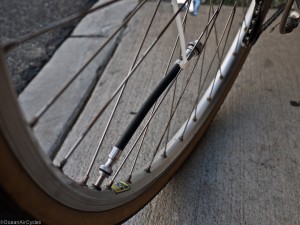 Ok, not that big of a deal, I thread it back in as tight as I can get it by hand, air the tube back up and all appears good for the moment. I get the tube in place, air the tire up a bit, align the bead and decide it would be good to check if I can get the hose off safely. Again the core came out and I am starting over. Working through each widget on my multi tool, I discover that one of the slots on the chain breaker actually can be used as am improvised valve stem wrench. This time I topped it up as best as I could and detached the hose from the pump, not the stem, and zip tied the hose to a spoke. The air pressure in the tube kept the valve closed and the hose was the world’s largest dust cap for the ride home. The last seven miles home were as uneventful as the first 2/3, just a great day to be outside.
This is about the most weight that I would want to carry on the Roadeo The frame bag was bulging with 3 bottles of root beer and two cans of coconut water. The saddle bag held firm and steady with a couple of gallons of liquid and other stuff. The rear tire could have used a little more air to feel secure, but I was happy to make it home without pinch flatting. Even with the minor challenges it still was way more fun than driving the car.
Now it is time to head down the garage, check the field repair, patch the dead tube and tighten some valve cores.
Happy Friday!! Go play outside!
