Deposit Deal Ends Tonight
 A couple of years ago the Rambler was a hope and dream off in the distance
 The ride has gotten started and is coming around the corner fast
The current $75 discount for Rambler Newsletter subscribers ends tonight. While there will be Ramblers for a long time to come, I can assure you they will not be getting cheaper. Think of all the bikes you have passed on and what you could have gotten them for back when you first thought, “God I would love to have that bike”, but did not pull the trigger.
This is you chance to make sure it does not happen to you this time!
Getting the Shot
This one is for all of you out there who carry your cameras on the bike on EVERY ride. Just like saddles and helmets, choice of camera gear and how to carry it can spark endless debate. You have seen the bags I use, but may wonder how I am getting some of the shots you see here on the site.
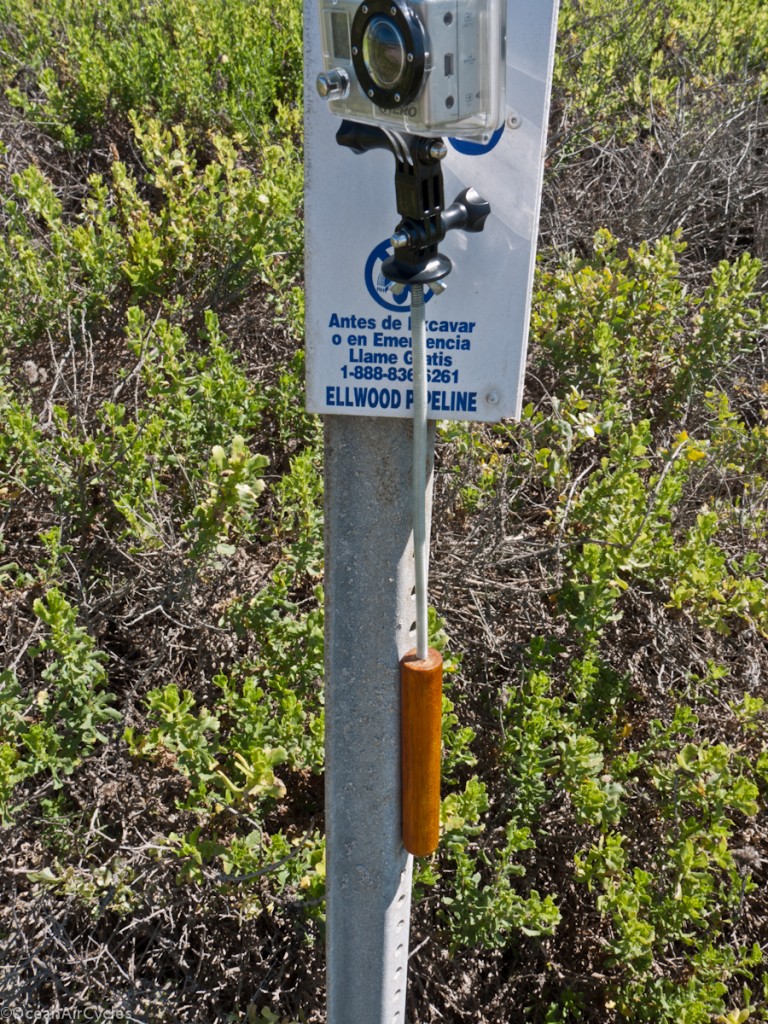
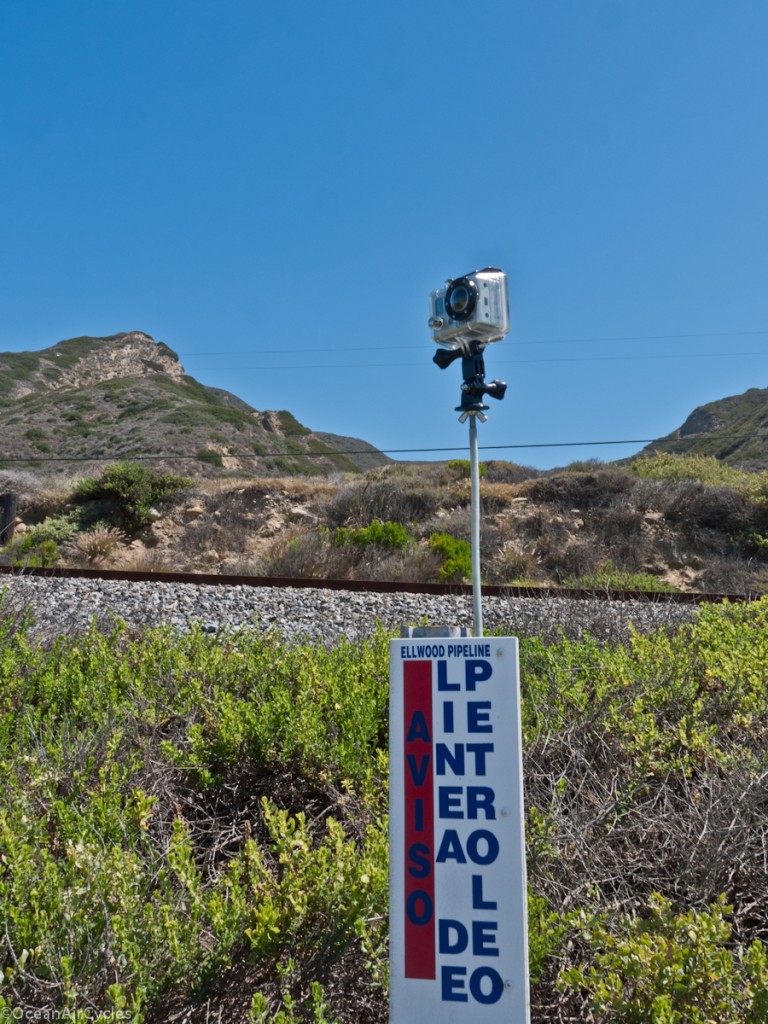
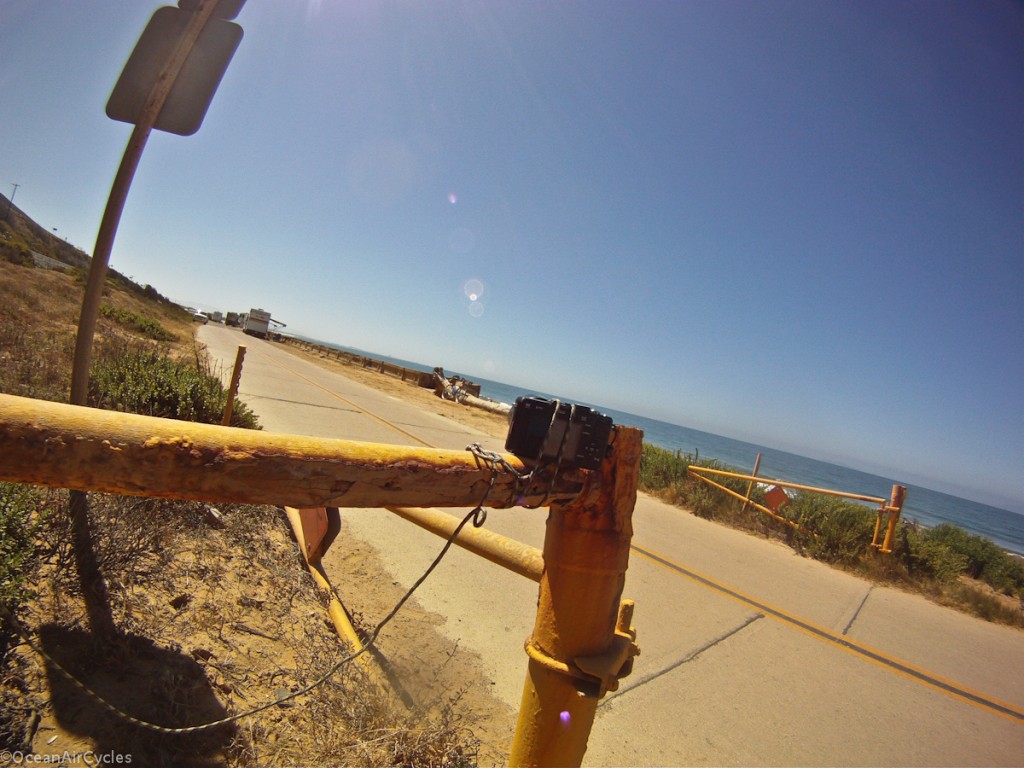
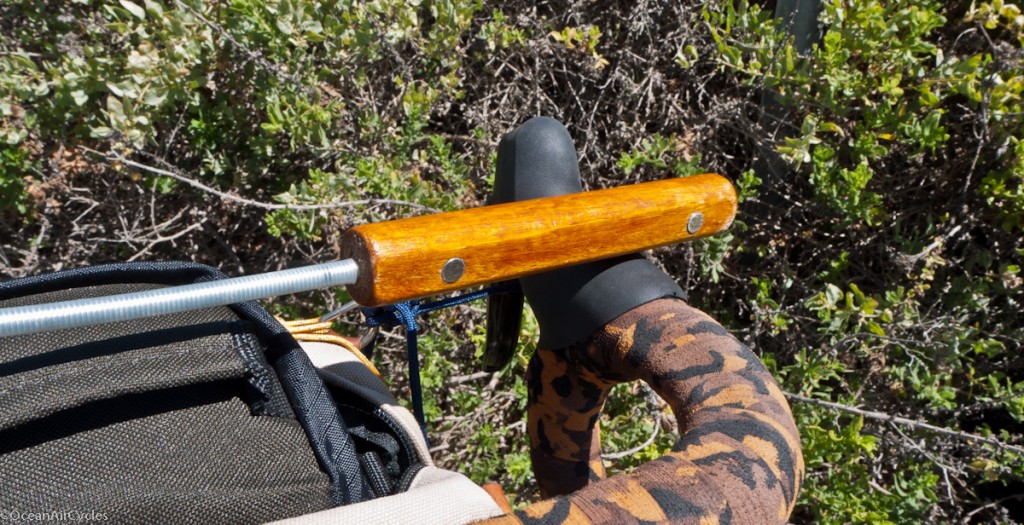
My Kit now consists of two cameras, GoPro and Panasonic GF1. The one that is always with me is the GoPro. Is small, light and so simple you can not over think it. 180deg field of view means you just point it an a direction and work with what you have. I generally set it to capture a still picture every 2 seconds, set up the shot and take a series. Weeding out the best shots during post processing at home only takes a few minutes. I often shoot while in the saddle and moving. To get the camera away from my hand I have worked through a series of short poles. This helps to create an image that transmits the feeling of “being there, with me”, not the usual GoPro point of view shot where you feel like the doer of the activity. The latest poles are about to go into a period of refinement, but I am really happy with where they are at now. The handle has a flat section that helps mentally index the way the camera is pointing without having to look at it. The flat combined with a couple of inset magnets has also allowed me to turn in into a self supporting mono pod with the help of found steel: signs, fence posts, guard rails, electrical boxes etc.
 I still have and use my Joby Gorilapod often. The pole above weighs 1/3 of the gorillapod, has 90% of the usefulness for a camera as light as the GoPro, and therefor ends up in my frame bag on every ride. The gorillapod holds up my other camera, Panasonic GF1, which while half the size of a traditional DSLR is still a tank compared to the GoPro. Then there are the times that you forget the tripod, and just work with what you have.
While not ideal, it did just fine. I was able to capture the image currently serving as the header for r the site.
Such are the joys of photocycycling, the merger of two passions, photography and cycling. The fun only extends into making the gear that works and the gear work for you. Have fun, play outside, and take lots of photos.
Fully Racked up with Bruce Gordon Low-Rider
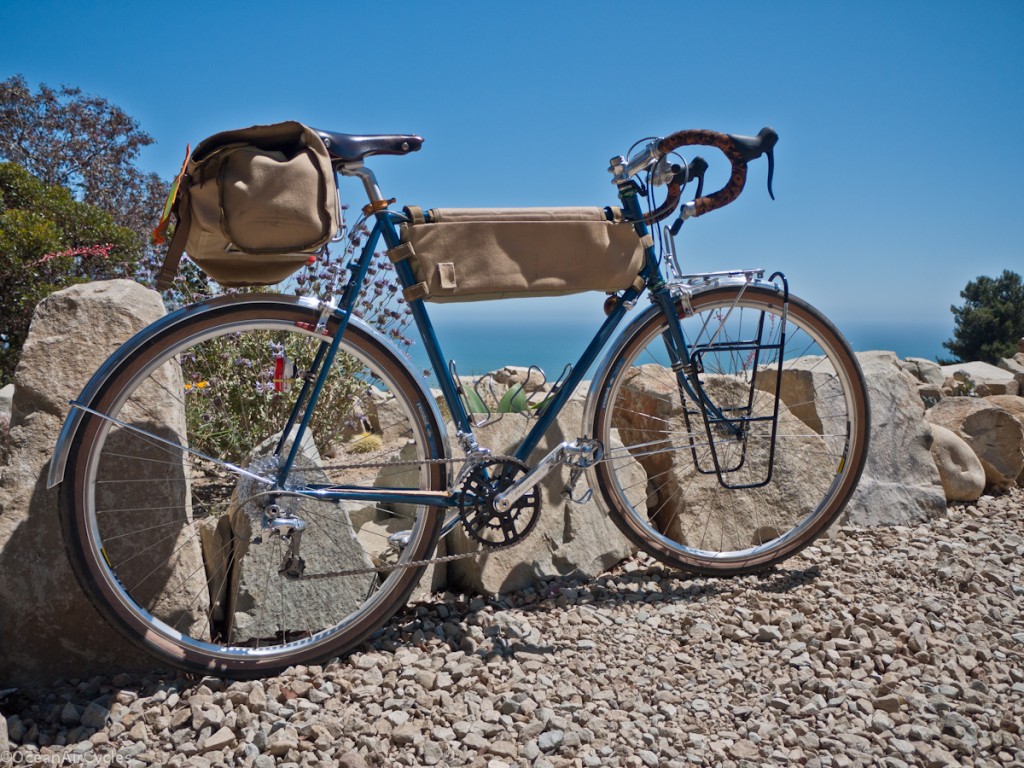
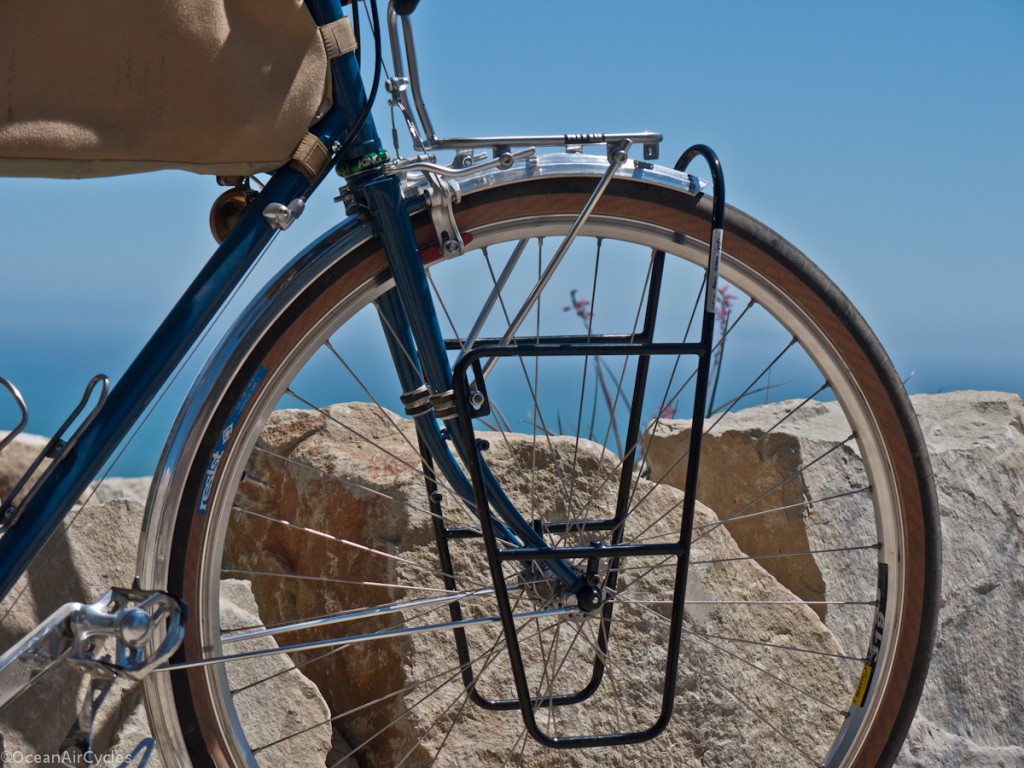
Part two of how I have been racking up the front end of Rambler No.1. Yesterday you saw the Mark’s rack from Nitto. That rack is a great handlebar bag support and for occasional small loads. When I know I will be hauling more volume, and need the panniers, I go with the Bruce Gordon Low-rider rack. Hand welded with aircraft grade 4130 steel in Petaluma, Ca, these racks are IMO the best bang for your buck in front pannier racks. The design is rock solid, the price fair at around $180, and it will likely be the last front low-rider rack you will ever need to buy. If you do need to get rid of it, the used market has been around $120 for as long as I can remember. Here is Rambler No. 1 all racked up:
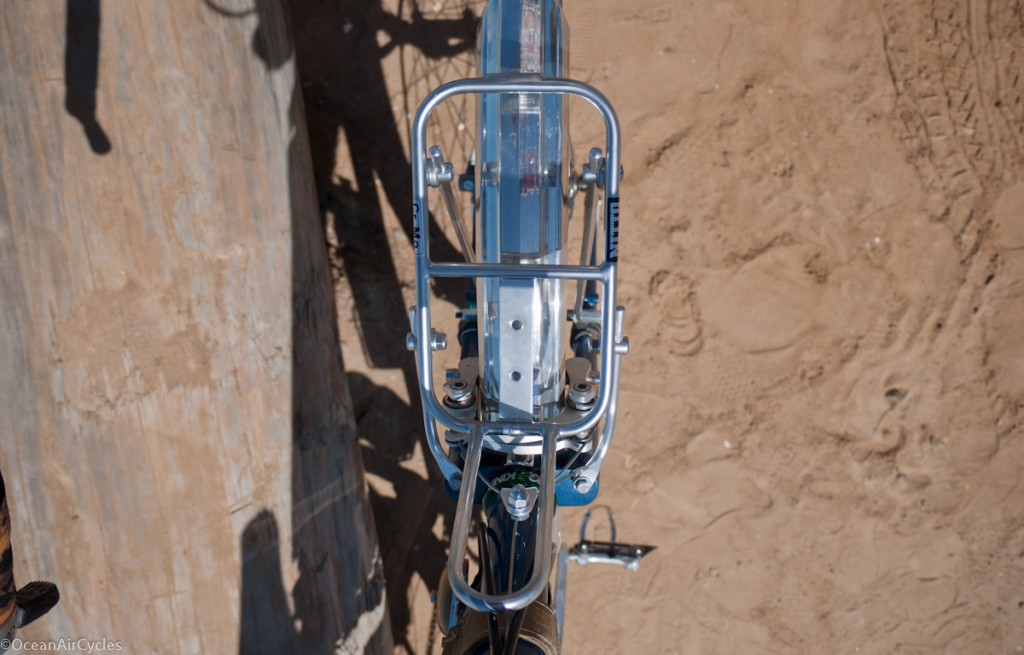
The way I have it set up you can quickly take it off and on without having to alter the position of the upper rack at all. The upper rack mounts to the inside of the fork, the low-rider to the outside. Two nuts at the top and two bolts at the dropout and you are ready to go. Production Ramblers will have the hourglass mount located higher than my sample so that this rack will bolt up right out of the box.
The space between mounting points provides plenty of clearance between the top cross bar of the low-rider and the support struts for the Mark’s Rack. Easy on and easy off for the panniers.
Mark’s Rack Fit on the Rambler
The Rambler while a well handling bike with no load aside from the rider, is designed to ride well with a modest front load. As part of the design there are integral rack mounting points: two eyelets at each dropout, two mid fork hourglass mounts, a hole drilled through the crown at the traditional brake mounting point and two M5 bosses set into the shoulders of the fork crown. One of the questions that keeps comment up with the Rambler is what front rack do I recommend. In particular a rack that will work well with the rack mounting bosses located in the shoulders of the fork crown. While popular among custom bikes of this genre, this mount is less common on production bikes. By providing for two upper mounting points, the rack can be more stable and have redundancy. In the case that one upper mount should fail, loose a bolt etc., you have a second mount in place helping to prevent the load from crashing into the front tire. Trust me, loads into the tire are not a good thing. Solid rack mounting helps to keep things where they belong and you rolling safely.
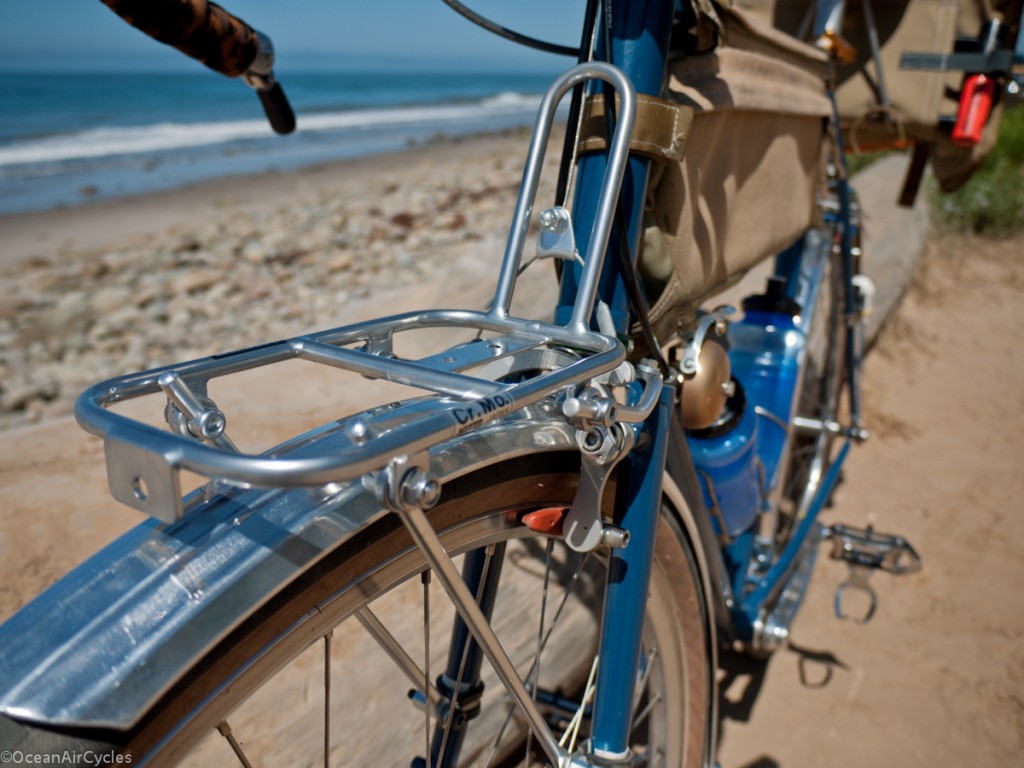
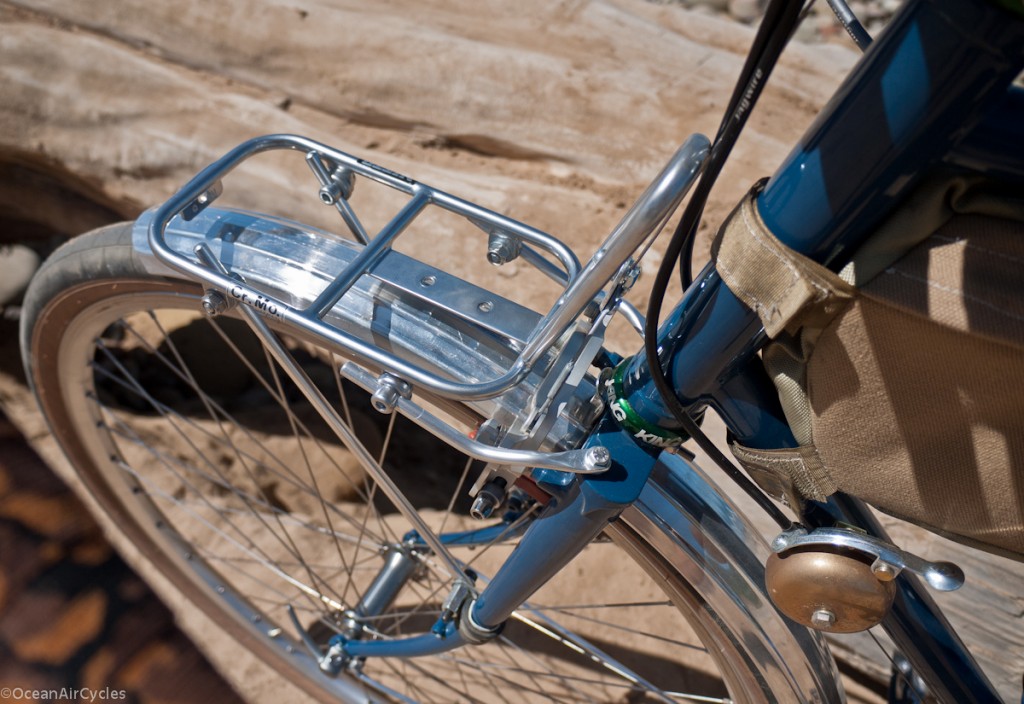
The most versatile and well made small front rack on the market at the moment is the ‘Mark’s” rack produced by Nitto of Japan, and designed by Rivendell employee Mark Abel. This rack is made of brazed CrMo steel with a nickel plate finish for long corrosion free service. The mounting has provisions for four struts and a center bracket to the crown. These options allow it to easily mount to just about any bike as a strong and attractive solution. I have been using it on the Rambler with the central mount to the crown and the two front struts connected to the mid-fork. I recently replaces the central mount to the crown with two aluminum struts between the rack and the upper crown mounting points.
With the mount to the center of the crown the rack was stable, now it is rock solid. I had to reshape the supplied mounting struts a bit, hammer and bench vise. After trimming things to length it all bolted right up. While I knew it would fit fine, it is exciting when a plan comes together. Next, since I have a habit of fiddling with things, I will work out a way to attach the fender r added support and fine tune the fit.
The way I have it set up I can quickly install/remove the Bruce Gordon low-rider pannier rack. I will have a pictorial of this process in the next week. The keen of eye will notice that I have all of this mounted to a band clamp on the mid fork. Production Ramblers will have the hourglass mounted such that the racks will bolt right up. So far little details like this are all that needs to be adjusted between the samples and production. Testing continues, but I am ecstatic with how these are turning out.
