With more Ramblers starting to head out into the world I am starting to get more questions on selection and fitting of accessories like racks and fenders. One of the challenges in transitioning from a one-off custom Rando bike with custom accessories and associated price, to a production bike like the Rambler and fitting production accessories, is the fact that said accessories will likely need a bit of adjustment for an optimal assembly. I will start working through these one by one, in bite sized pieces, tag them and then add them to the site as summaries.
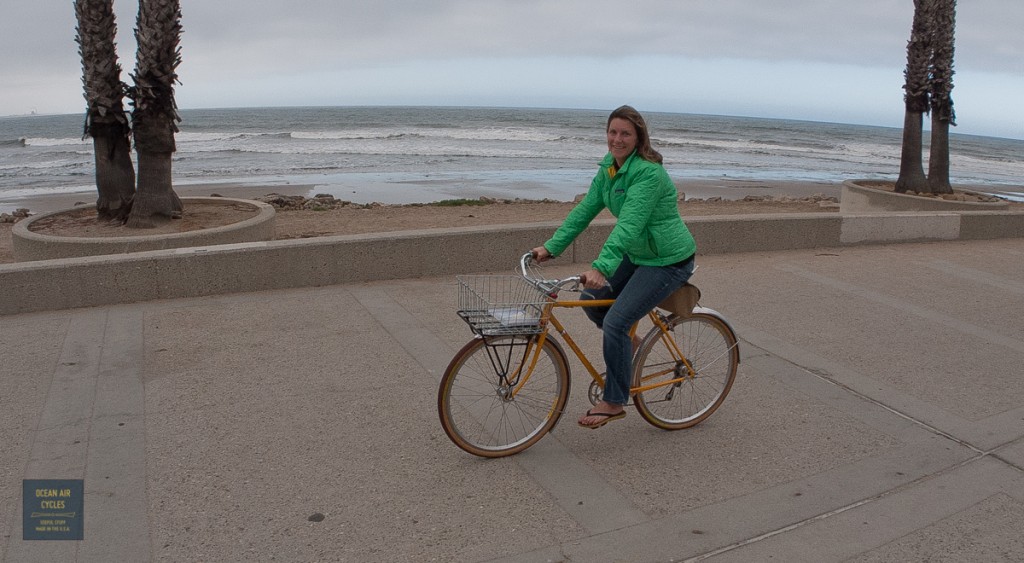
The first installment is related to Porteur Racks. These are most commonly used with an upright “CityBike” or Porteur build. The rack has a larger platform that will carry any thing from large loads, purpose-built bags to the best basket support you had ever imagined. A strong support for the load will reduce wiggle, and help with better handling. Here is a Rambler set up this way:
 Of all the commercially available options on the market I have been the most happy with the Soma racks. They are well made, stout tabs connecting to the dropouts, and have a position to mount panniers if needed. The down side is with out of the box fitment. The top is designed around a center point mount to crown, and here at OAC we much prefer two point mounting at the top. The double mounting points provide greater stability and redundancy in the event of hardware getting loose. The center mount can work, but experience and testing have proven that is not as stable.
I am in the process of installing one of these racks on a first generation Rambler for testing and will document the process. Today I will start with the adjustments I make to the bottom mounting points.
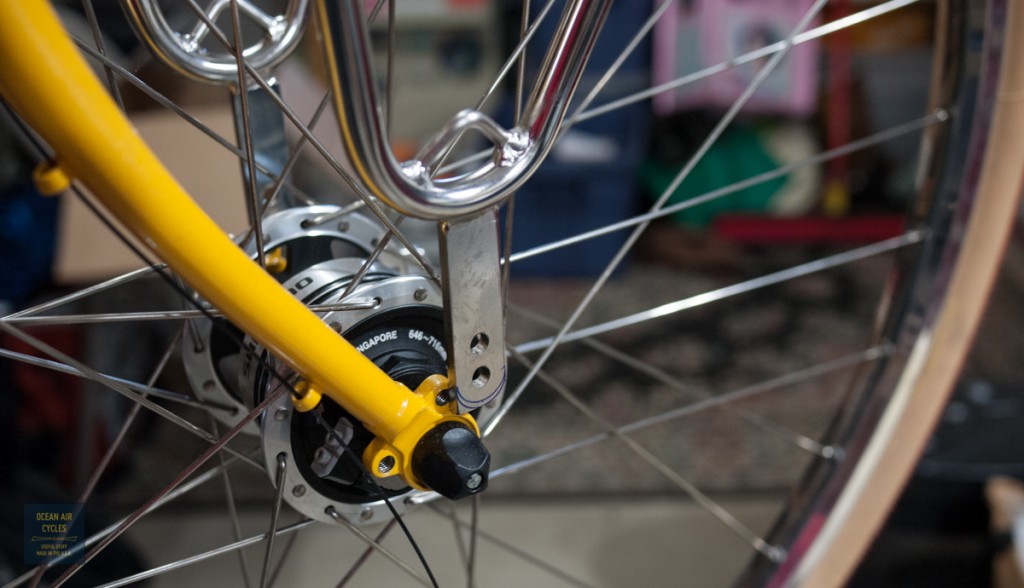
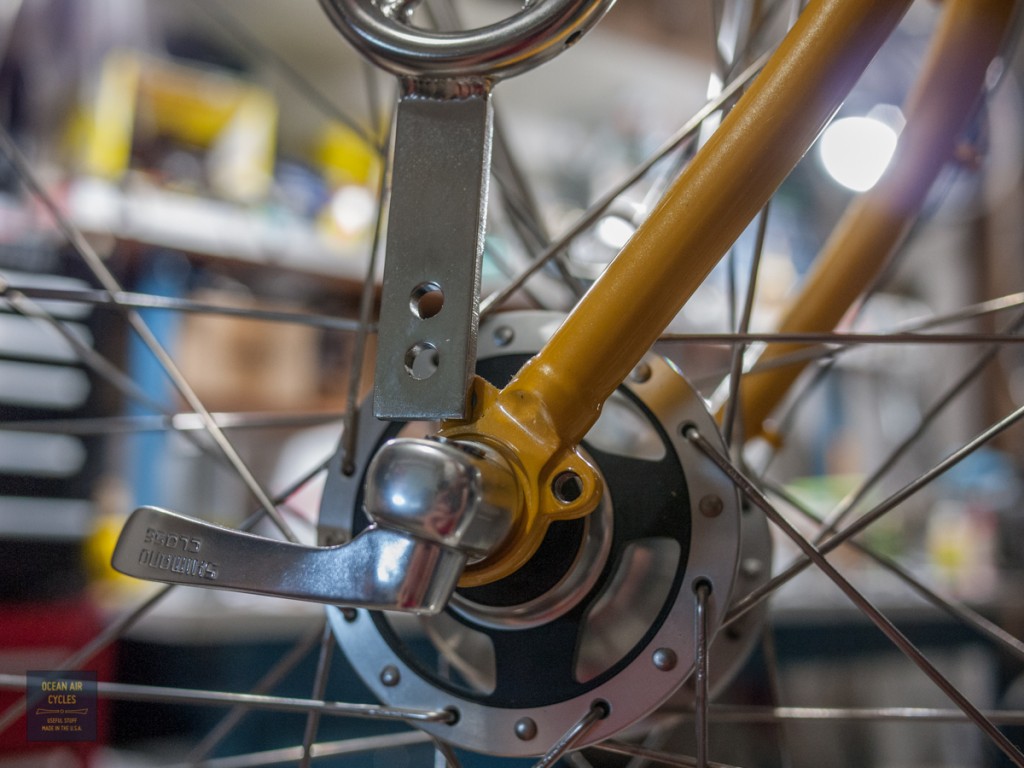 Out of the box the rack comes with the welded tabs a little bit long. The are by design intended to have extension feet bolted on and extend to the front hub axle. IMO this is overkill for the loads that 90% of users will be carrying and I modify the rack to connect to the connecting point on the front dropout. To avoid interference with the front hub mounting a bit of the tab needs to be removed. Mark the tab to indicate where material removal stops, and then start at it with files or tool of choice, that is up to the installer’s tool and skill set. I usually do this with files and a bench vise to hold the rack. If the rack is one of the non-stainless steel versions I would also recommend touching up the paint on the cut edges.
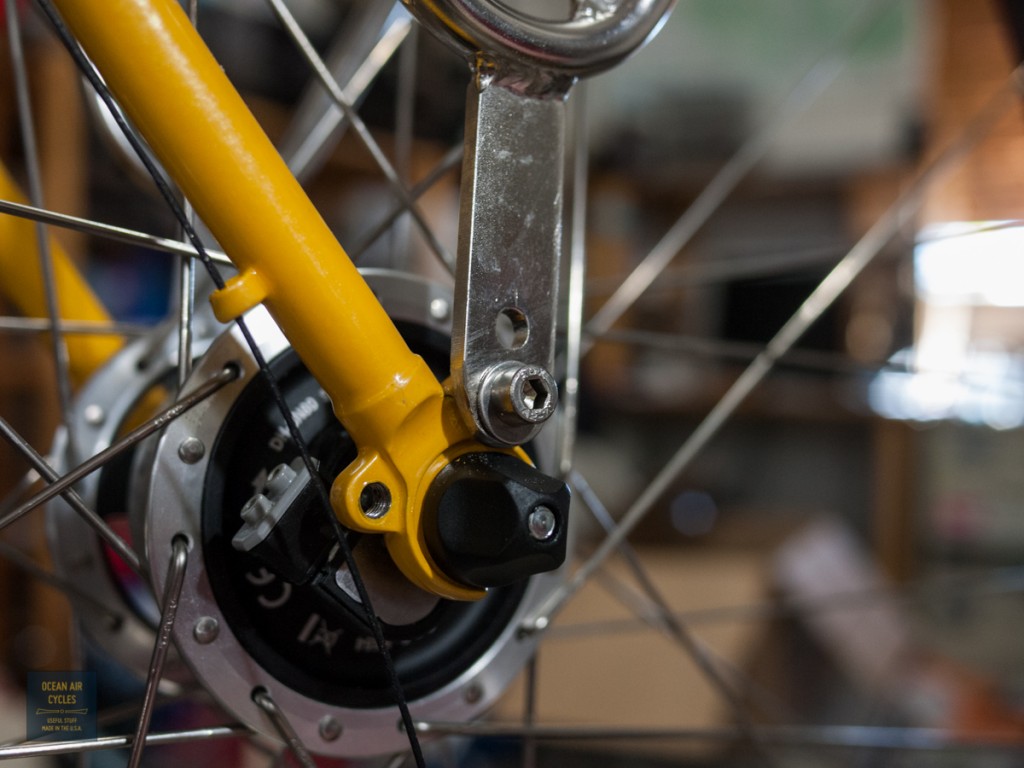 The end result is a solid and neat lower mounting, and no interference with the quick release hardware.
I will take a minute to spotlight one of the refinements between the Generation 1 and current Ramblers. The above fitment still requires a small spacer between the rack and dropout to clear the general shape of the dropout. The latest generation of Ramblers has a stainless steel dropout that is better shaped for rack and fender mounting.
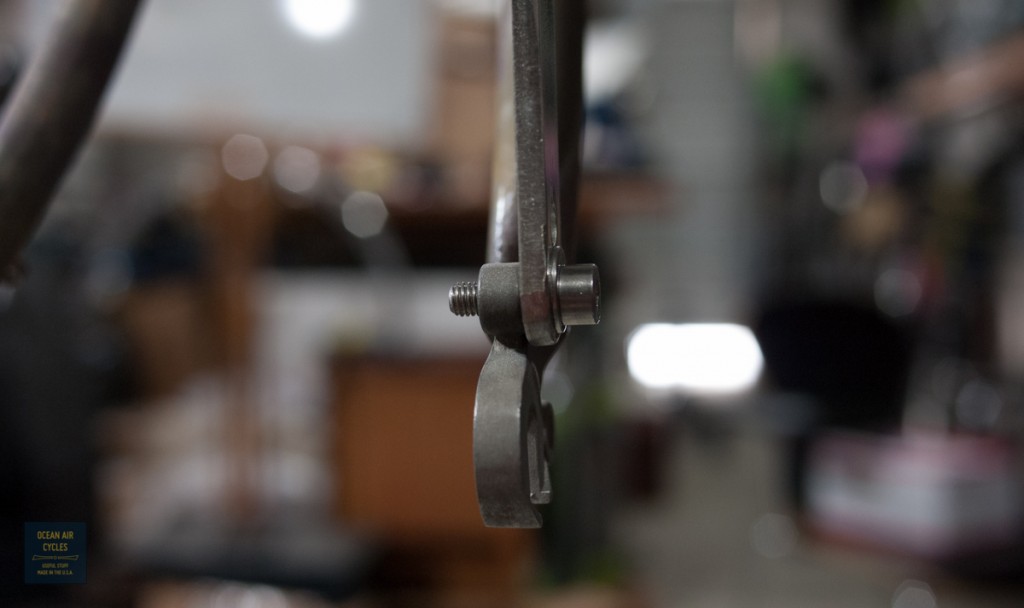
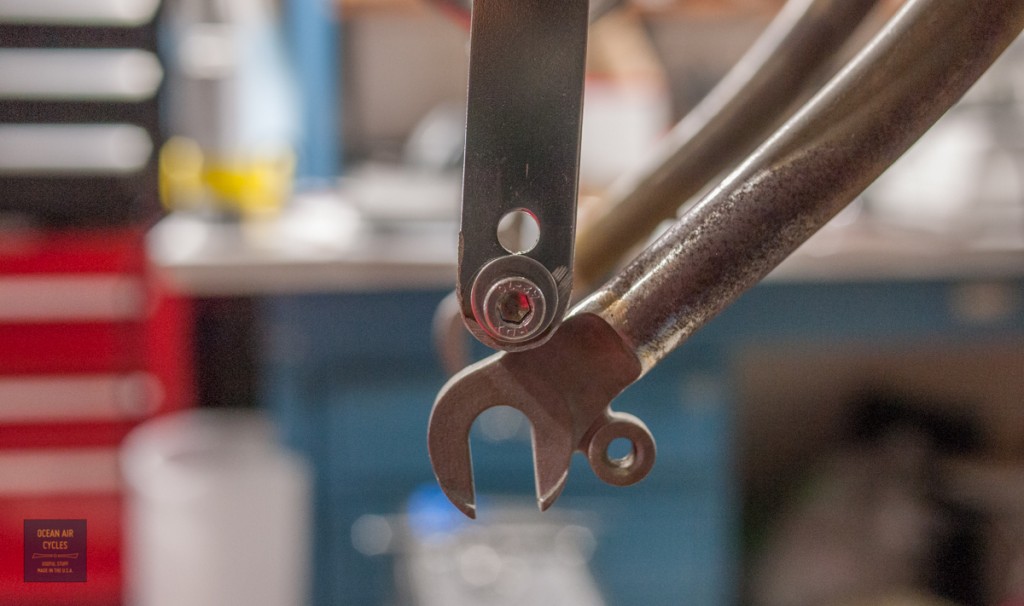 These better facilitate this style of rack mount as well as using all of the Soma hardware should you choose a mount with full axle support of the rack.
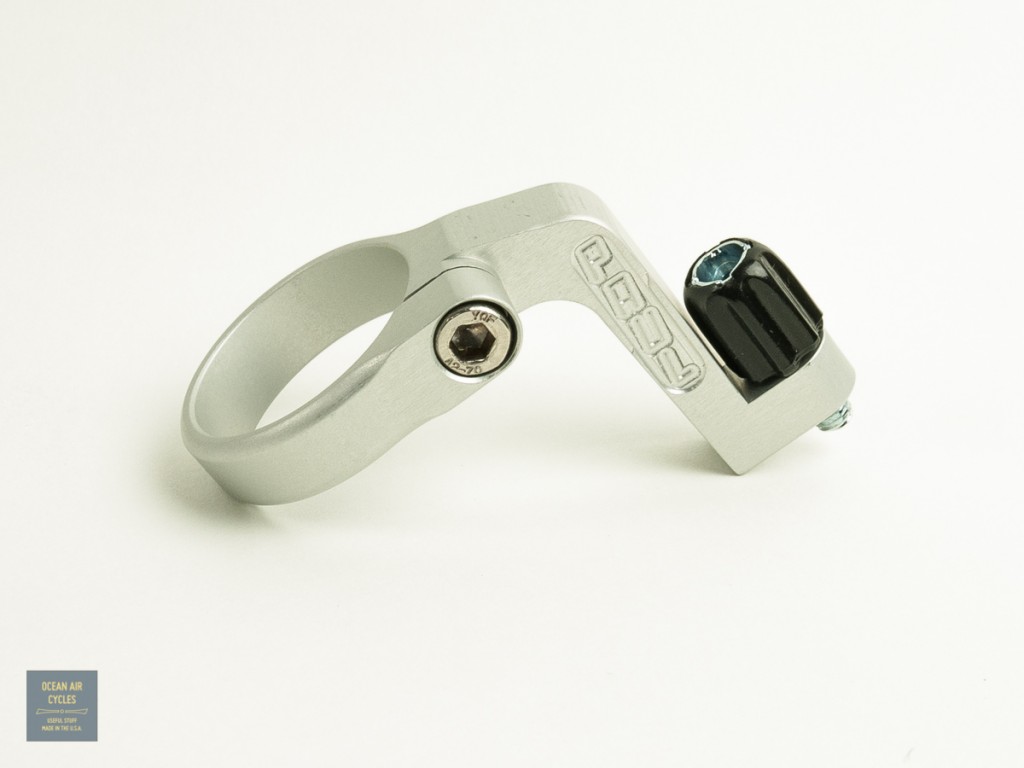
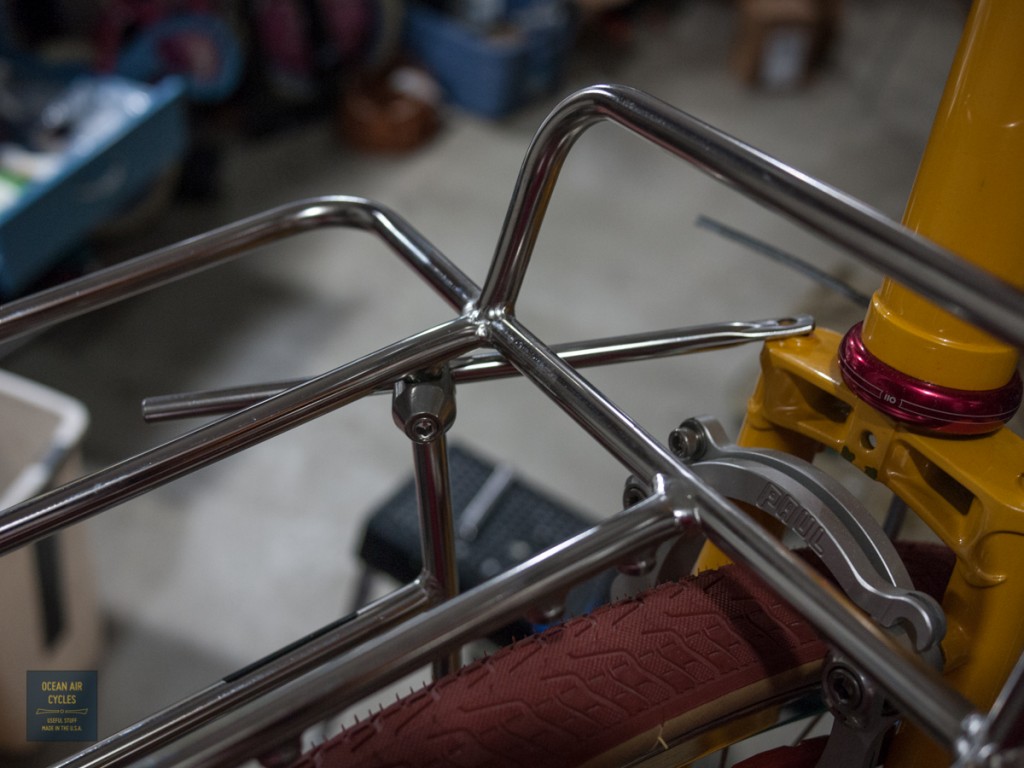
The upper mounting can be solved in a variety of ways, from using the stock hardware, welding in additional struts or additional hardware that is on the market. I will address all of these an a separate post. That said here a teaser shot of some hardware we are setting up for testing, there is still some work to be done with the mock-up.
 While there are tools in the storefront software, some part of their logic keeps alluding me, and there have been glitches, most I do my best to make right, i.e. we usually eat the shipping. As part of keeping this a business and not just a labor of love I need to get this part sorted out.


