Blemish Rambler Sale

Update, Both Bikes Have sold – Thanks!

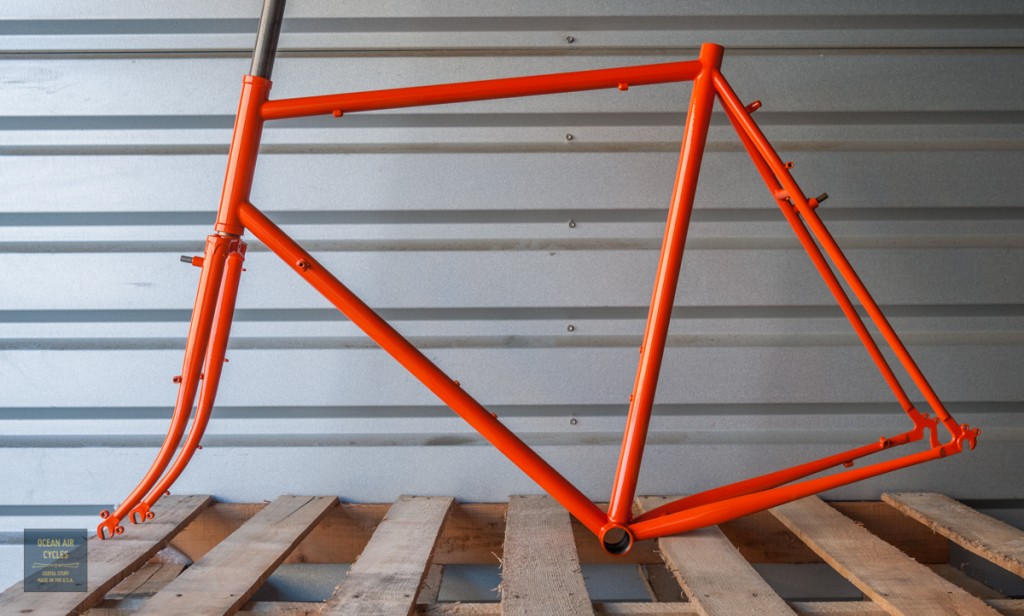
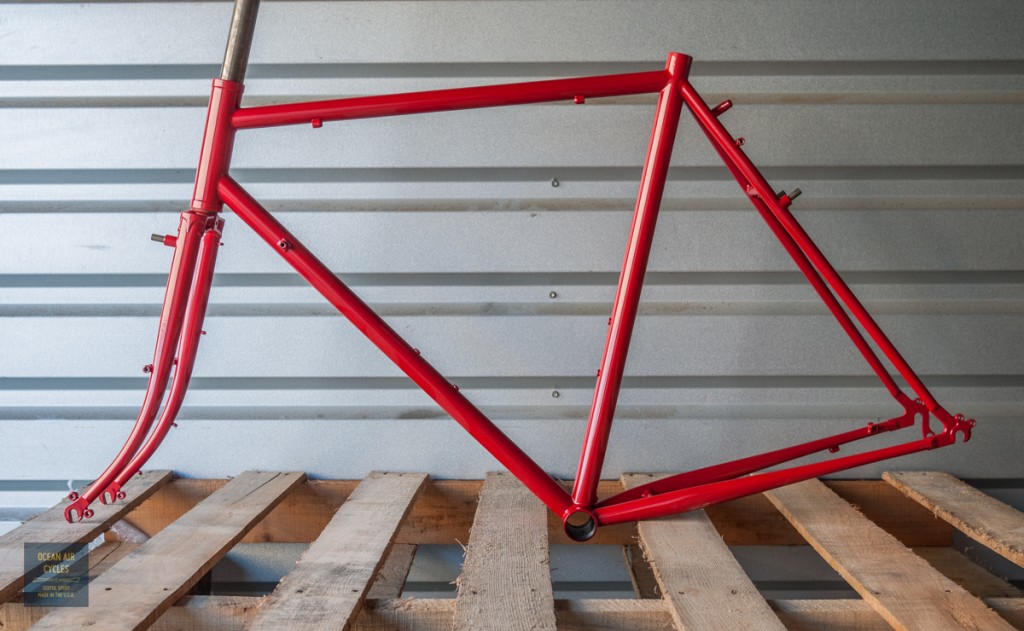
We have two Rambler blemish frame sets that are on the storefront at what I think is a smoking deal.  $1049 with free US Shipping until November 1, 2013.

In all mechanical ways these are the same as our first quality Ramblers.  They have a couple of blemishes in the Powder Coat that made it through the QC system.  While I could go through the work of sending them back through, I thought I would offer them up at our cost to get otherwise perfectly good bikes out into the wild.

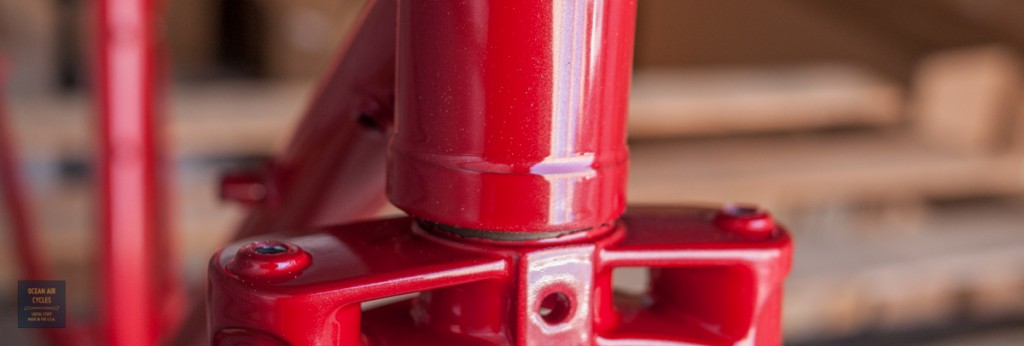
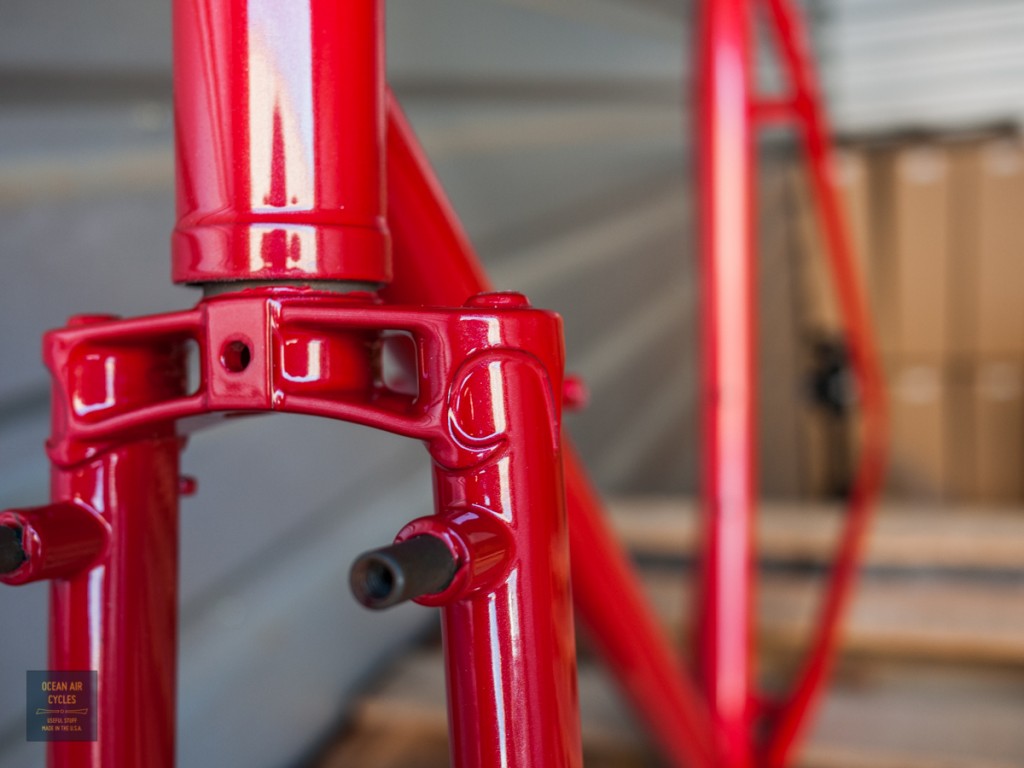
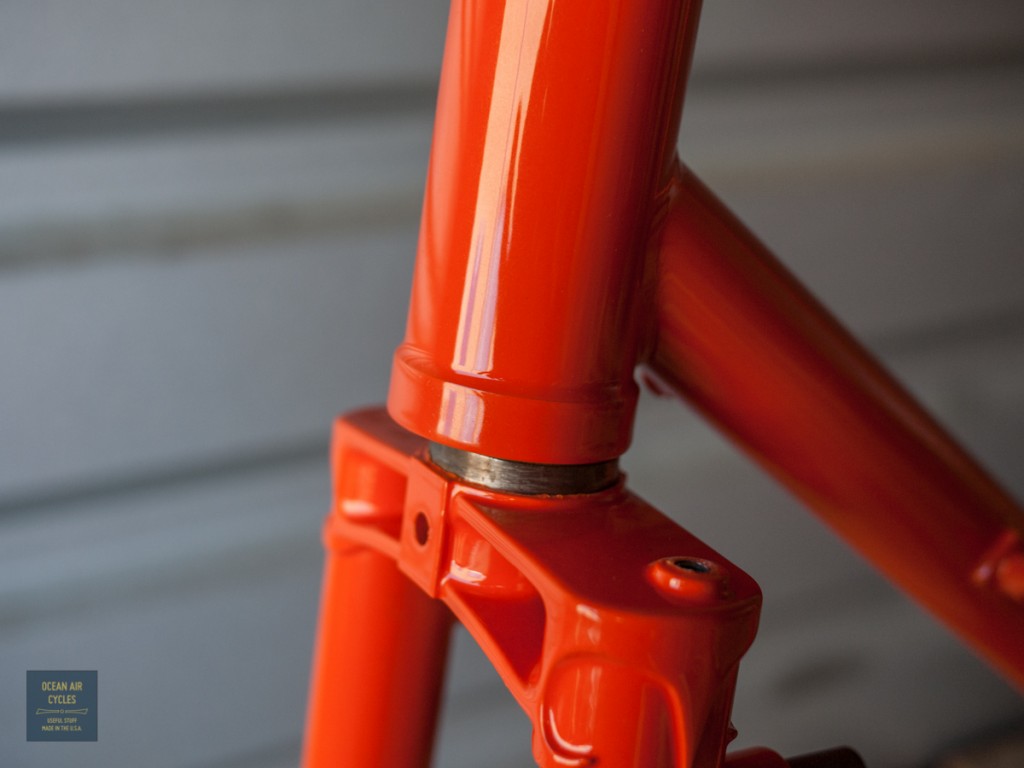
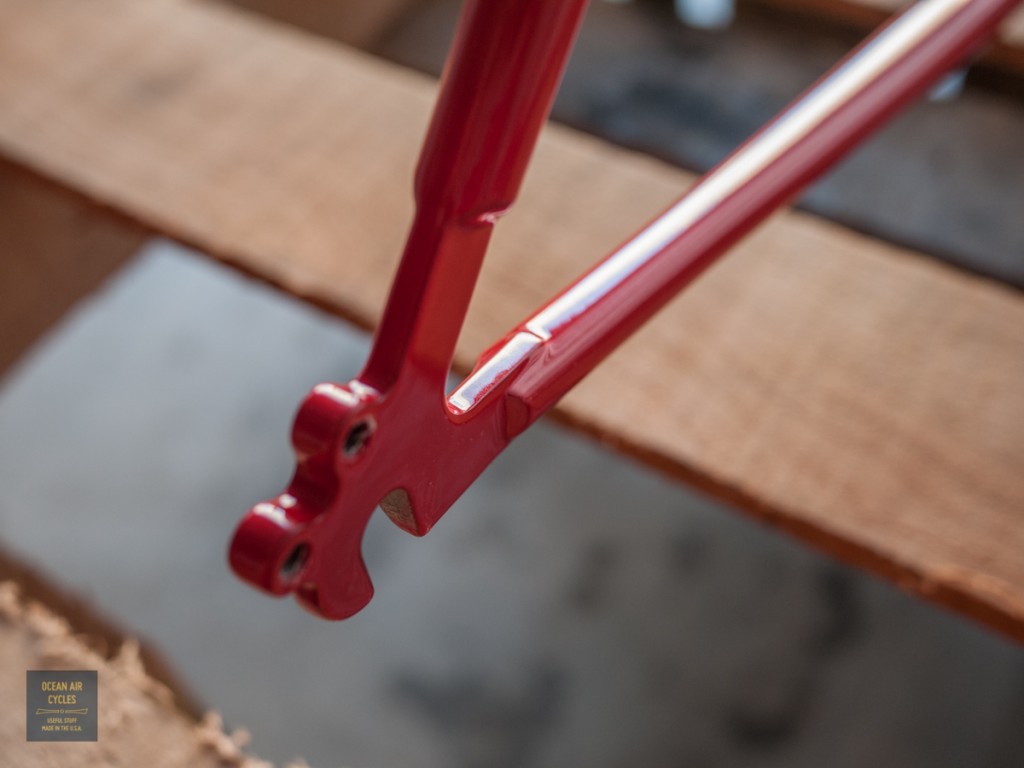
The True Red 55 has complete coverage of powder.  One of the challenges with the clear top coat has been the pigment layer pulling back at sharp edges.  The clear provides the needed coating, and there is no bare metal exposed to the elements.  The look for lack of a better word is antiqued.  The pictures tell the story.

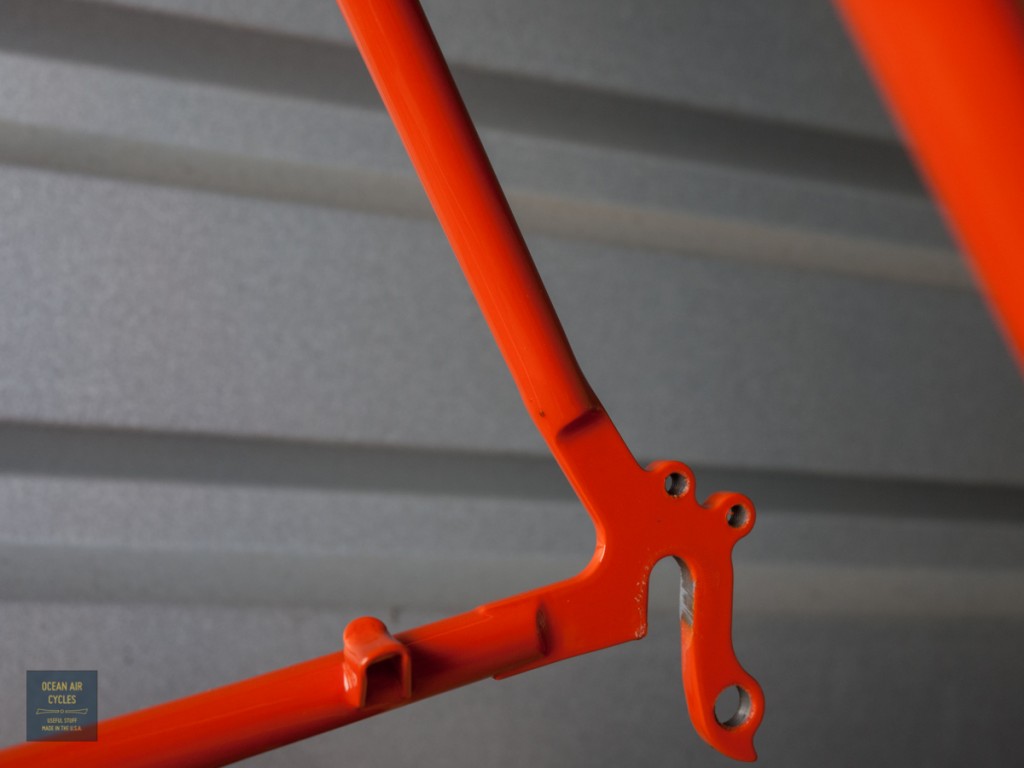
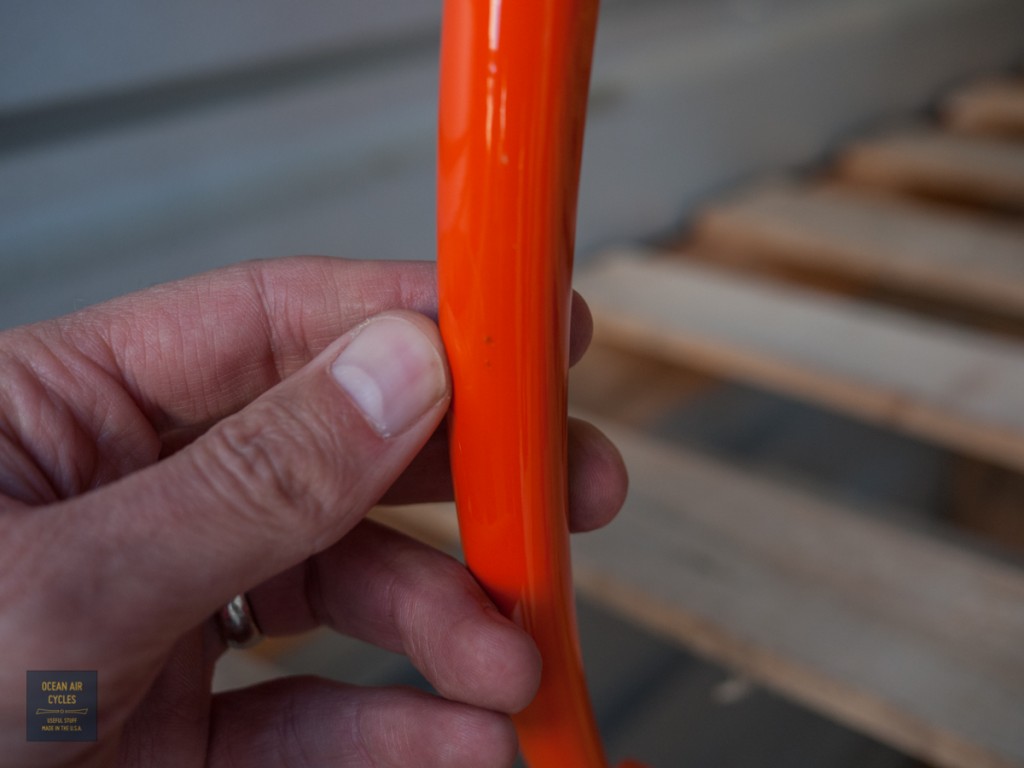
The Orange Soda 63 has the similar issue with pulling back of the color layer, though not as prominent as the True Red.  In addition there are two small spots where there was either a spec of dirt or un-sanded nub on the steel, resulting in a raised bump/protrusion in the coating.  The flaws are about the size of a mechanical pencil lead.  They can be touched up with clear nail polish, and will not impair the performance of the frame.

Both bikes include the Paul Racer Brakes, and are being sold as is.

This is a heck of a deal IMO.  If you wanted you could even get the farm chemical stripped and wet painted and still come out under the cost of our current Ramblers.
10.24 blems WP-1140753 10.24 blems WP-1140755 10.24 blems WP-1140756 10.24 blems WP-1140757 10.24 blems WP-1140760 10.24 blems WP-1140761 10.24 blems WP-1140763 10.24 blems WP-1140765

Carrying A Pump on the Rambler

it is time to address how to carry your pump on the Rambler.  The air pump for fixing flats can be a contentious issue.  Not quite as volatile as saddles an handlebars, but there are still strong feelings with regard to mini or full frame options as well as the now common CO2 cartridges.  Personally I have never fallen in love with the full frame pumps, and tend towards the hybrid mini pump with a hose.  These get me an acceptable inflation speed and are easy to use with close to zero chance of tearing off a valve stem.

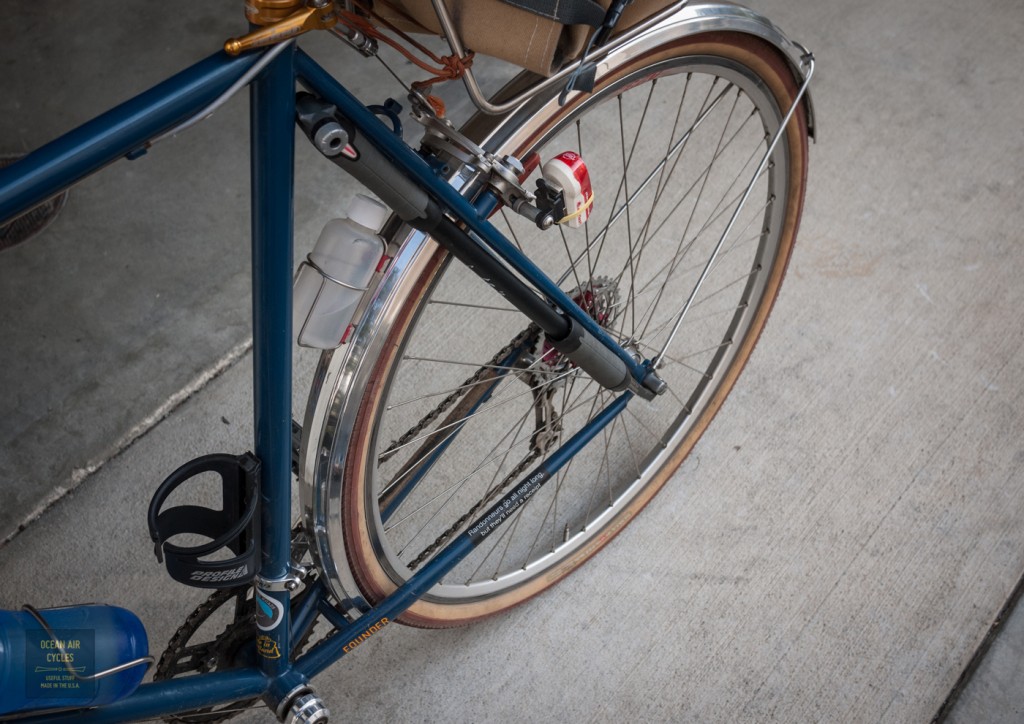
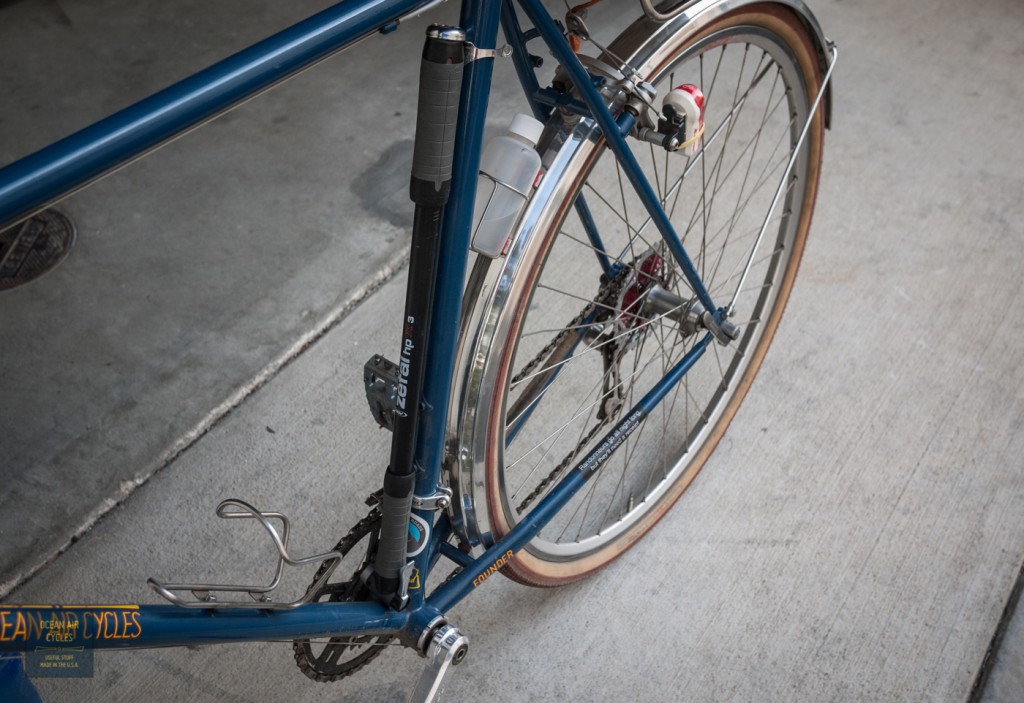
10.23 Pump-1140766With my bias towards this pump as well as frame bags, the long narrow bag often seen under my top tube, I decided to omit a frame pump nub on the Rambler.  The nub will rapidly wear a hole in most frame bag materials.  That said there are still a couple of ways to get a frame pump on your Rambler.  The first is between your rear axle quick release and the seat tube weld cluster.

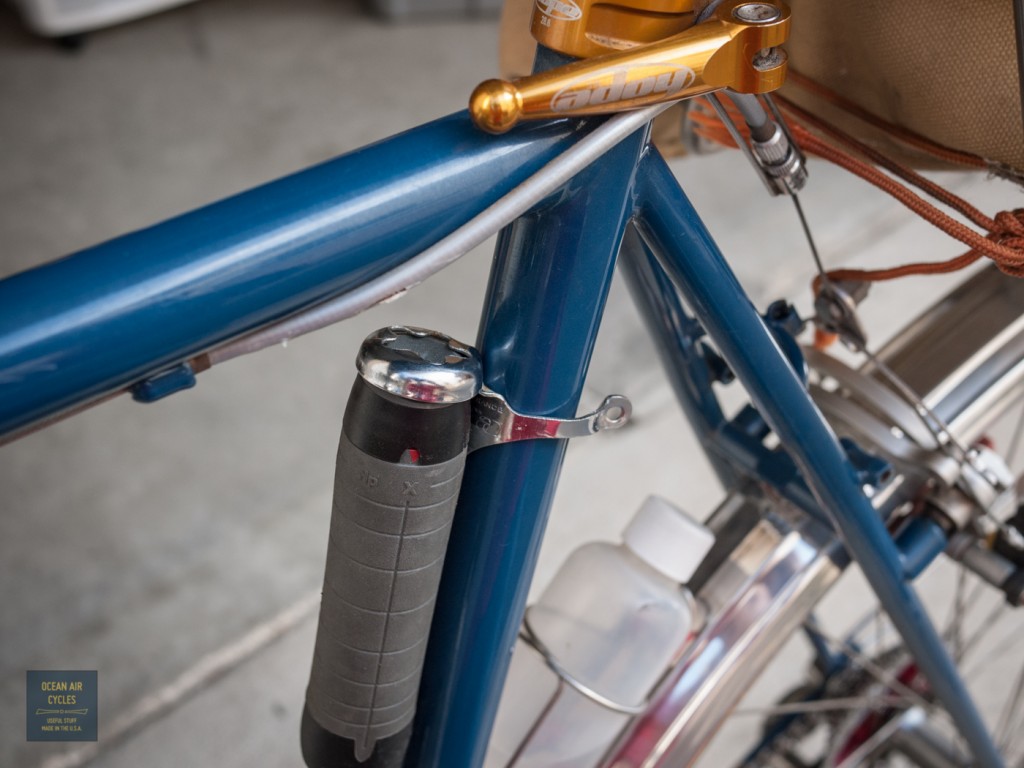
10.23 Pump-1140767I have used this method in the past with great success, on and off-road.  In general I would strongly recommend a velcro strap between around the pump and seat stay as a secondary bit of insurance that it does not self deploy.  The other options involve old-fashioned clamp on bits.  Either the once ubiquitous “umbrella holder”

10.23 Pump-1140768 10.23 Pump-1140769Or one of the clamp on pegs sold by Zefal.  On the 650b models there is also generally sufficient room to mount the pump on the rear side of the seat tube.

Collisions and Clearances

The Rambler has a great deal of subtlety in the design that may go unnoticed at first glance.  From time to time I will call these details out to better explain some of the thought and detail that went into making these frame-sets as good as they could possibly be.

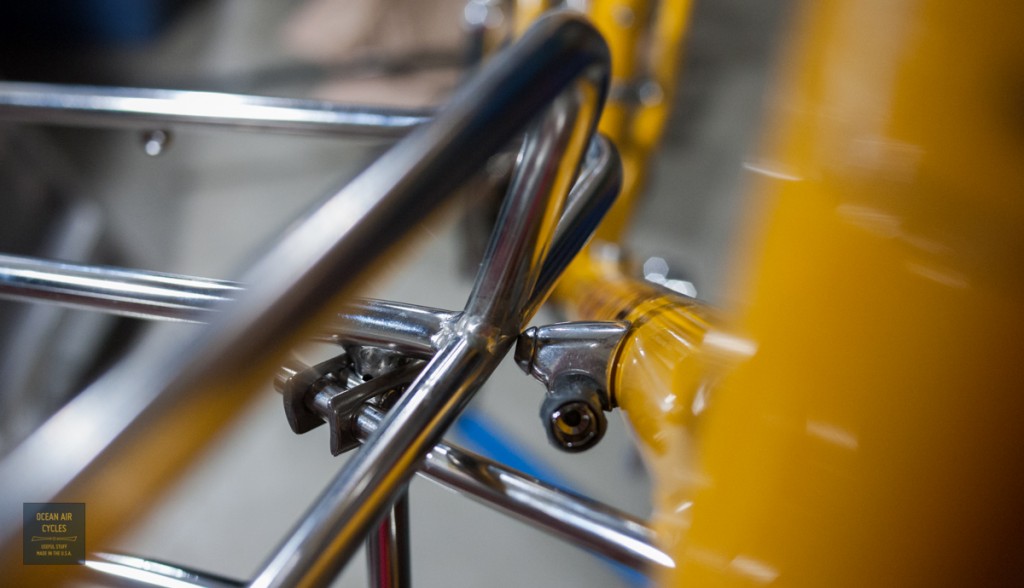
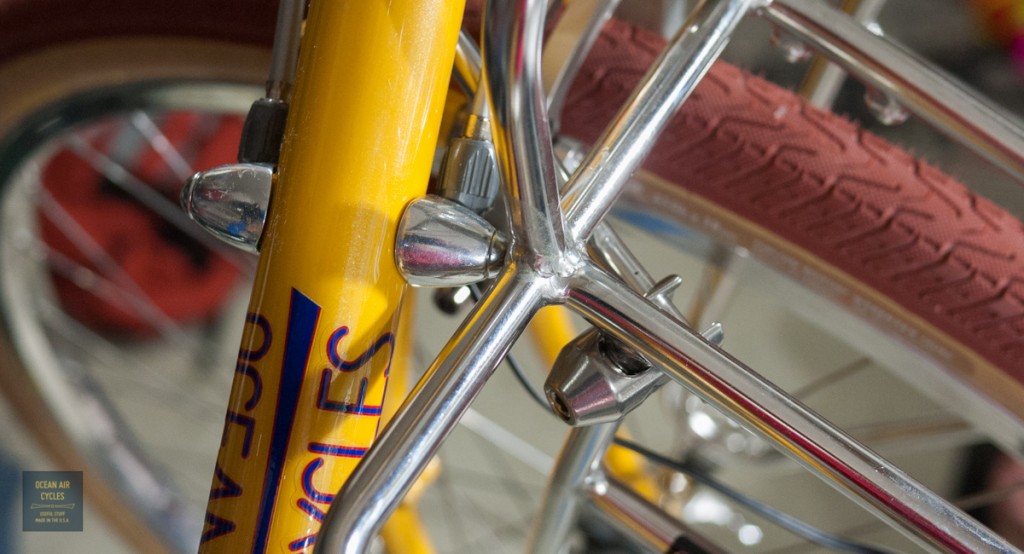
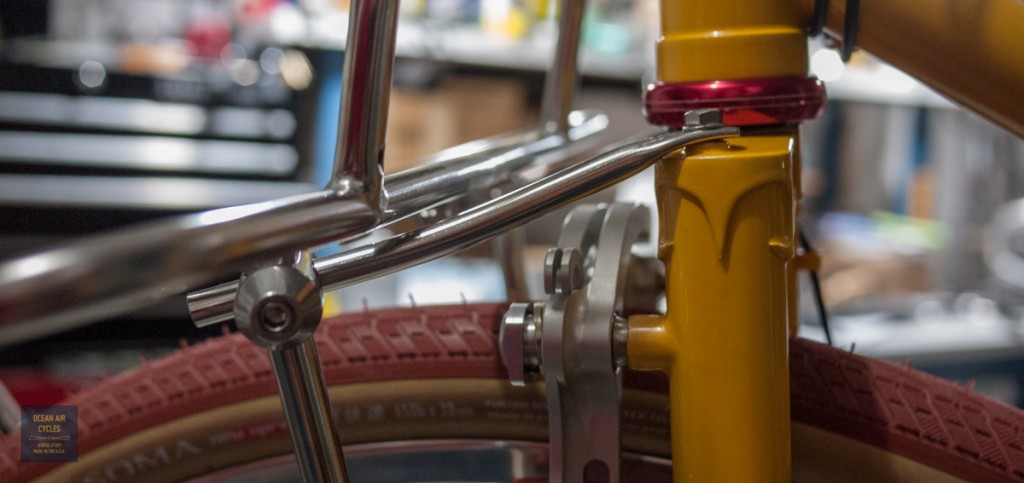
In the previous post I mentioned the added benefit of using dual crown rack mounting points for added stiffness and safety.  This design feature adds a secondary challenge learned from previous attempts at this design by other makers.  As the front rack swings through its arc of rotation around the steering axis there is the potential for a collision between the rack and frame tubes.  With some designs this can occur both at the mounting bolts as well as at the down tube below the shifters.  A collision at these points often leads to a dent in this highly stressed region of the bike, and dents here often lead to fracture or buckling of the tubes, not good at all.  There is a clear analogy to this and standing on an empty soda can.  The can is quite strong until you make a small dent in the side, at which point the can generally collapses under the load.

The Rambler design addresses this at both locations.  The angle and spacing of the head and down tubes is such that there is a generous margin for the rack mounting bolts to clear, without degrading the aesthetic of the bike.

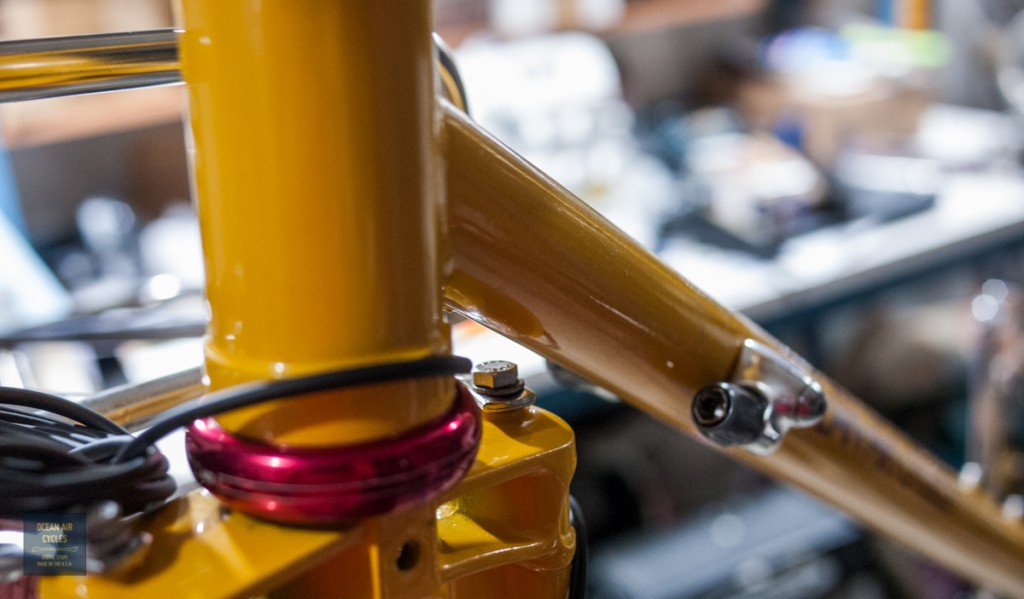
10.19 crown details-1140727We addressed the second collision point, the rack and down tube with the position of the shift lever boss and tube butt location.  By moving the boss down from its traditional location a little more than a cm, the rack will hit the boss before it hits the tube.  While any hard collision here is not great, the boss will distribute the point load of the rack tube over a greater area and reduce the chance of a dent.

10.19 crown details-1140723 10.19 crown details-1140728Details like this are part of what sets the Rambler apart,  building in safety and longevity for the frame.  Our pointing them out will help you to be a more educated consumer in the market place.  Adding integrated features like rack mounts, lighting wire guides and fender mounting points all come together to help build a better complete bike, a bicycle that can act as real transportation and not just a hanger for a bunch of clip on accessories.   The trick is in getting the details right, and we did with the Rambler.

Upper Porteur Mounting

Earlier we had talked about fitting the Porteur racks at the front dropout, and today we will be showing how to get this done up at the top.

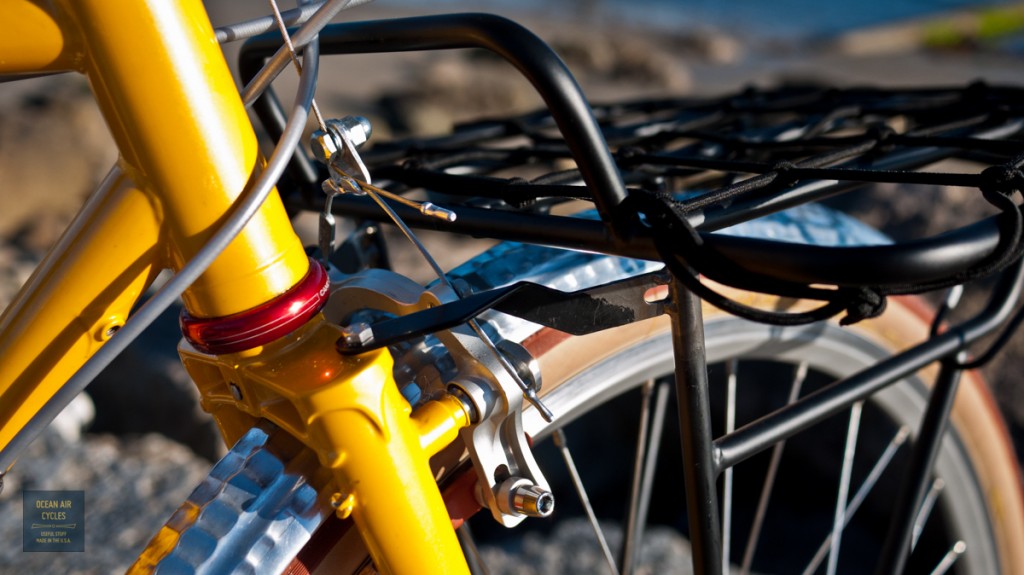
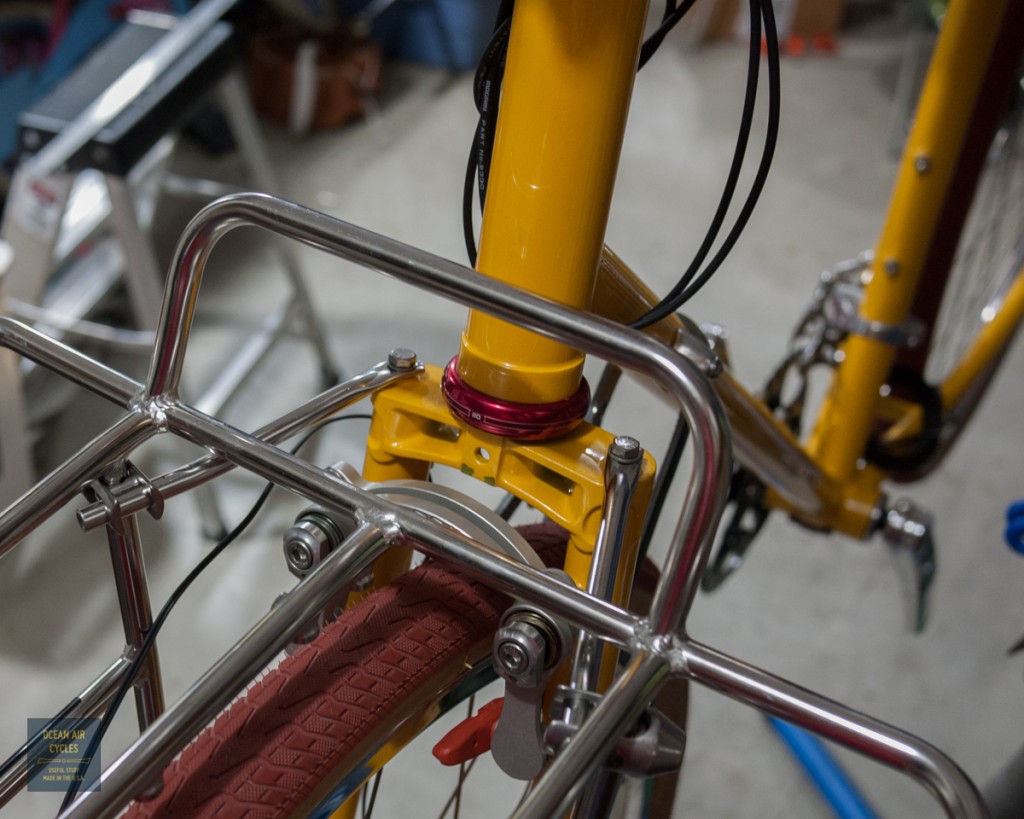
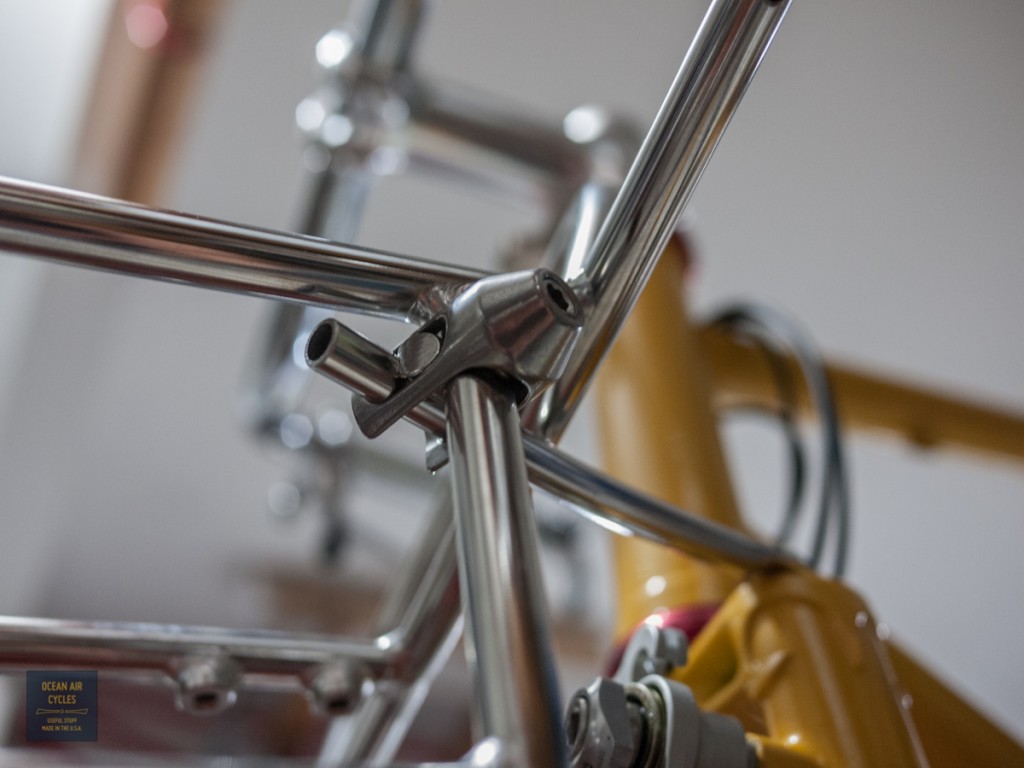
This is another area that we feel the current racks on the market fall a bit short.  Most of the commonly available racks, VO, Soma etc, are designed to work with a single tang connected to the center of the crown.  This works, but not as well as it could.  It leaves the rack a bit wiggly, and leaves only one chance for loose hardware to become a really big problem.  We designed the Rambler with dual mounts at the crown.  This provides engineering redundancy in the  mounting as well as greatly added stiffness.  The fork crowns with this mount are open to all, this is not something we invented, but hope that will become widely adopted.  The downside to this is that the current racks on the market need a bit of adaptation to integrate with the improved mounting.

Our first solutions involved the addition of struts welded in place.  This has worked very well and if you have access to somebody with the metal fabrication skills needed to make this work I would recommend going this route.

10.17 prack mt up-1100660We realize that not everybody putting a Rambler together at their home workshop or even having their local bike shop buildup their Rambler has the resources to do this.  While searching for a suitable hardware, nuts and bolts, solution we were turned on to  the hardware kit sold by Surly for their rear rack.  This has proven to work quite well, the struts included in the kit only need a bit of bending and trimming, and it all bolts right up.

10.17 prack mt up-1140681 10.17 prack mt up-1140721 10.17 prack mt up-1140722Like al bolted hardware on a bicycle this will need to be checked regularly, but in practice has proven to be quite robust, and will work with all of the commonly available racks on the market.

Our long-term goals include the development of our own racks as well as partnering with existing producers to help their future racks work with this system that is both safer and more stable.

Coffee Outside

Things are busy, and I jyst realized I now have two wednesday blog posts back to back.  That means I need to catch up on the promised technical articles.  Until then….

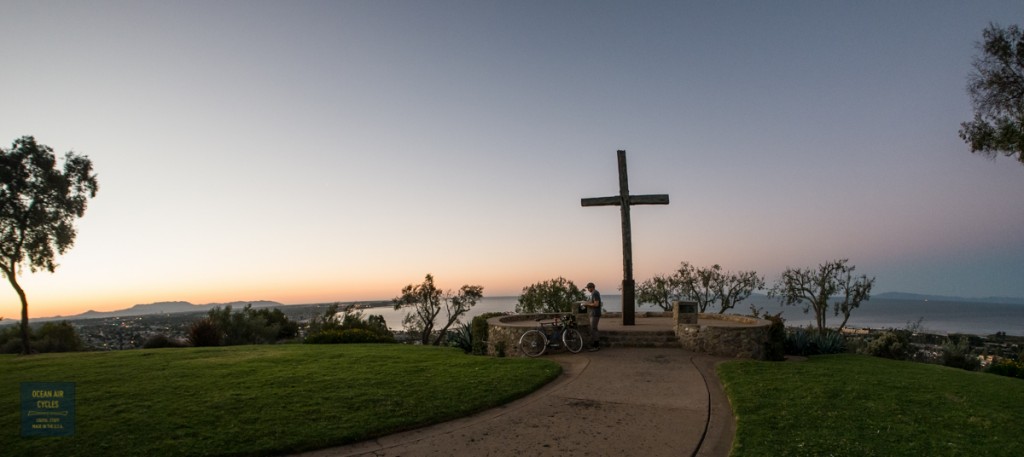
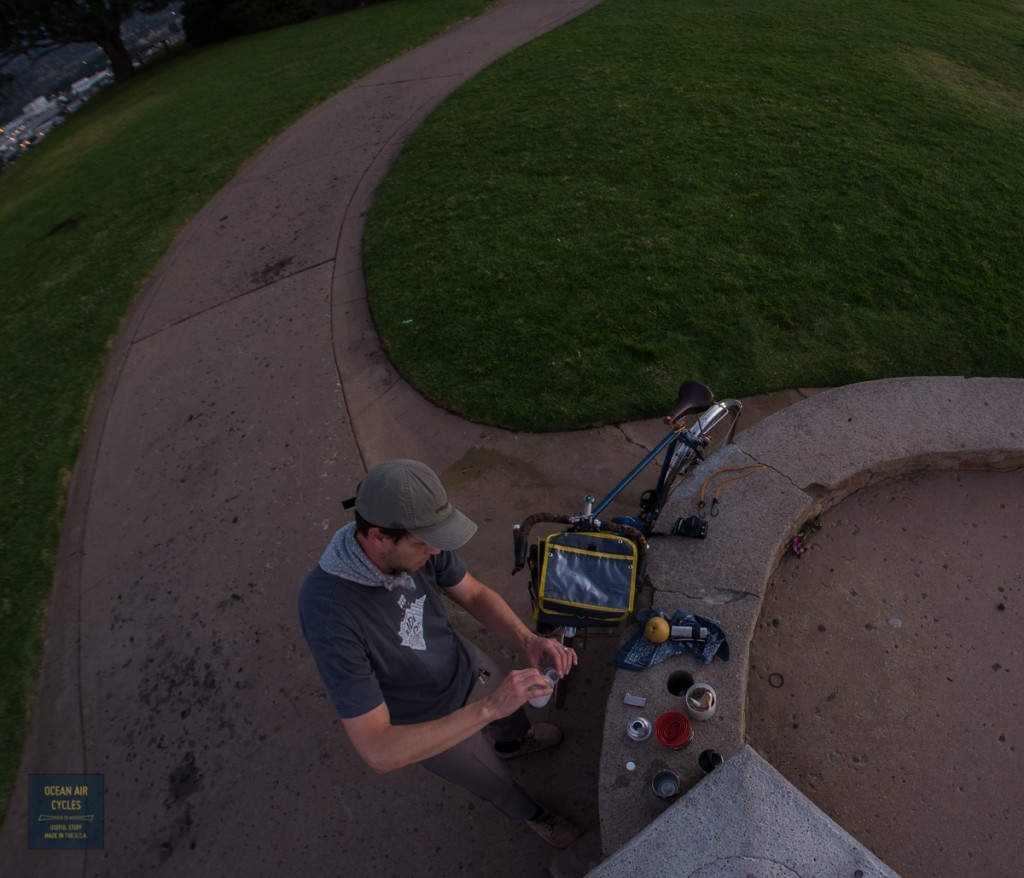
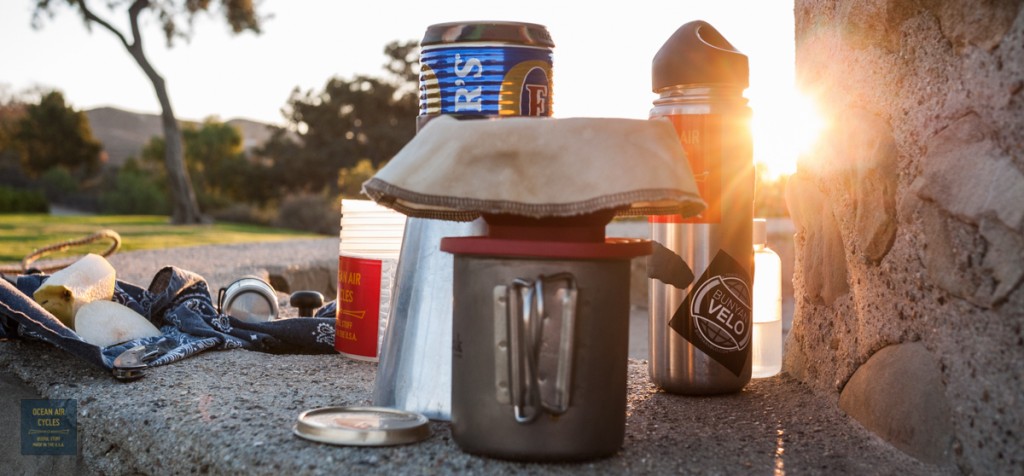
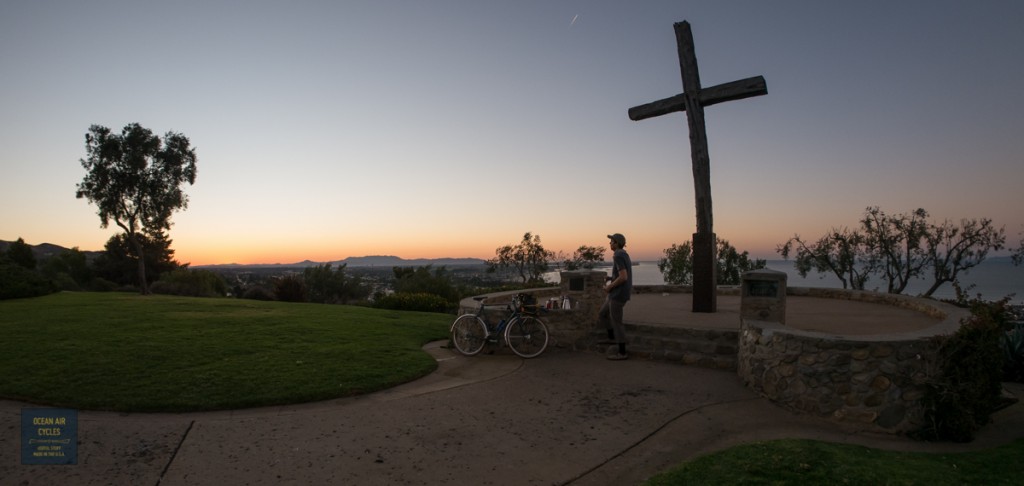
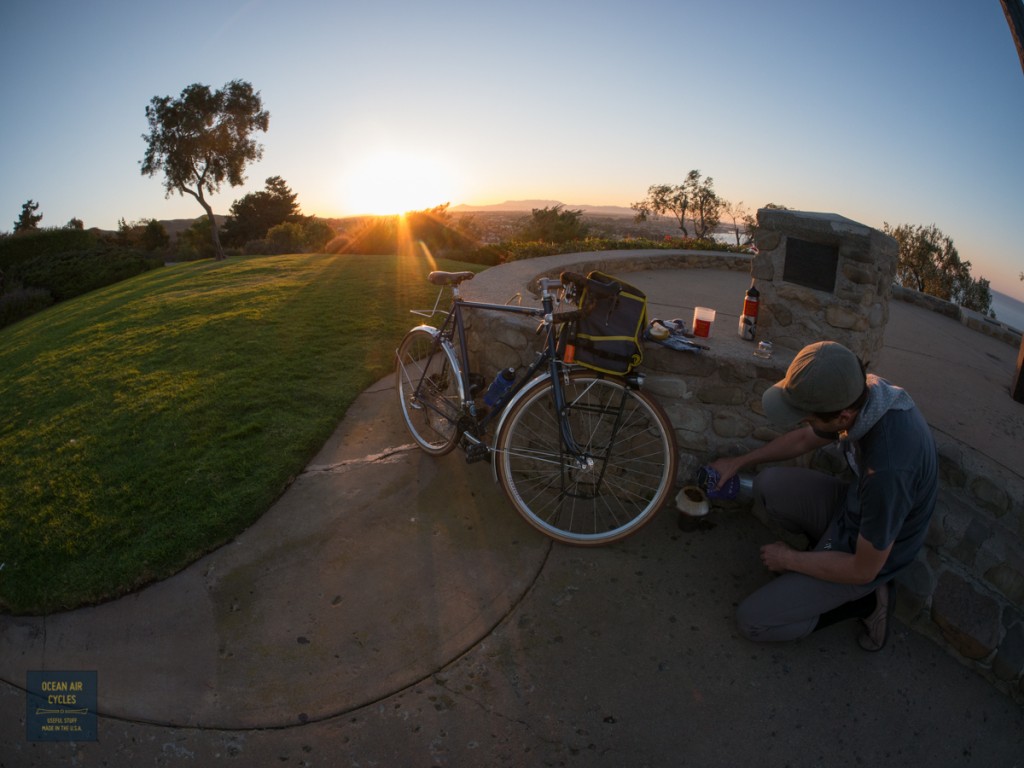
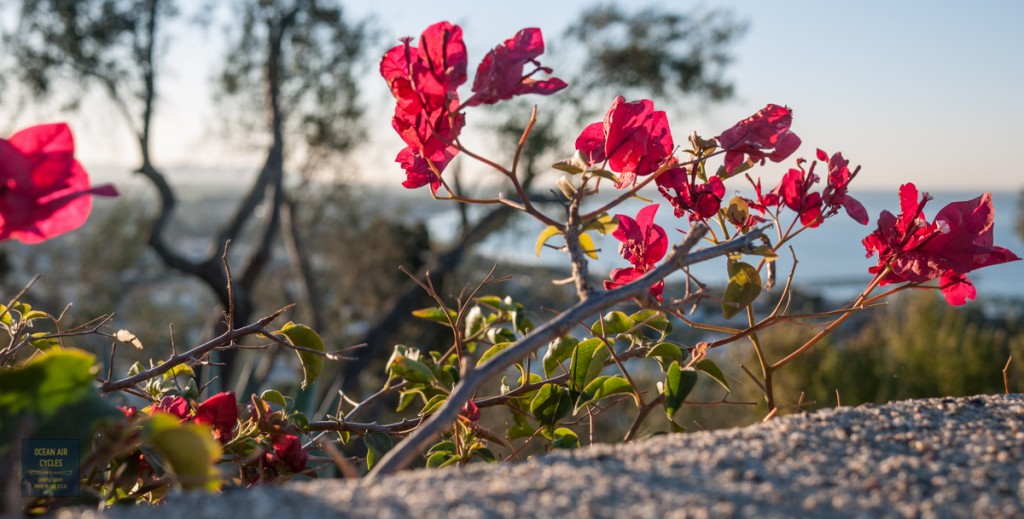
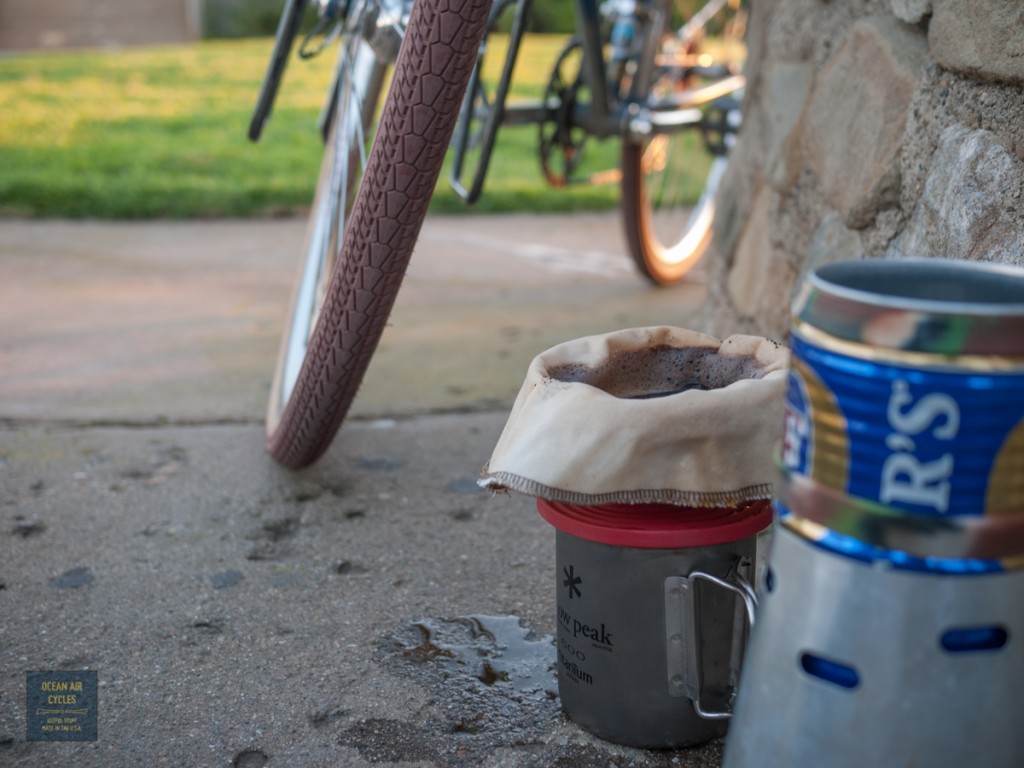
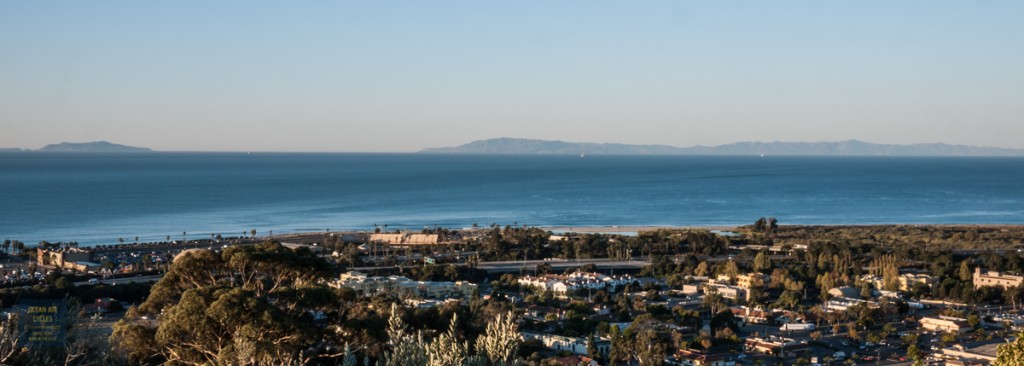
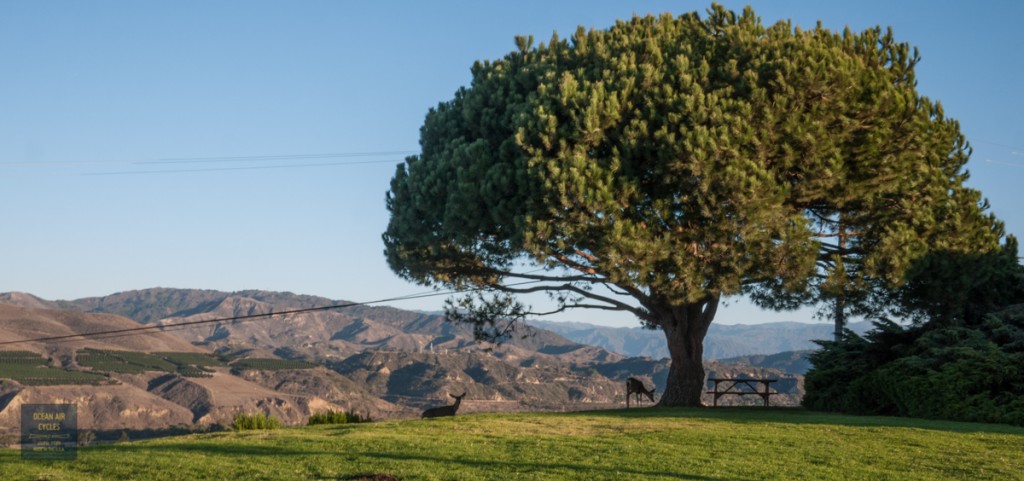
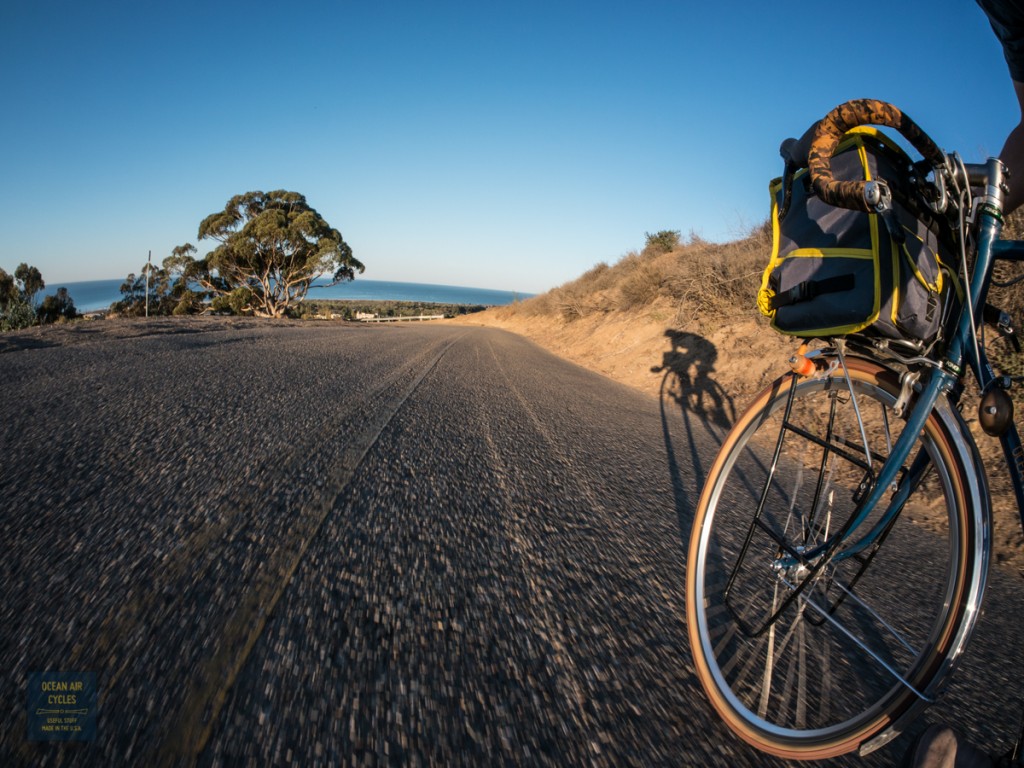
Our Indian Summer is in full swing.  We live at the confluence of two valleys, one with wind coming down from the mountains at 50 degrees, and the other from the inland valleys at 80.  This morning the weather was dominated by high pressure, Santa Ana winds and it was a swirl of hot and cold, with crystal clear air and visibility as far as the curvature of the earth would allow.  I headed up into the hills above town to get the most out of the morning views.

10.16 Coffee WP-1030203 10.16 Coffee WP-103020510.16 Coffee WP-114070710.16 Coffee WP-1030208 10.16 Coffee WP-1030217 10.16 Coffee WP-114071310.16 Coffee WP-1140704 10.16 Coffee WP-1140714 10.16 Coffee WP-114071710.16 Coffee WP-1030237The best way to start the day, play outside, have fun, work hard and do what you love