Decals and Colorway

We are still in recovery mode from the SF Expo, it was a great time, and now we need to get back up to speed.  The day before we left for San Francisco the decals made it here, nothing like everything coming together at once.  Her is the slide show of the decals and colorways for the three primary combinations:


They are top mounted mylar printed by the last professional bicycle decal shop here in the US, at least as far as I could find, that could work in full color as well as variations for different types of application.  I am beyond happy with how they came out.  The bikes feel much more like the real deal.  Not that they ride any differently, but the branding definitely kicks it up a notch.

You probably noticed the “FOUNDER” sticker on the left chain stay, these will only be on the first run of bikes in production as well as the round coming out of Kickstarter.  Which if you missed it, our Rambler project is live:

We are getting tons of interest, likes etc. and while that is great, we need backers to make it happen.  We will take the support in any way you can give it, but without enough pledges to reach our goal, the project will not fund.  Thus, I am asking directly for your help, your pledges and to spread the word to everyone you know who rides a bike, has been thinking about riding, and wants to be able to get around on a true sport bike, that can still be comfortable and carry home the groceries.

Rambler Kickstarter is Live

The project went live last night, and we already have one backer for a frame set in the first few hours, Thank you!

Please help spread the news about the project.  The word of mouth distribution is the most powerful, blog, link, Facebook, throw it out there on the forums every little bit help to get the Ramblers out into the world.  I can not do this without your help.

The SF Expo is going great, I met some awesome people on the first day: vendors, promoters and bloggers.  Between the show and the KS project I could barely sleep, from all the energy building up, although I am sure that problem will start to ease off after today, first full open to the public day.  I am so grateful to the support of my family, friends offering us a place to stay, cousins coming up to help and all of you who have come out and been so stoked to see the Ramblers.  It is all of you that give me the energy to keep this going – Thank you!

Shirt and Bag Art Draft 1.0

I am so lucky to have friends and friends through my wife that are gifted artists and designers.  I have a heavy tilt towards the analytical side and  while I can conceptualize what I want an art project to be, it is awesome to throw out a range of ideas and to get something like this back on the first try.  Gigantic thank you to all of you who have helped me.

This is very close to what will be the shirt and bag art for the Kickstarter rewards.  There will be options of this or the porteur build, as well as a couple of color options.  Now to get the Kickstarter part launched, stuck in a holding pattern waiting for approval.


Rambler Decal Proof

Nothing like cutting it to the wire, but it seems like things happen that way sometimes.  Decals should be here before the show, fingers crossed, here is a preview with the proof sheet:

The top three will be the primary colors used, with a few neutral options  down the line for custom colors.  The small square logo will be on the head tube, made in Portland on the seat tube, Ocean Air Cycles on the down tube, RAMBLER on the top tube up front drive side, and Founder on the left chain stay for this first round of bikes being run through Kickstarter (soon, very son).

Wiring Up Rambler No. 2

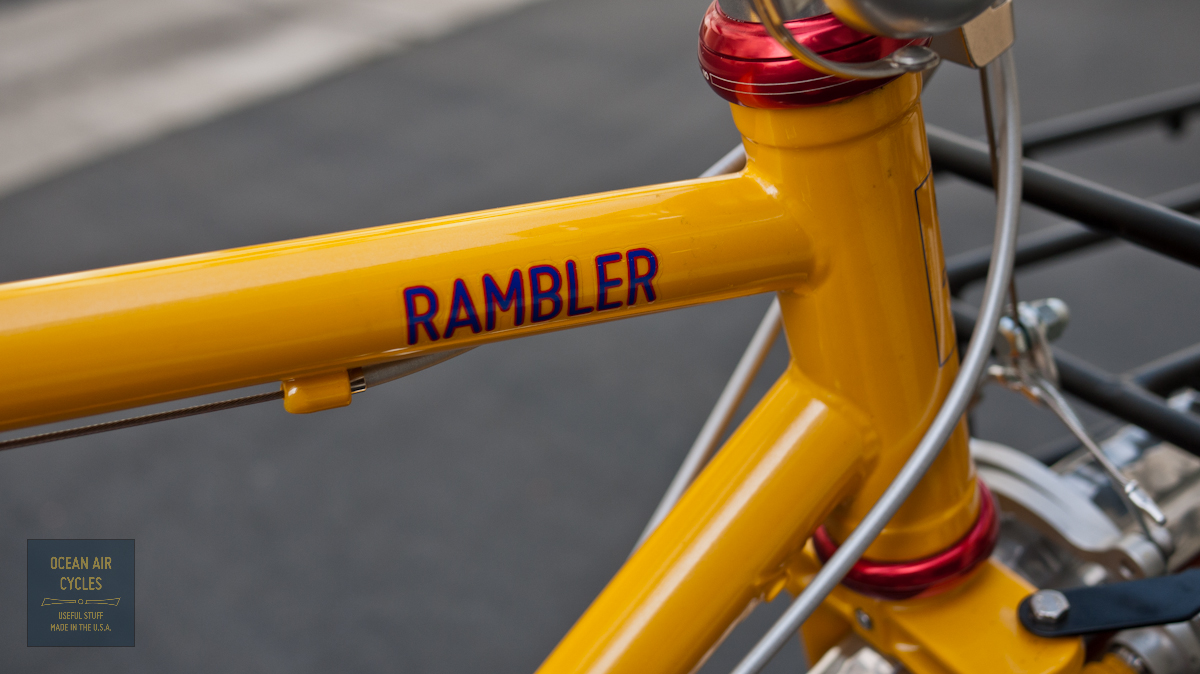
Rambler No.2 (Red) was going to be a cornerstone in the three bike heard that I am bringing to the SF expo in just a few days.  At 57cm it is square in the middle if medium and most likely to be getting test rides, that is until the fork was blasted instead of chemical stripped, and it is not really clear how much steel is still there.  After an assessment it was pretty clear that the fork is never going to be supporting a rider again, but it will hold up the front end of the bike for the expo, that is better than no bike and I decided to make lemonade with what I had.

The bottom of the right fork leg is pretty much gone just above the fork leg.  I thought about some ways to stabilize it, headed up the street to FCD surfboards, and the guys let me have some resin.  A tape mold, injection of epoxy through the vent hole and a few hours later I a confident that it will hold up to transport and display.

There is not enough left of the dropouts to mount a rack or fender, but I was able to make a Mark’s rack work to hold up the light.  That is when I went full in, and wired up the whole bike front and rear.  This bike is the first one of the batch to get the full dynamo lighting system.  That is front and rear lighting powered by the rotation of the front hub.

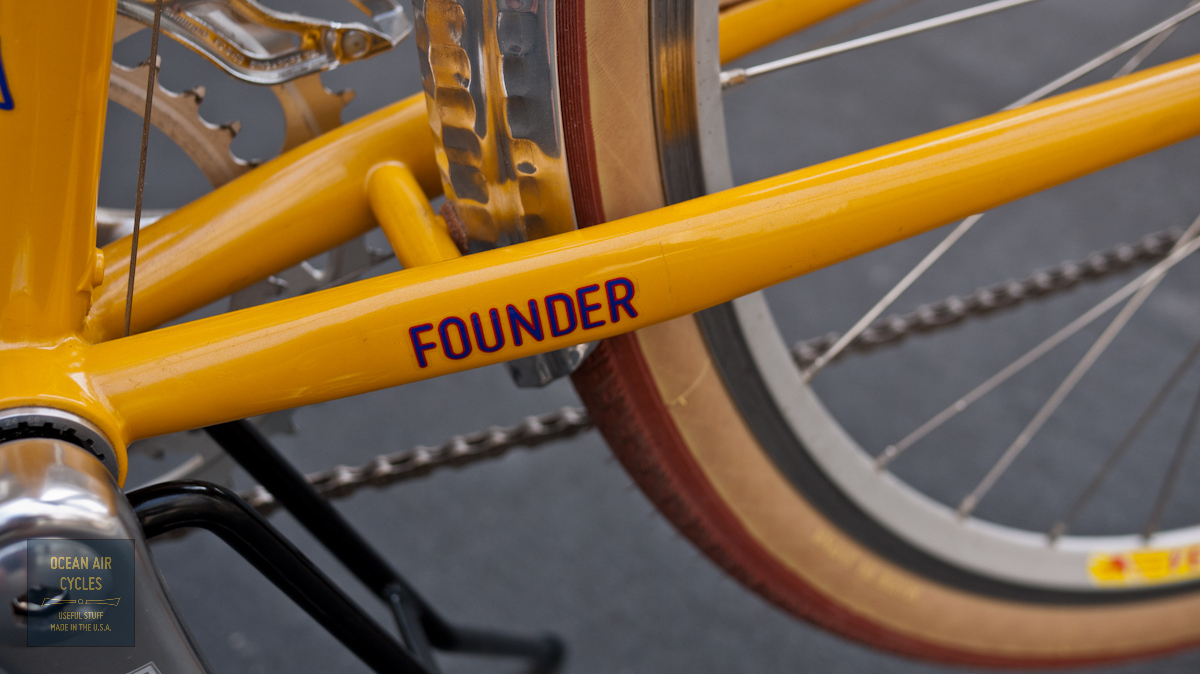
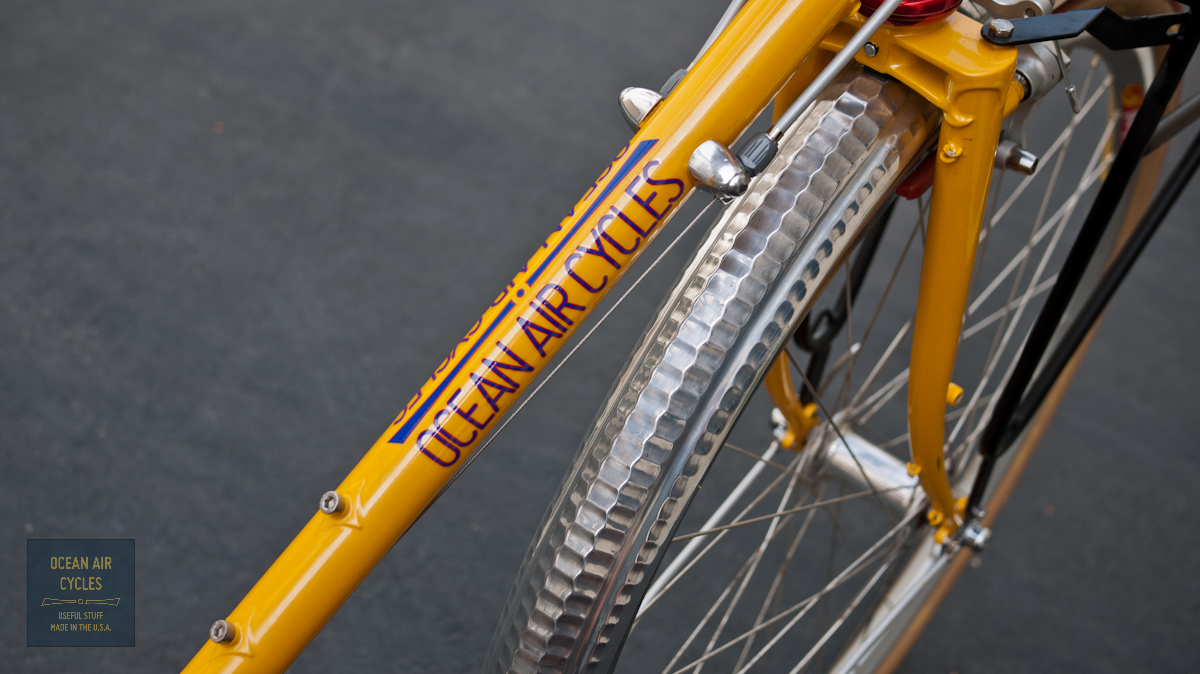
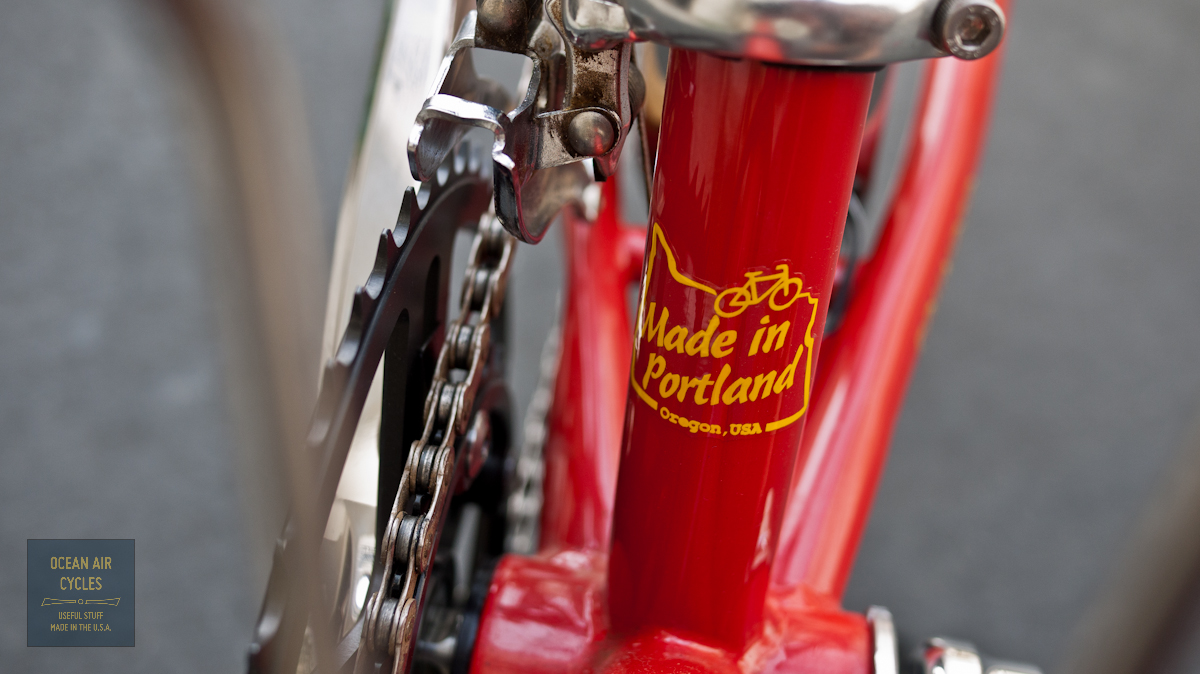
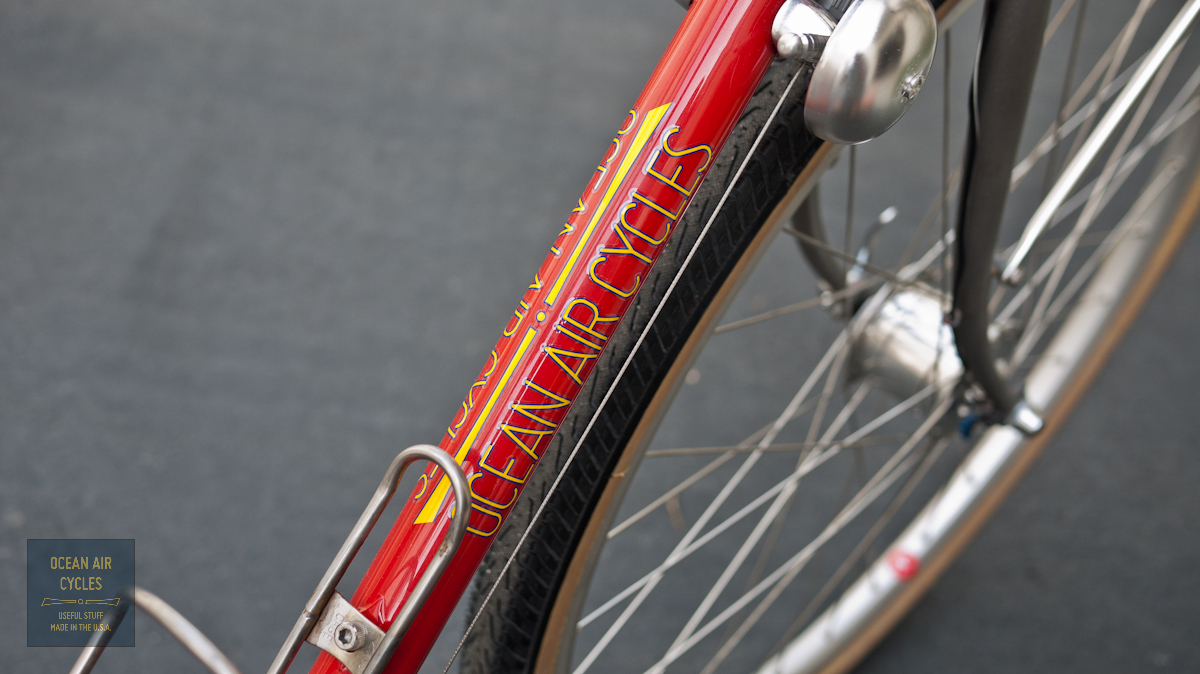
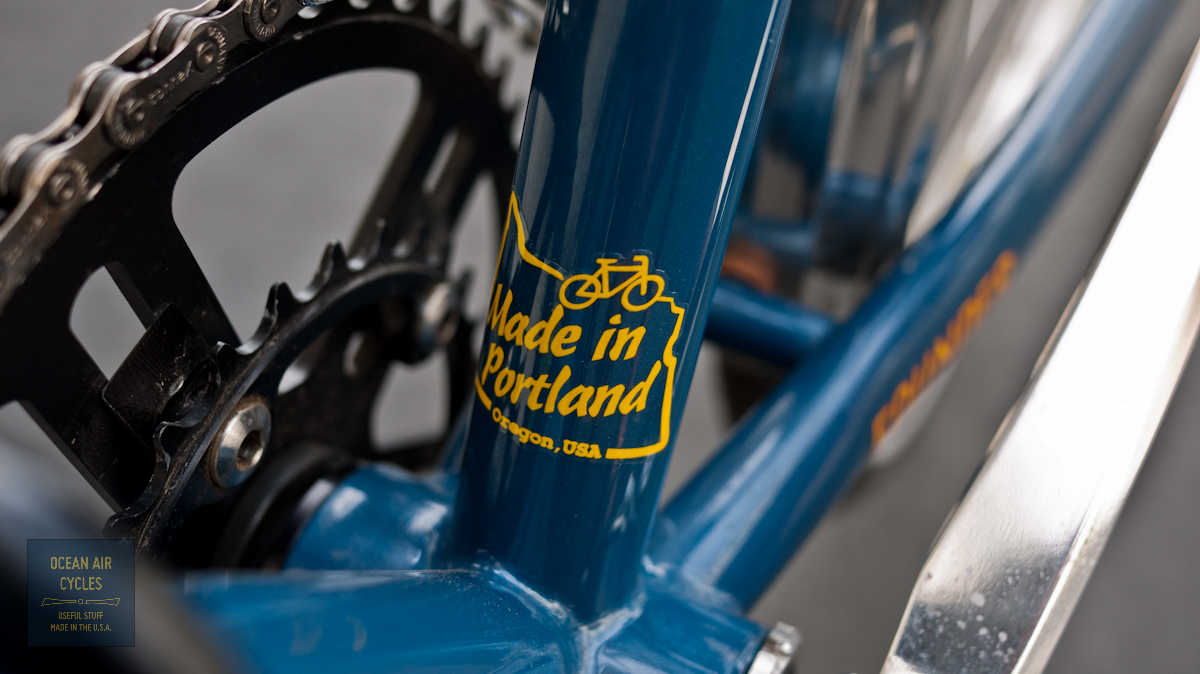
The chain ring bracket is perfect.  The wire from the hub to the headlight runs through the guides on the right fork leg.

The curly q wire allows the lighting wire to be installed or removed with the connectors intact on the wire ends.  I first saw this either on Alex Wetmore’s blog or on Flicker someplace. It works better than solid loops that will not pass the connectors in the event that you need to strip the lights with intentions of putting them back on.

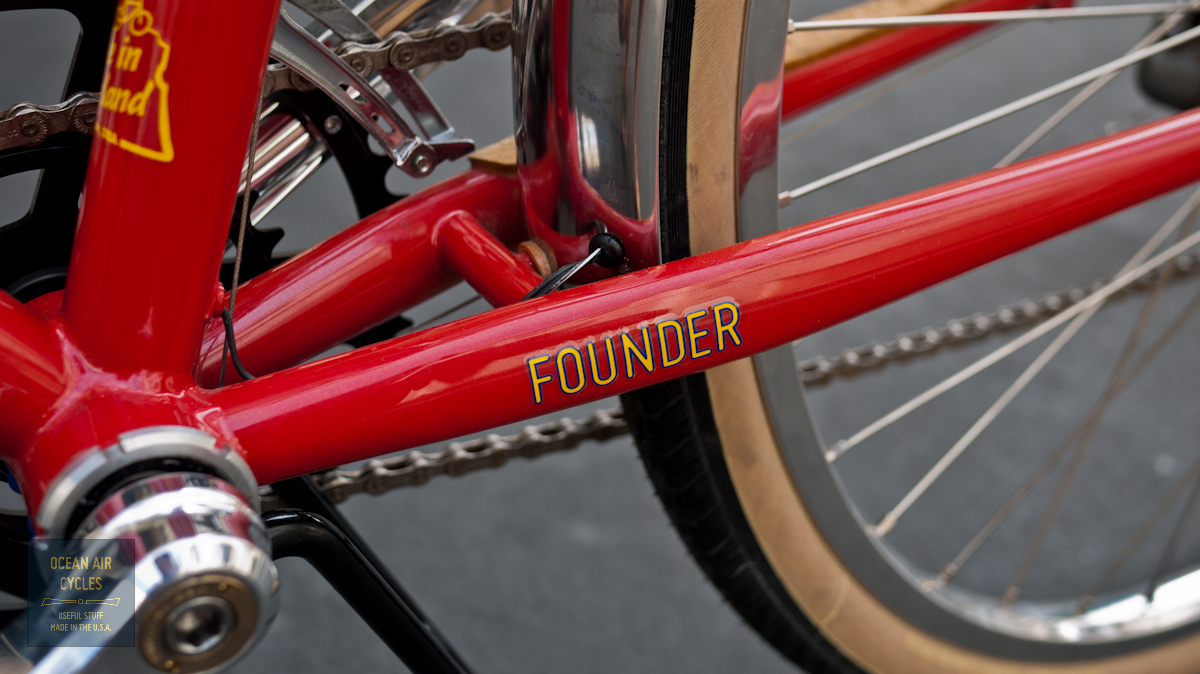
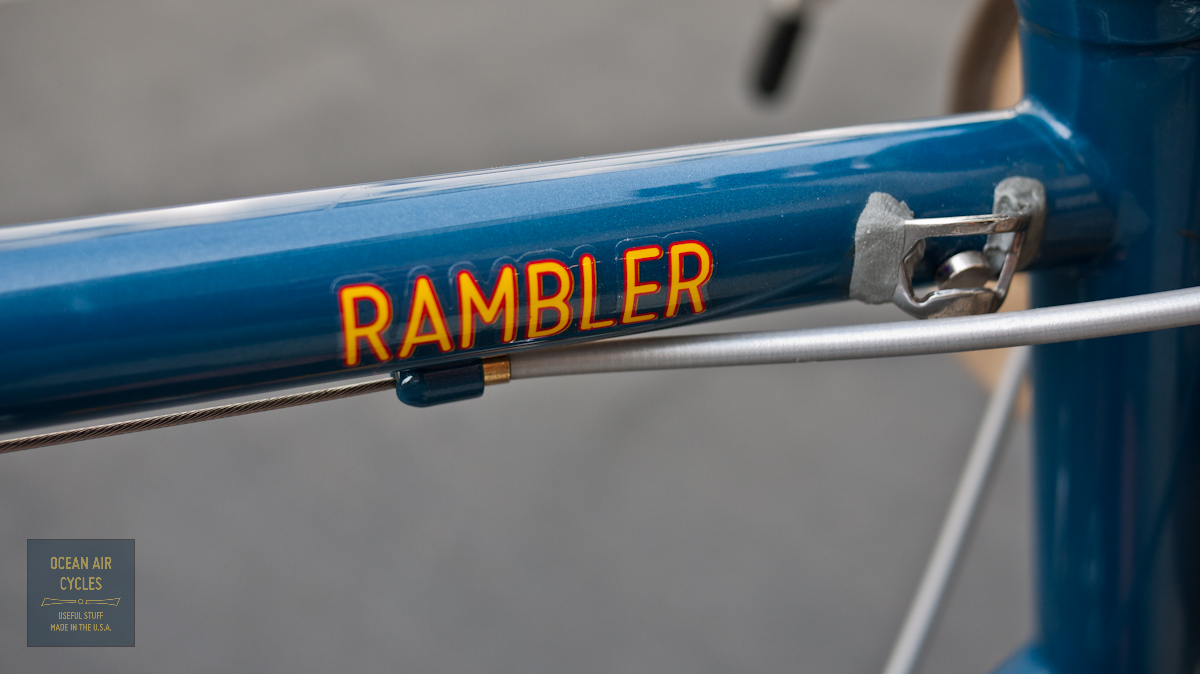
In an ideal world the wires would be tucked under the fender for the run from the crown to the headlight and the returning tail light wire.  This being what it is, they are tied off to the rack.  The tail light wire enters into the frame through the port at the top of the down tube.

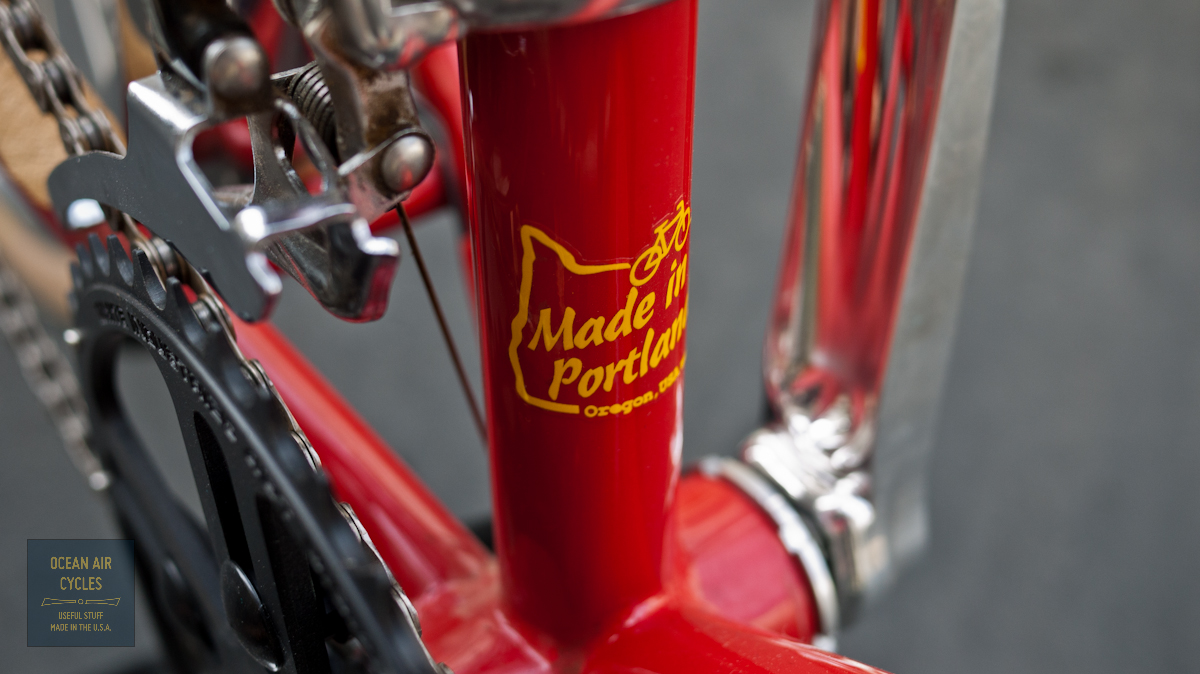
It passes along, protected from snagging, inside the down tube, around the bottom bracket and up the seat tube just a bit to the exit port.

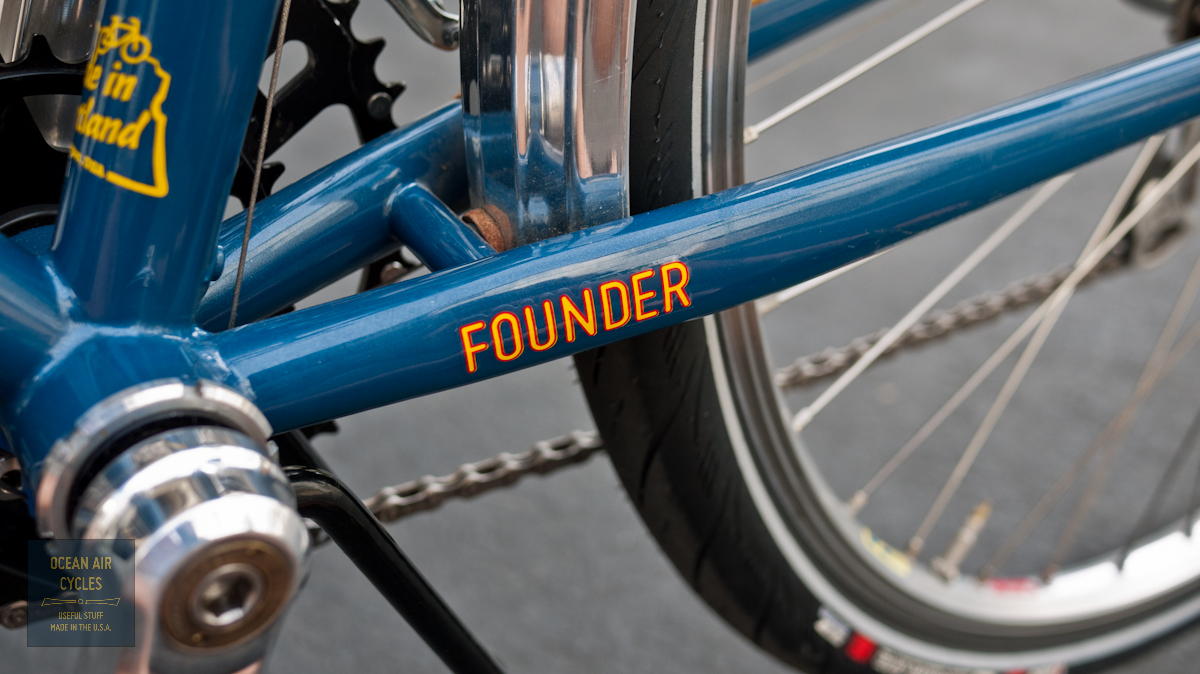
There is a short exposed run along the left chain stay before it tucks into the rear fender.  To protect the wire from being cut by the sharp fender edge I used a commonly available rubber stress relief grommet.

the wire then runs along the inside edge of the fender. The Berthoud fenders are quite nice for this as the edge is rolled, but not crimped completely shut as it is on some other brands of metal fenders.

Once fully tucked in, you can crimp the channel shut just a bit, or use a few short beads of silicone to hold it in place.  The wire exits the rear of the fender through, another stress relief grommet, and then connects up to the tail light.

A quick spin of the front wheel to confirm that everything is still working and it is almost time to clean up.  I decided to secure the short run of wire between the seat tube ans the fender with a piece od red reflective tape that was a close enough color match.

While not everything I had dreamed for a complete bike, I am still pretty happy with the results, and when the replacement fork gets here it should go together pretty quickly.