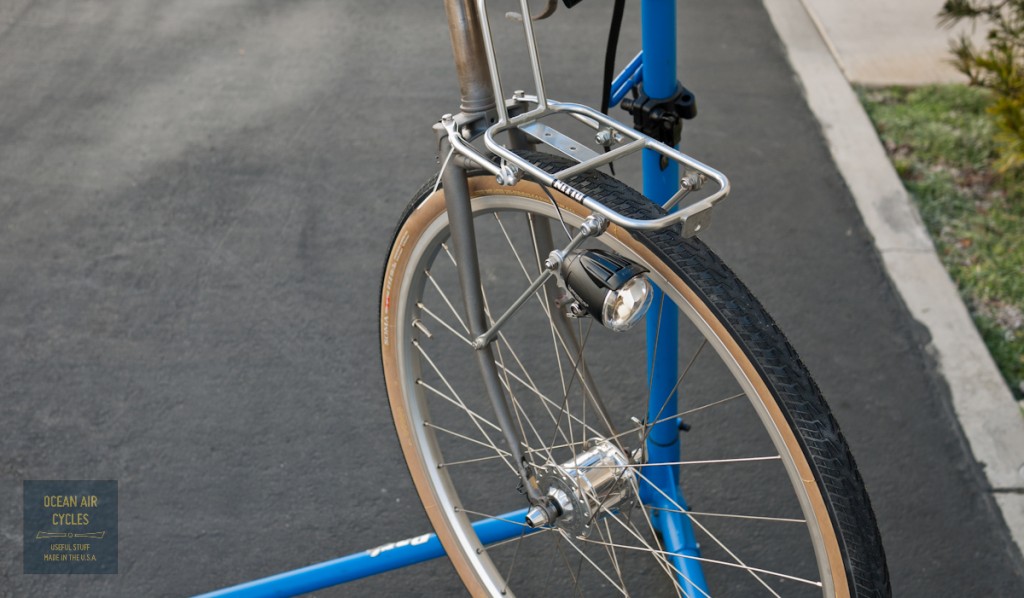
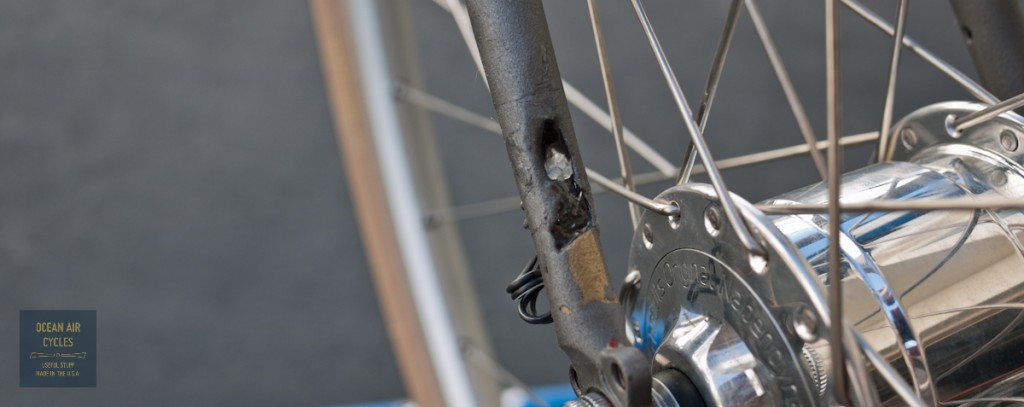
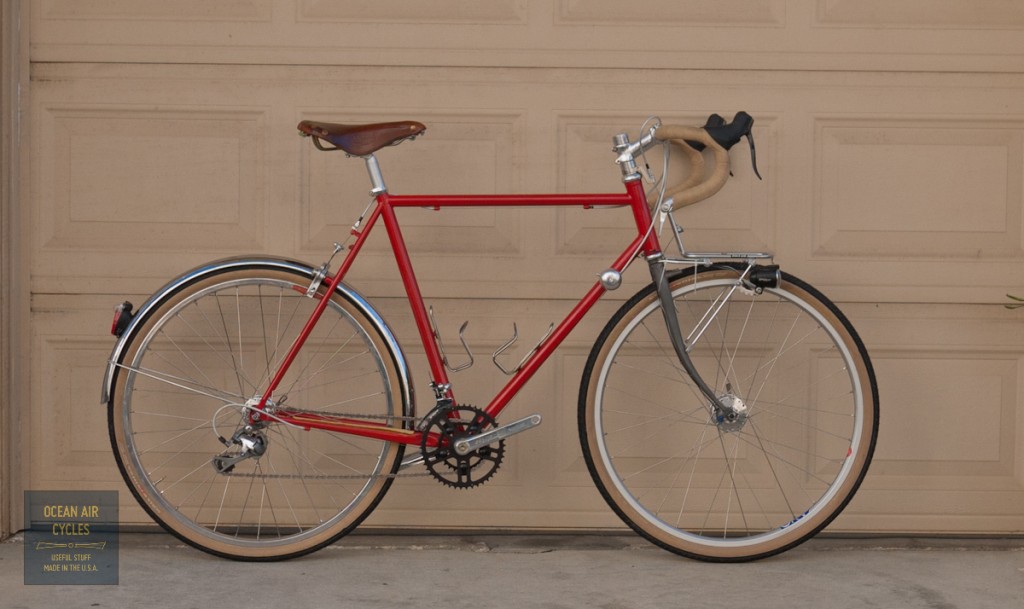
Rambler No.2 (Red) was going to be a cornerstone in the three bike heard that I am bringing to the SF expo in just a few days. At 57cm it is square in the middle if medium and most likely to be getting test rides, that is until the fork was blasted instead of chemical stripped, and it is not really clear how much steel is still there. After an assessment it was pretty clear that the fork is never going to be supporting a rider again, but it will hold up the front end of the bike for the expo, that is better than no bike and I decided to make lemonade with what I had.
The bottom of the right fork leg is pretty much gone just above the fork leg. I thought about some ways to stabilize it, headed up the street to FCD surfboards, and the guys let me have some resin. A tape mold, injection of epoxy through the vent hole and a few hours later I a confident that it will hold up to transport and display.
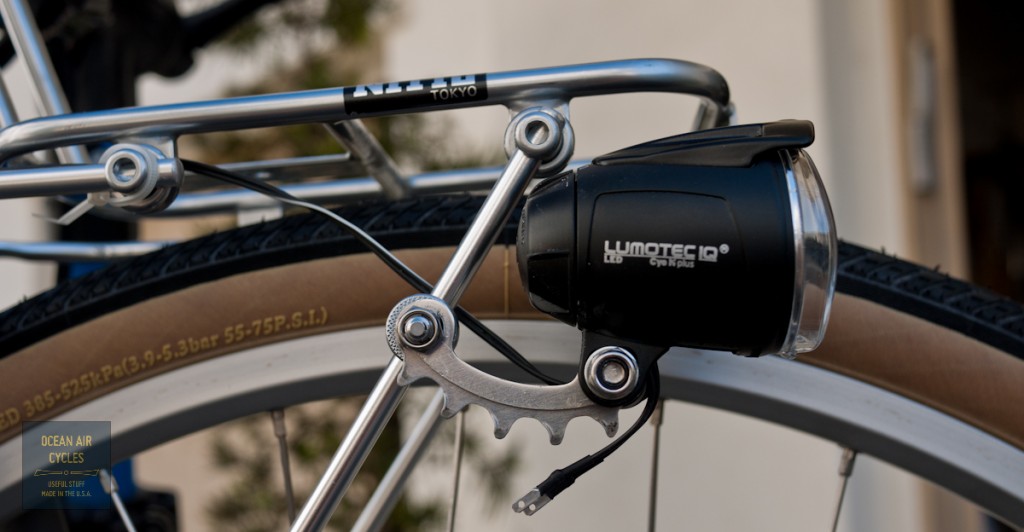
There is not enough left of the dropouts to mount a rack or fender, but I was able to make a Mark’s rack work to hold up the light. That is when I went full in, and wired up the whole bike front and rear. This bike is the first one of the batch to get the full dynamo lighting system. That is front and rear lighting powered by the rotation of the front hub.
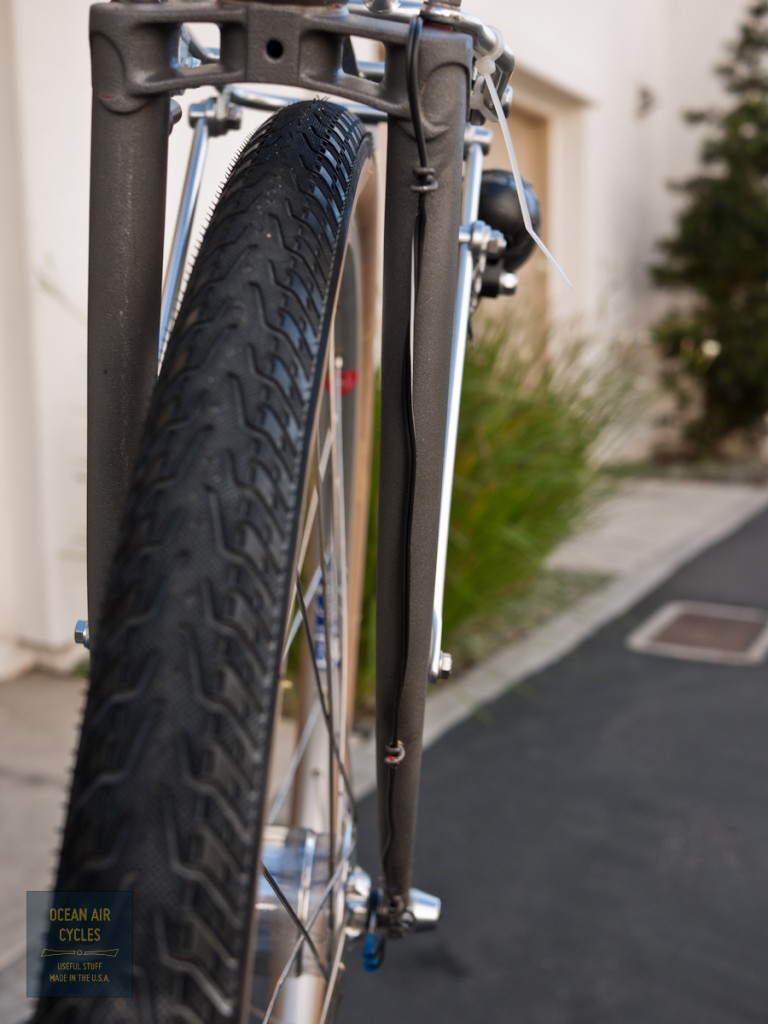
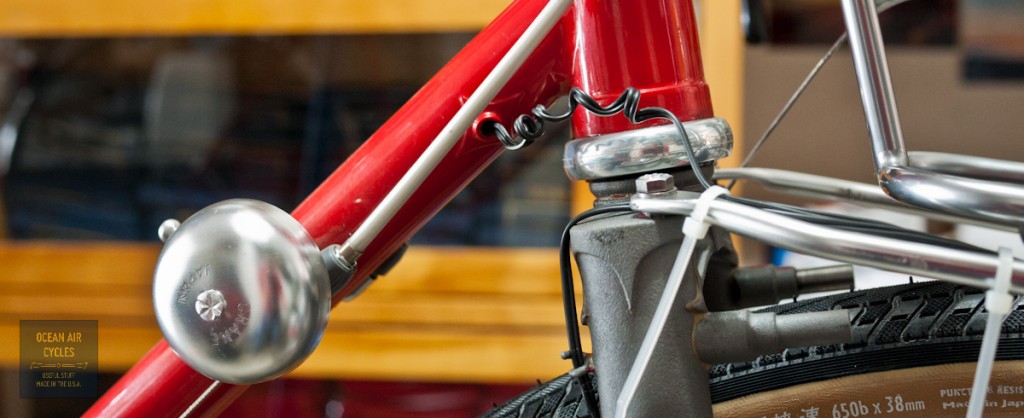
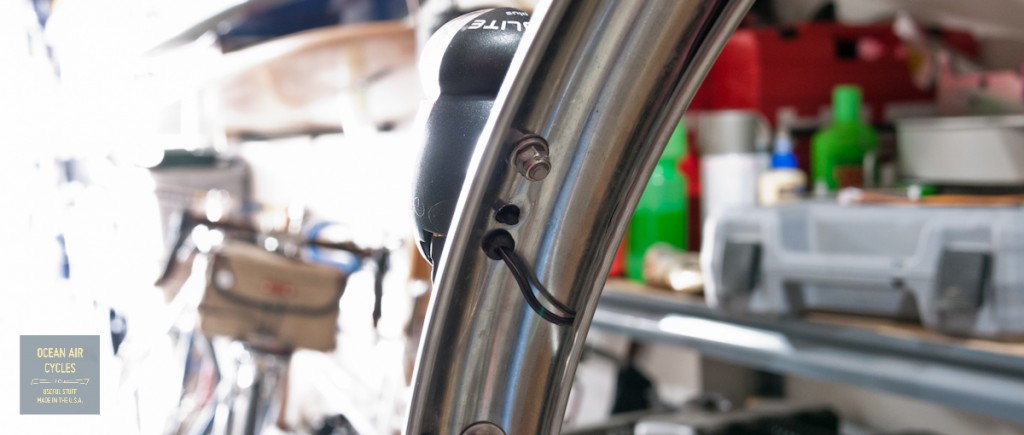
The chain ring bracket is perfect. The wire from the hub to the headlight runs through the guides on the right fork leg.
The curly q wire allows the lighting wire to be installed or removed with the connectors intact on the wire ends. I first saw this either on Alex Wetmore’s blog or on Flicker someplace. It works better than solid loops that will not pass the connectors in the event that you need to strip the lights with intentions of putting them back on.
In an ideal world the wires would be tucked under the fender for the run from the crown to the headlight and the returning tail light wire. This being what it is, they are tied off to the rack. The tail light wire enters into the frame through the port at the top of the down tube.
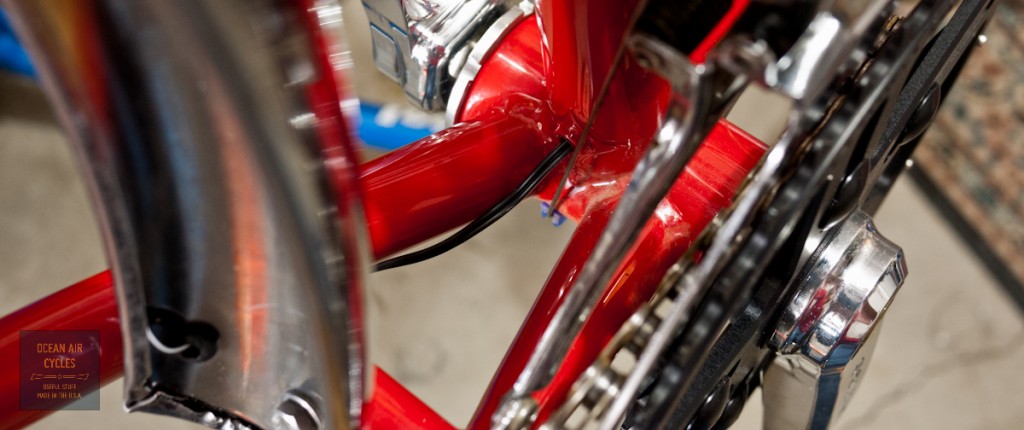
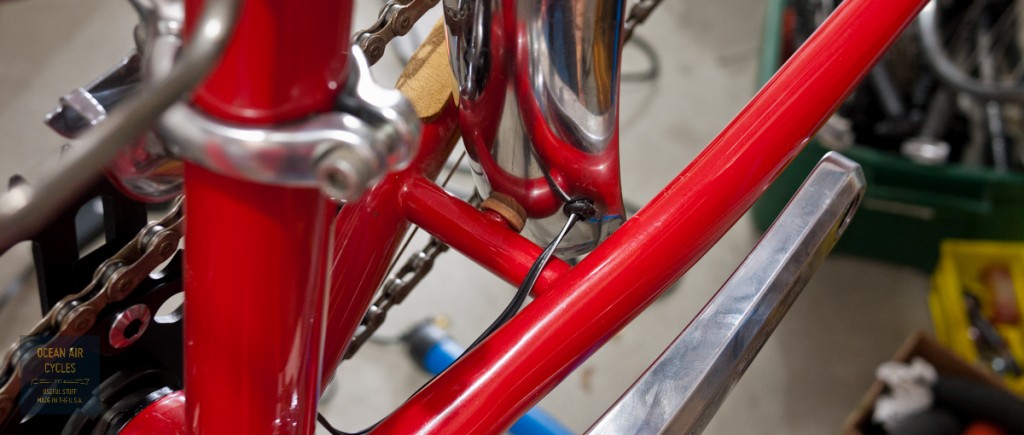
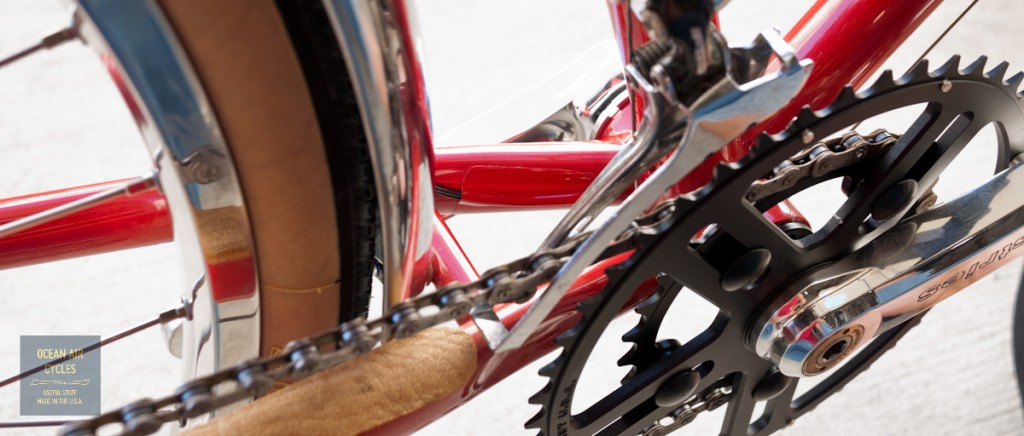
It passes along, protected from snagging, inside the down tube, around the bottom bracket and up the seat tube just a bit to the exit port.
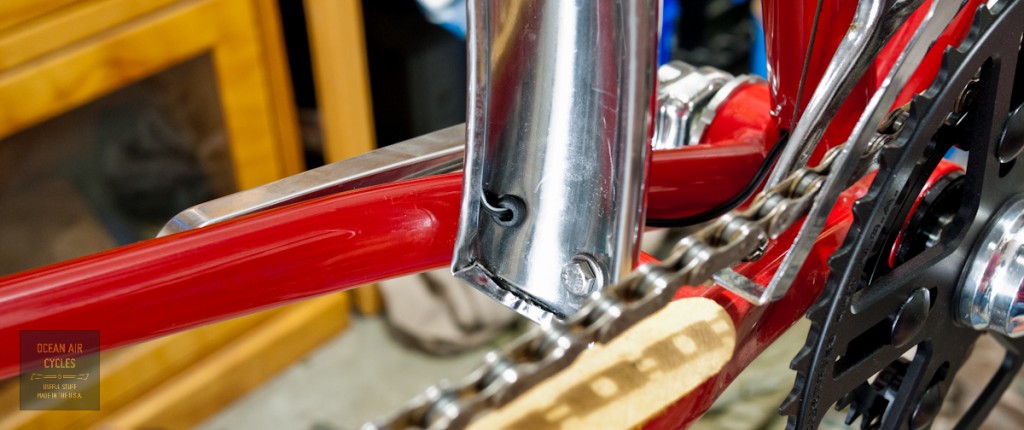
There is a short exposed run along the left chain stay before it tucks into the rear fender. To protect the wire from being cut by the sharp fender edge I used a commonly available rubber stress relief grommet.
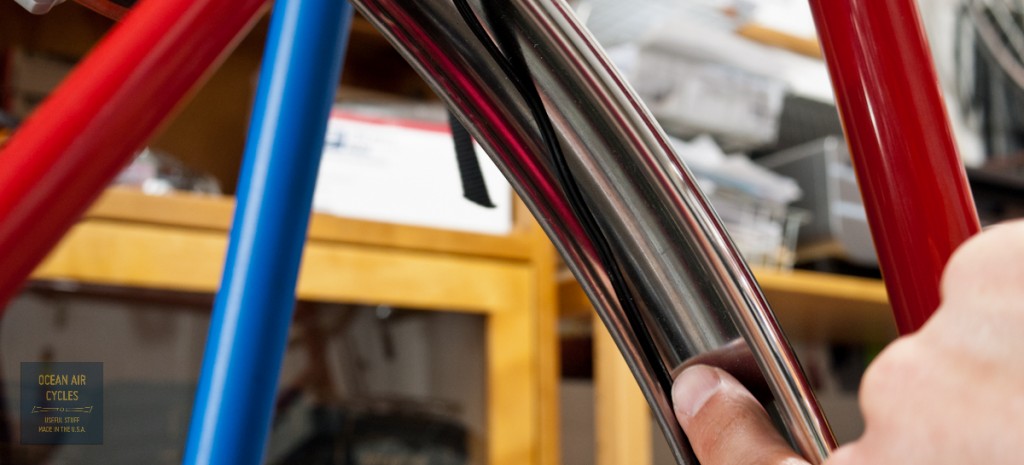
the wire then runs along the inside edge of the fender. The Berthoud fenders are quite nice for this as the edge is rolled, but not crimped completely shut as it is on some other brands of metal fenders.
Once fully tucked in, you can crimp the channel shut just a bit, or use a few short beads of silicone to hold it in place. The wire exits the rear of the fender through, another stress relief grommet, and then connects up to the tail light.
A quick spin of the front wheel to confirm that everything is still working and it is almost time to clean up. I decided to secure the short run of wire between the seat tube ans the fender with a piece od red reflective tape that was a close enough color match.
While not everything I had dreamed for a complete bike, I am still pretty happy with the results, and when the replacement fork gets here it should go together pretty quickly.
