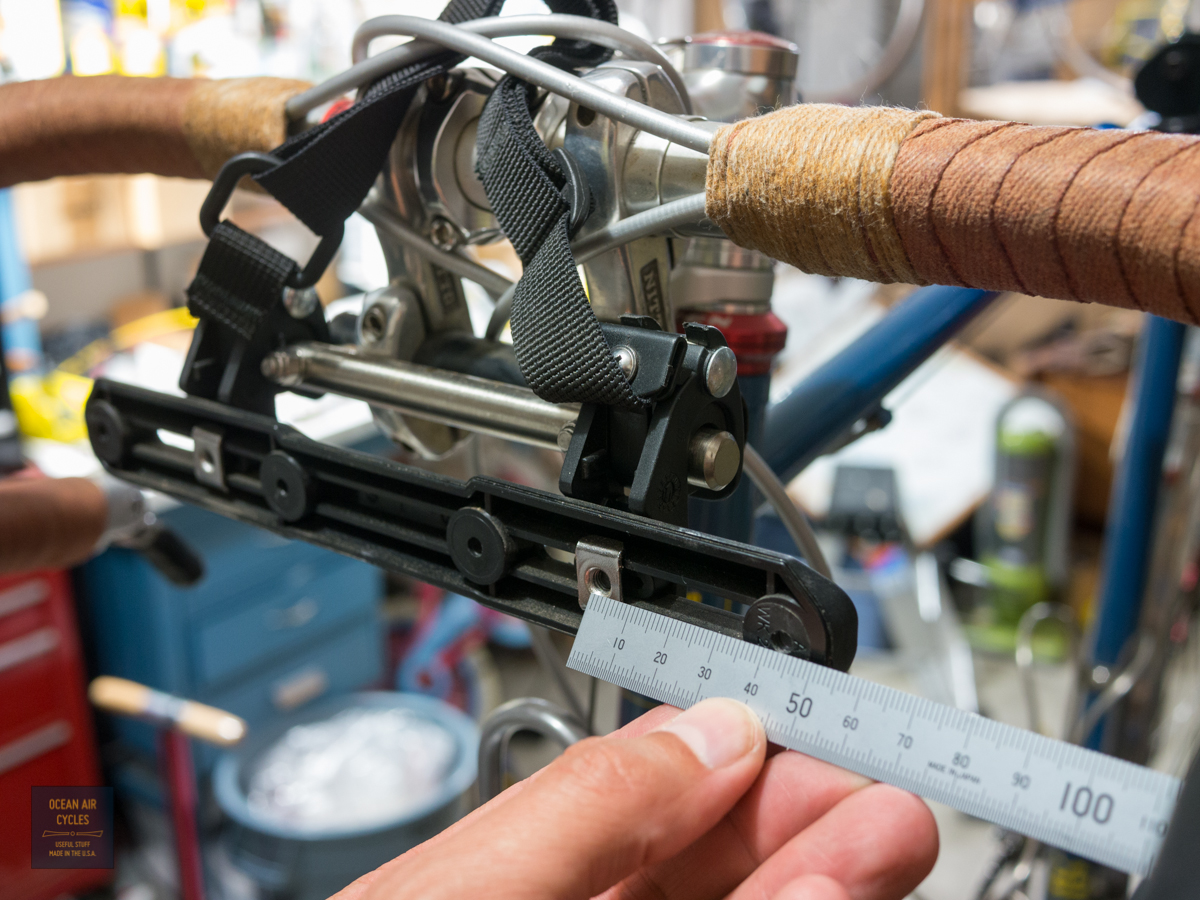
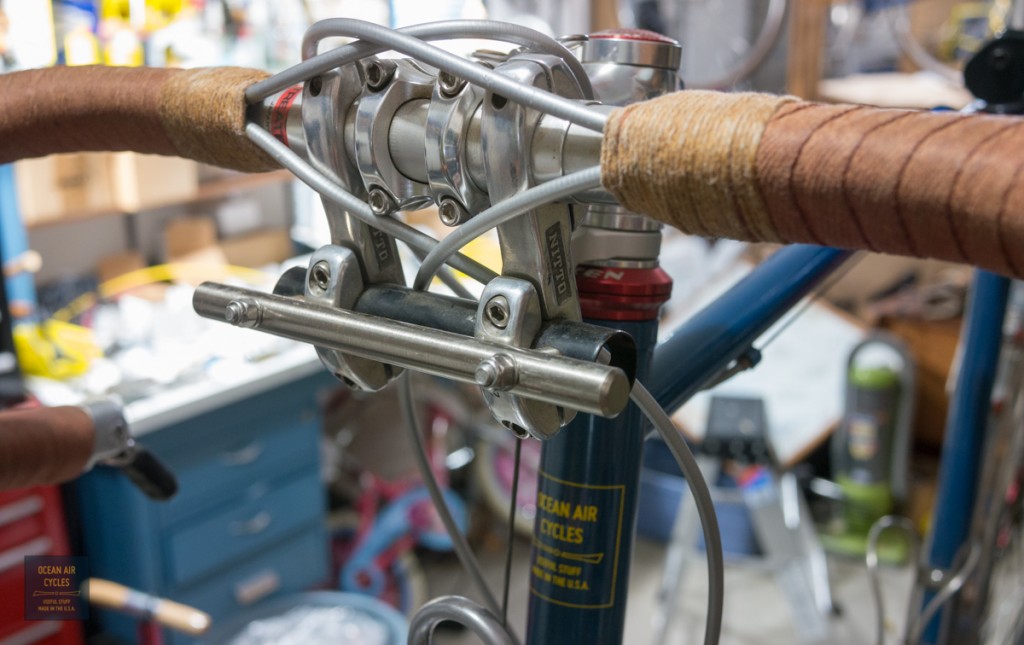
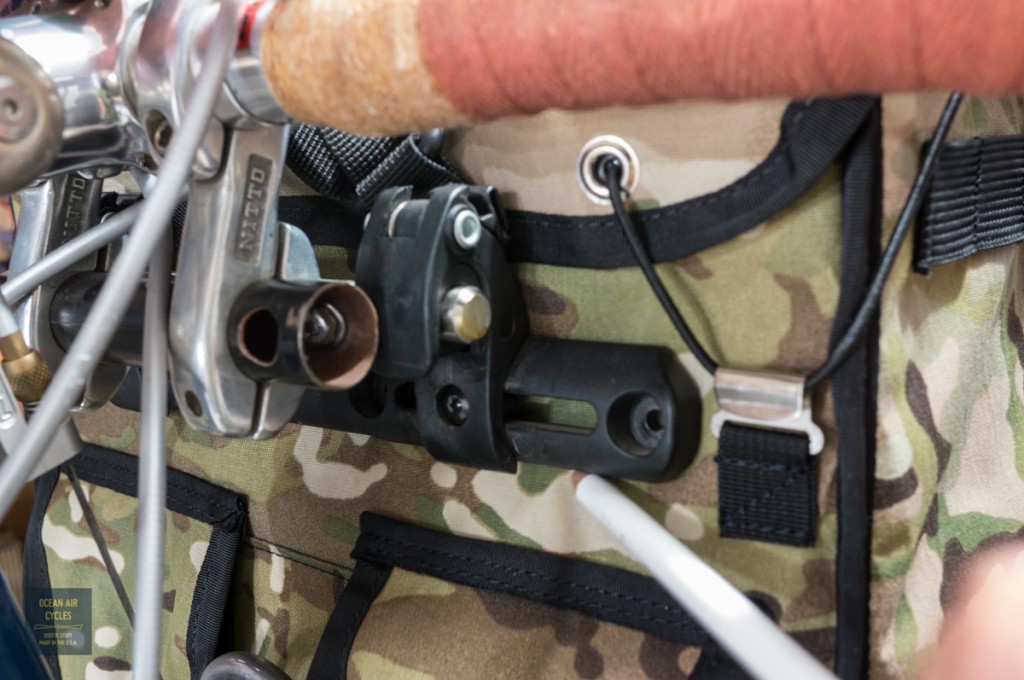
With the first batch of Docena bags landing at their new owner’s this week, I wanted to share a bit about the hardware hack I have been rolling with for over a year now. I opted to engineer a rock solid quick release system around commonly available pannier hooks. They are cheaper, lighter, faster on/off and familiar to most cyclists outside of the french rando historical reenactment scene. Likewise, I hacked a Nitto Lamp holder two with an old MTB handlebar and 10mm cabinet pull to male the handlebar side of the mount. I wholly believe convenience and safety are key tenants as part of my quest to bring front loading bikes to the mainstream, getting there with familiar hardware can only help. Here is a pic of the end hard mounted to the handlebars.
 The next step is prepping your pannier hardware of choice. I went with Ortlieb because the locking mechanism is simple and strong. The mounting rail adds a bit of welcome rigidity to the bag, and there is little weight penalty with the molded plastic structure. I mount the bare hooks on the 10mm “decaleur” rail to get them centered.
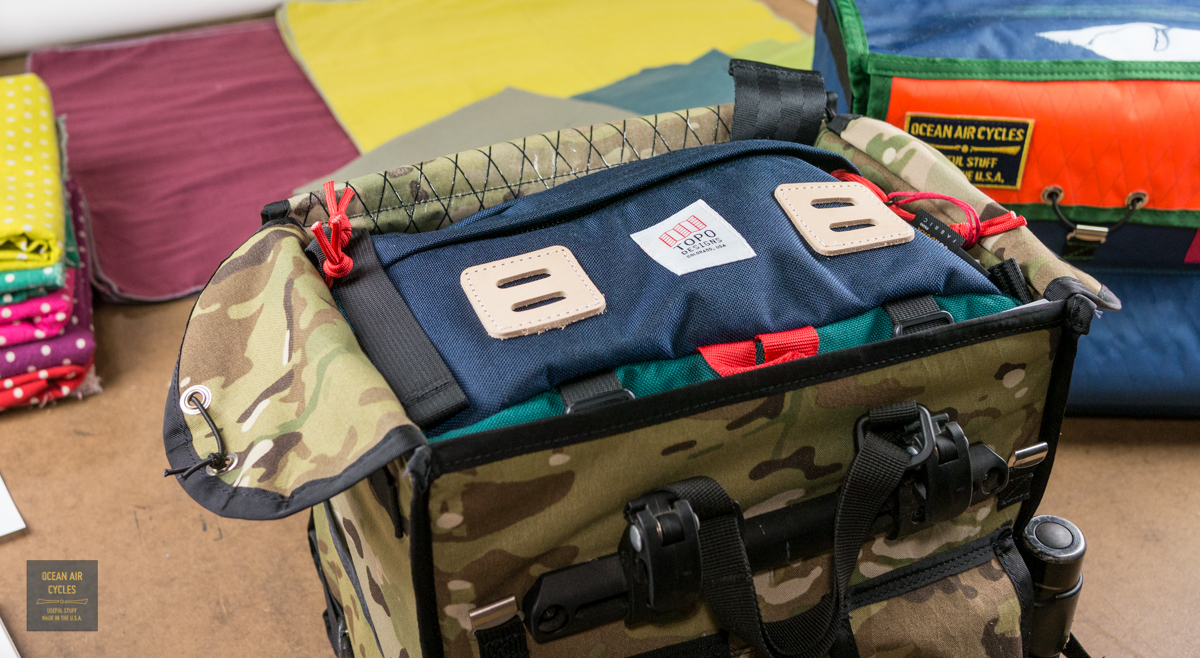
 Put the bag on the rack and make sure the height of the mounting rail works out with the space between Docena rear pockets and the top flap.
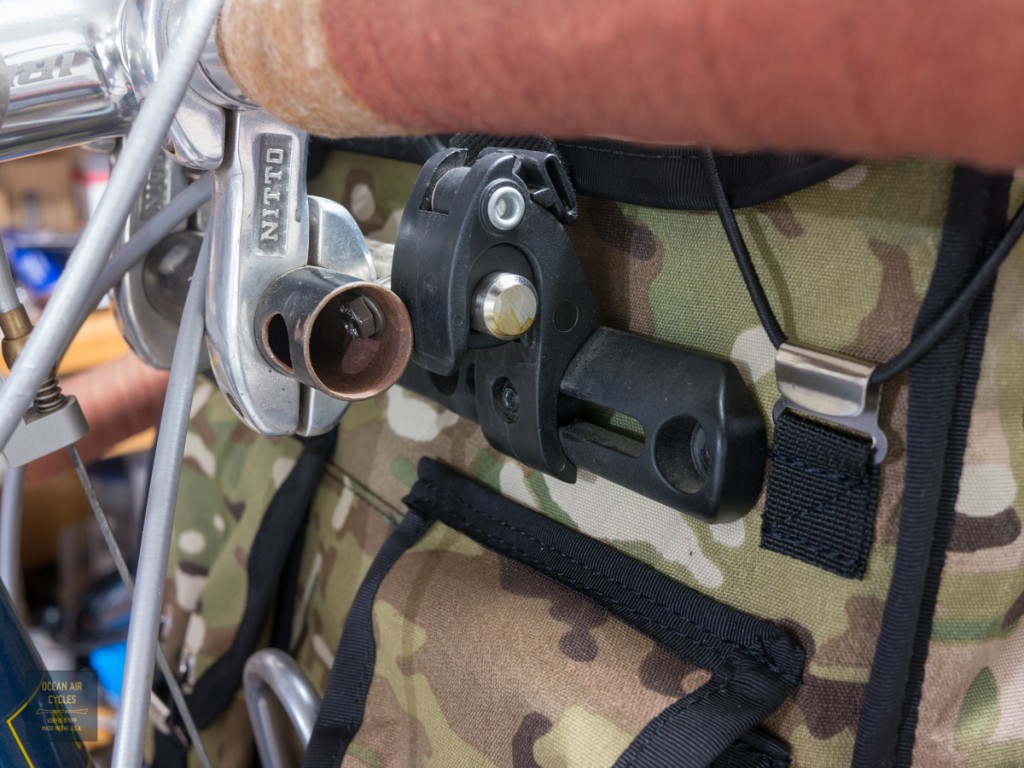 This is a place where the adjustability of the Nitto mount hack really shines. there are miltiple degrees of freedom in moving the mounting rail forward, back up and down by simply rotating around the two clamping axis. With two rotating axis you end up wiht a reasonable amount of adjustment. In the last few months the Nitto Lamp holder 2 has also shown up on our shores in a variety of mounting bracket lengths. Once happy with how it all lines up, mark you horizontal line on the bag at the bottom of your bracket
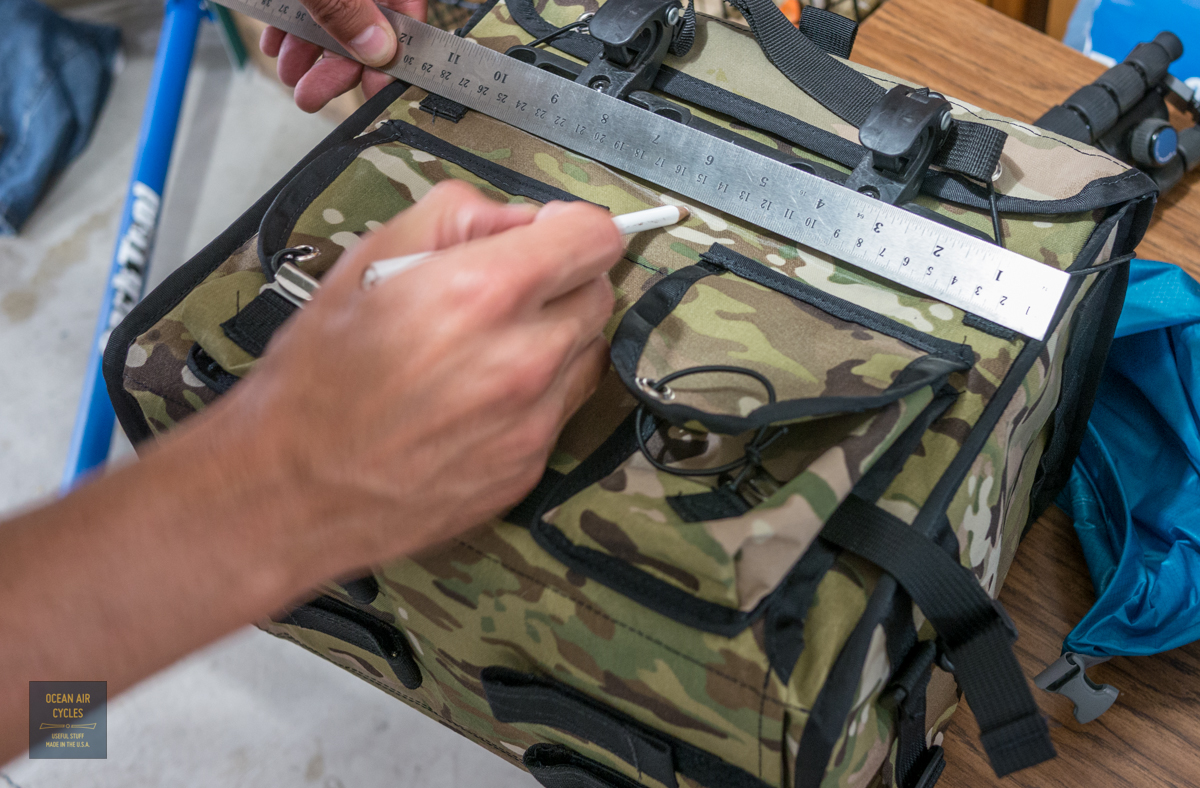
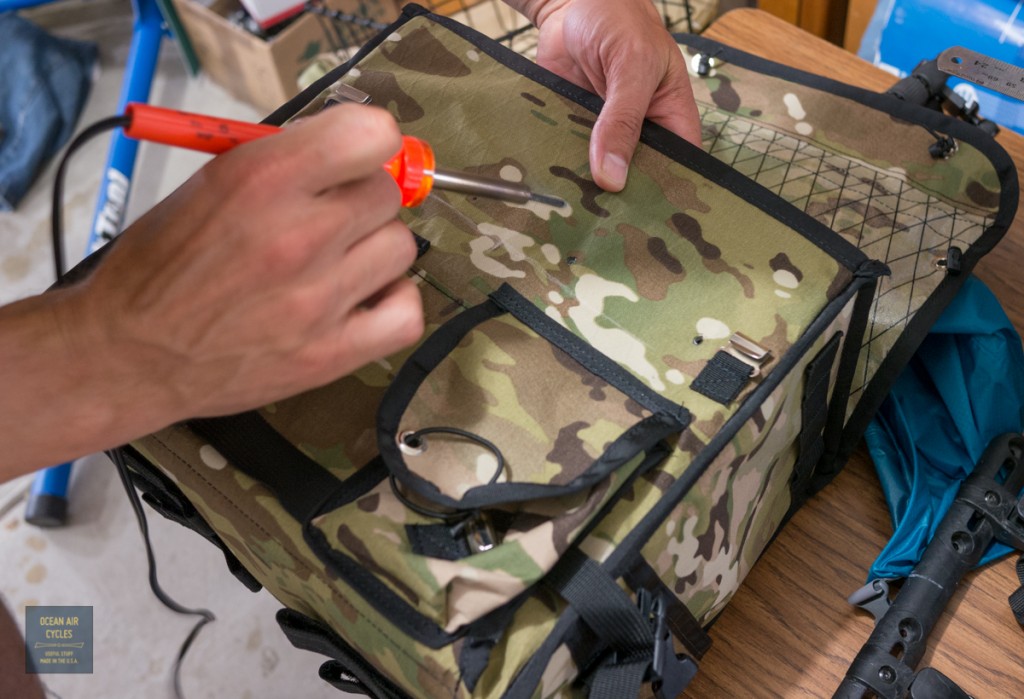
 Taking the bag over to the work bench, use a ruler to locate and align the center of the rail to the center of your bag. This is the start of where you will want to be as careful as possible. Measure twice and be certain of every step.
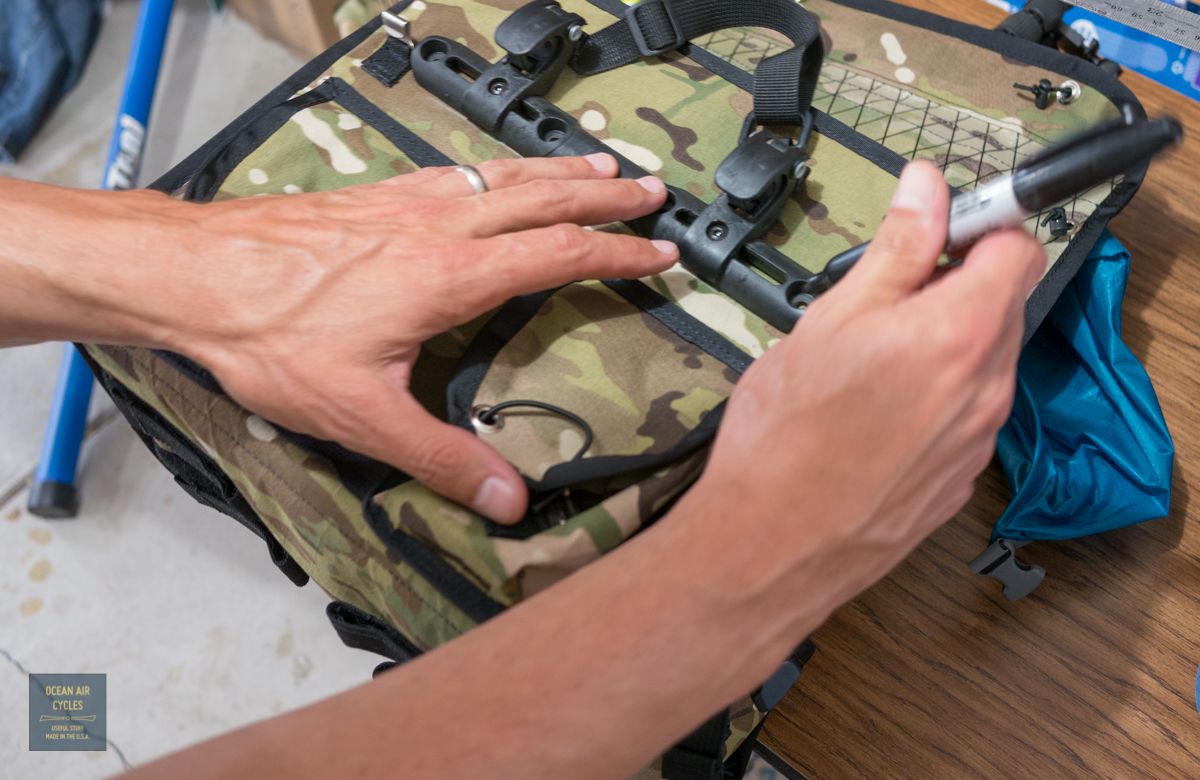
 From there I set the rail into position, and mark the mounting holes.
 I use a hot soldering iron to make the holes and sear the material from fraying in a single pass. I have also seen this done with a hot nail. Use some common sense, do not burn your fingers being careless about the process. This is best done with the stiffener fully inserted in the final position. You will want the holes to pass all the way through and fully engage the bag and coroplast stiffener.
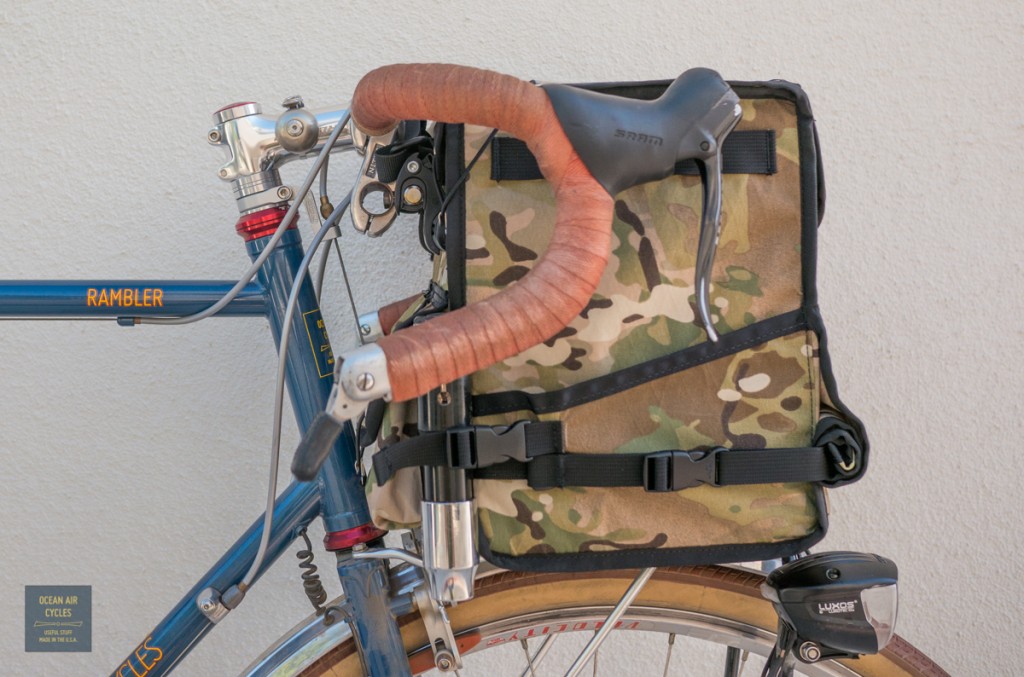
 My picture of the mounting hardware turned out terrible. I will insert one from the next bag I set up. It really is the most straight forward step, just nuts and bolts. That is it. From there the nylon strap goes over the tombstone on your lower rack, and the pannier hooks grab your hacked decaleur just like the panniers most of us are familiar with. If I know I will be leaving the bag on, or riding for long periods off pavement, I take the time run the bottom velcro straps through the rack. Honestly though, I do not use them for most of my day to day riding.
 Based of feedback from other riders using Swift bags the Berthoud decaleur for threadless stems is also a good solution. There are a variety of off the shelf solutions that will get you where you want to go. My hack above works better than most IMO, shaves a bit of $$ and feeds your inner maker monkey. At some point we will offer a packaged solution, but there are a few other projects ahead of it in line.
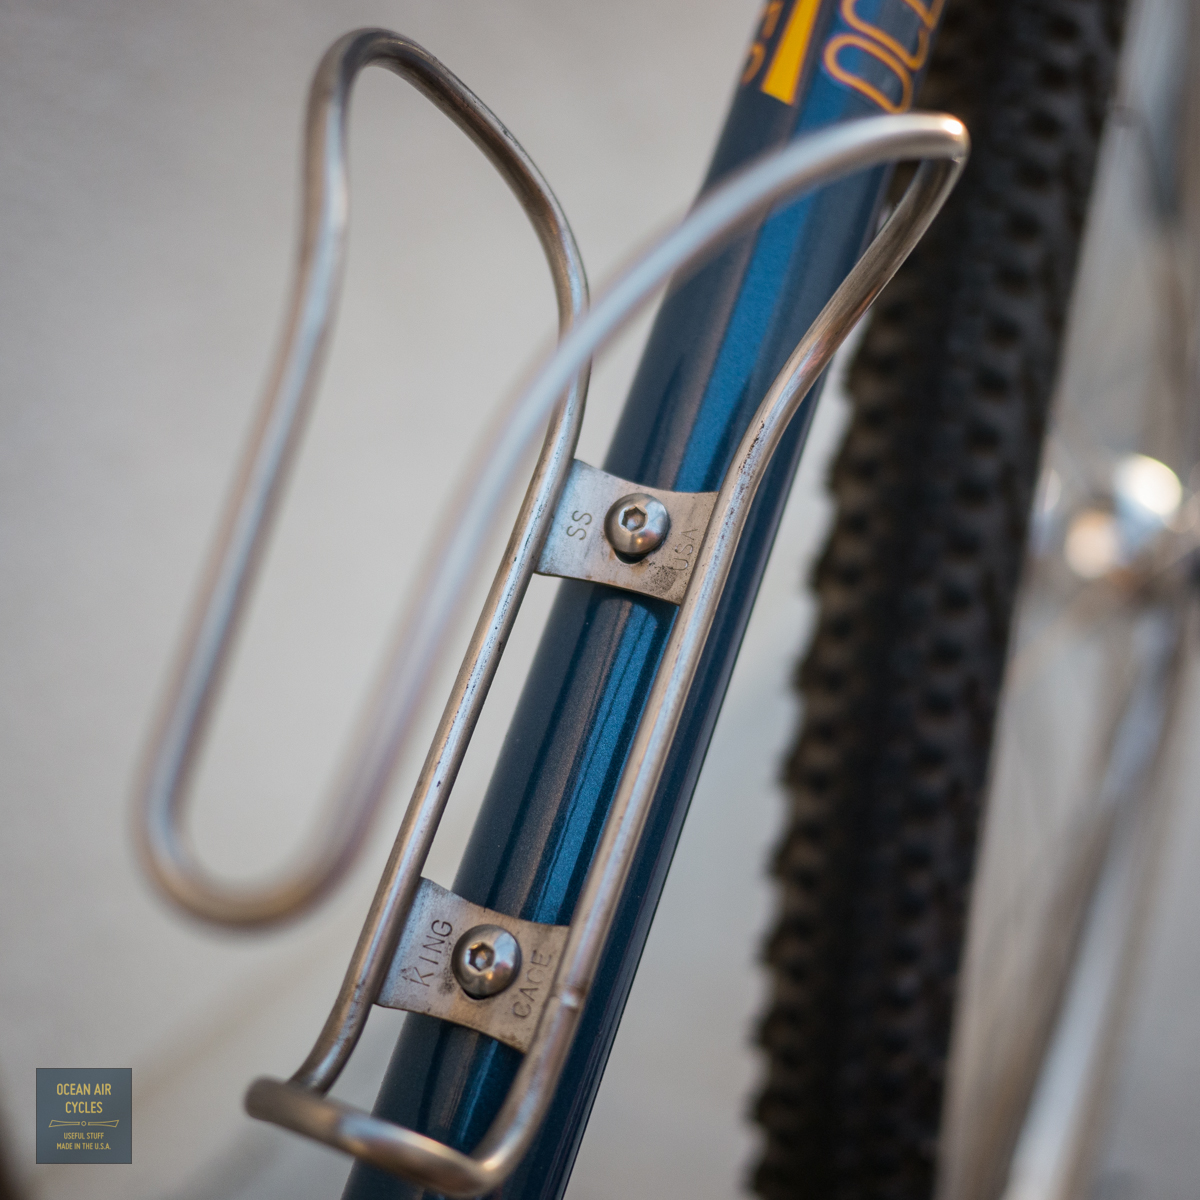
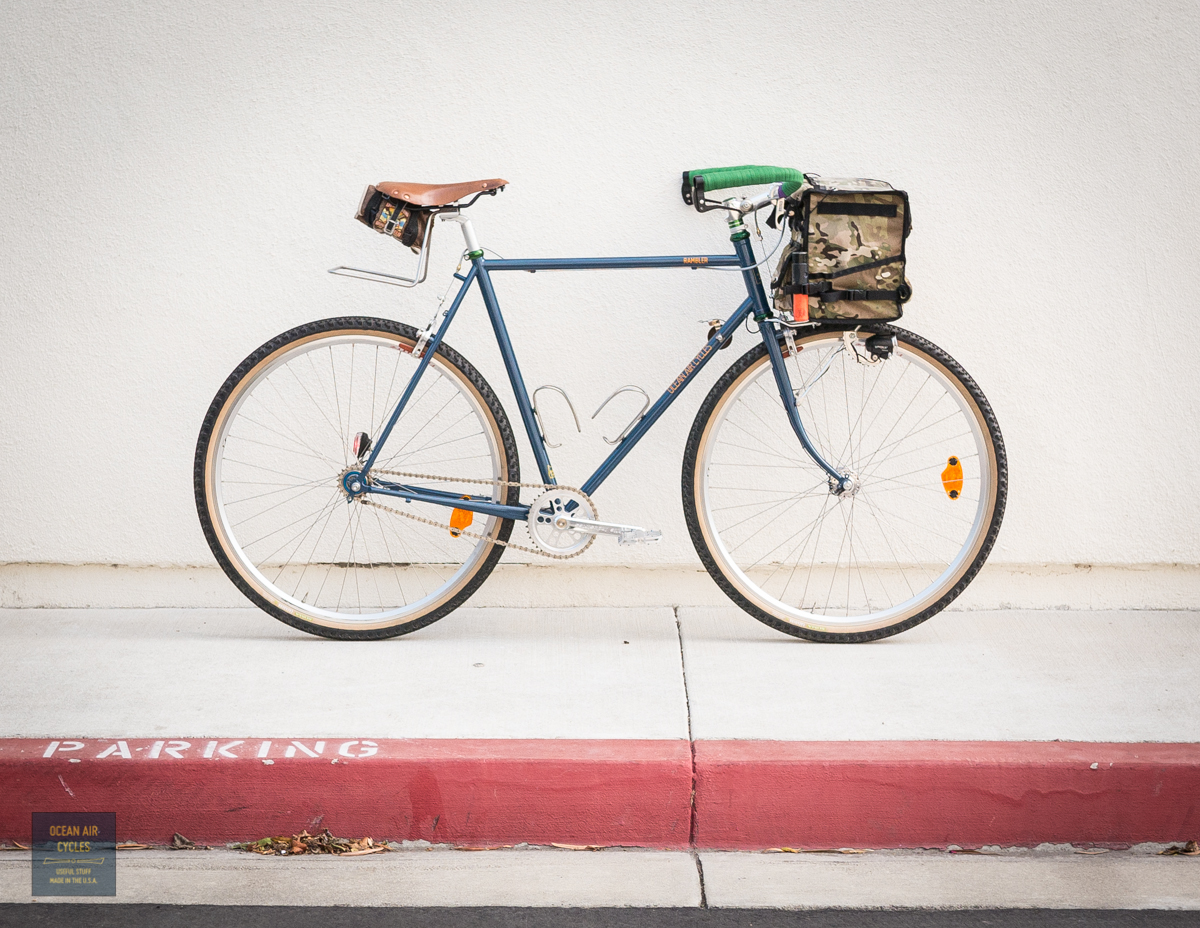
 Andrews King cages are made in Colorado from tubular 304 stainless. They do everything a cage is supposed to do: hold your bottles, not let go unless you are pulling it out the top, easy to get the bottle back in etc. They do two different shapes, the standard King cage and the Iris. The standard King cage is based on traditional designs and just works better than anything else we have tried when using standard bidons (water bottles). The stainless steel will not markup the bottle either.
 The Iris is unique in the bottle cage world. formed from the same 304 stainless it has all the basic properties of the standard. The shape holds as tightly too, but there is no inwardly bent upper tab. The in turn works much better, and rattle free, with many of the metal bottles like the Klean Canteen. his one will scuff up the metal bottles a bit, but IMO is a fair price to pay for not rattling
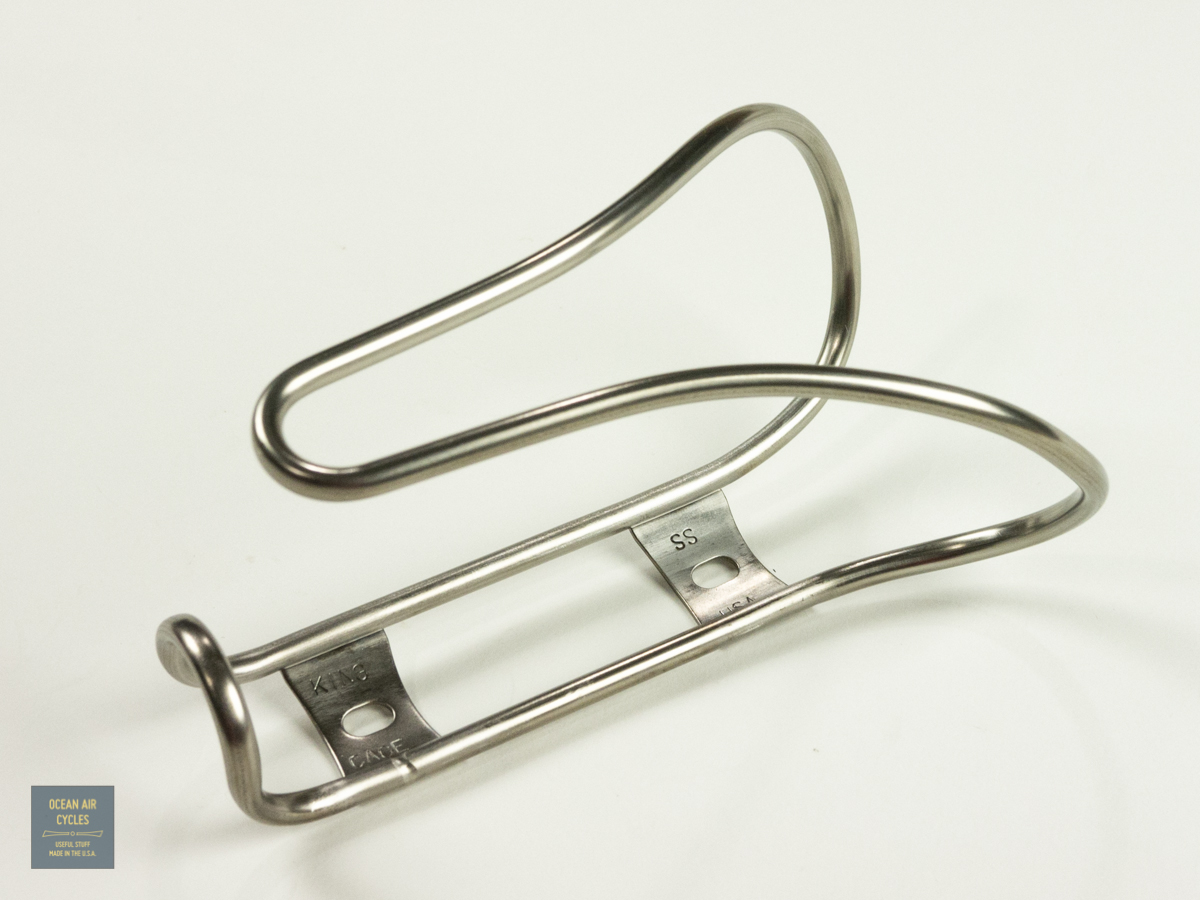 We love and use then both on our Rambler builds. As an introductory bonus for adding them to our lineup of offerings you can use coupon code OCEANKING to shave $2 off each cage until current stock runs out or tomorrow night, whichever comes first.