Practical Load Testing

One of the fundamental requirements of pushing the limits of the Rambler in the real world is load testing.  As the test pilot, this can get interesting.  I have both a vested interest in the success of the design as well as keeping my teeth.  As much as possible I try to keep the loaded riding practical, i.e. running errands that need to be done anyway.  Today I found some of the limits of load distribution while also pushing the boundaries of a prototype saddle bag support.
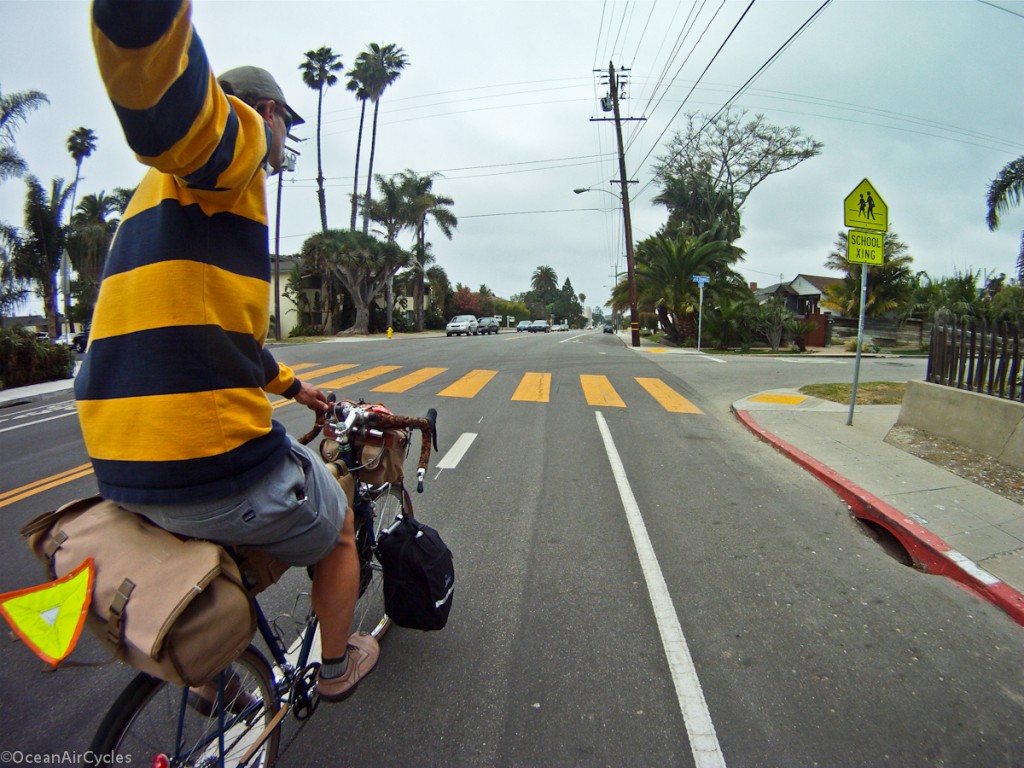
I notice a couple of high vis patterns here

Through a series of stops the load progressively pushed higher.  I am hitting the scales at about 220lbs right now, the racks add another 3 lbs or so, the empty bags are close to 4lbs and then there is the camera gear at 3-5 lbs.  Today’s final grocery stop added 40+ lbs of stuff.
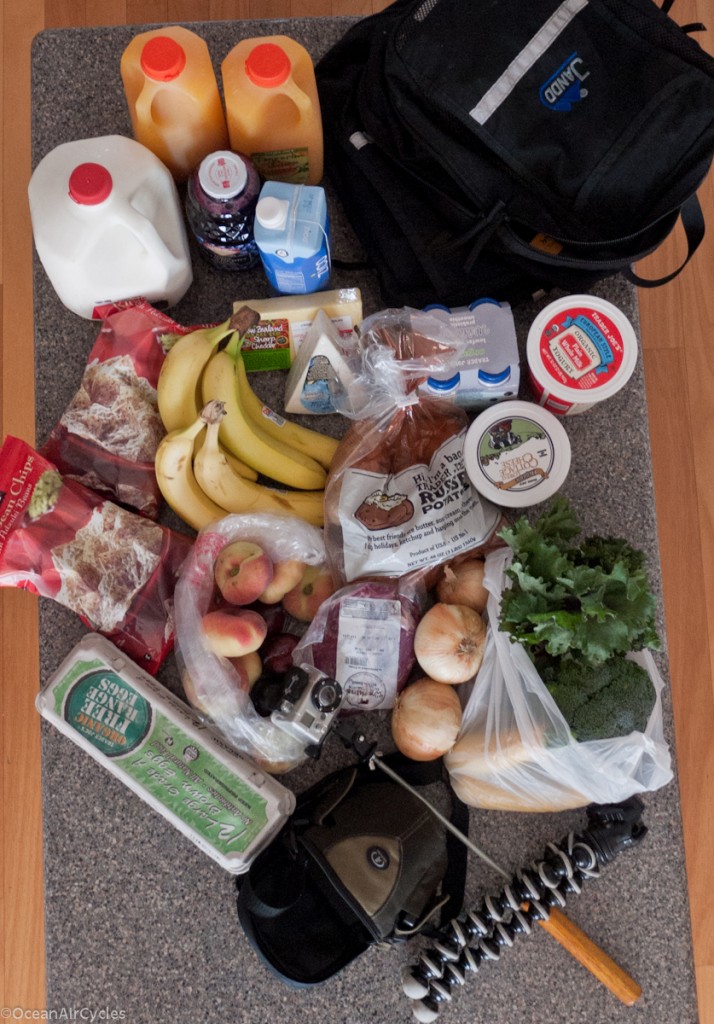
Yes, we eat like hippies.

With load testing the bag support in mind I put all the juice, milk, liquids and potatoes in the rear bag, just over 30lbs.  There are a couple of observations.  The saddle bag support held the load fantastically without transmitting any twist to the saddle the way a Bagman has in the past.  This load did push the upper limit, where the handling of the bike was diminished.  I could feel excessive flex in the rear of the bike, and while nothing broke, after a mile or so I stopped to redistribute the load.  The sensation was more of a tail wagging the dog, with twisting of the frame from the rear as the load swayed.  I moved roughly half of the rear load to the panniers and everything went back to normal for the 10 miles remaining. I could even ride well enough with no hands.

This confirmed my design optimization of keeping the front end stiff enough for stability with moderate loads and the rear end compliant for both pedaling and road quality comfort.  With or without load, I am ecstatic with the handling of the bike, and managed to hit 98% of my design goals on the first pass.  While not wanting to put a weight limit on the bikes, rides like this help me to clarify the outer boundaries, and are fun too.  There is something primal yet fun about pushing the limits of our creations and having it work.
Formal Testing

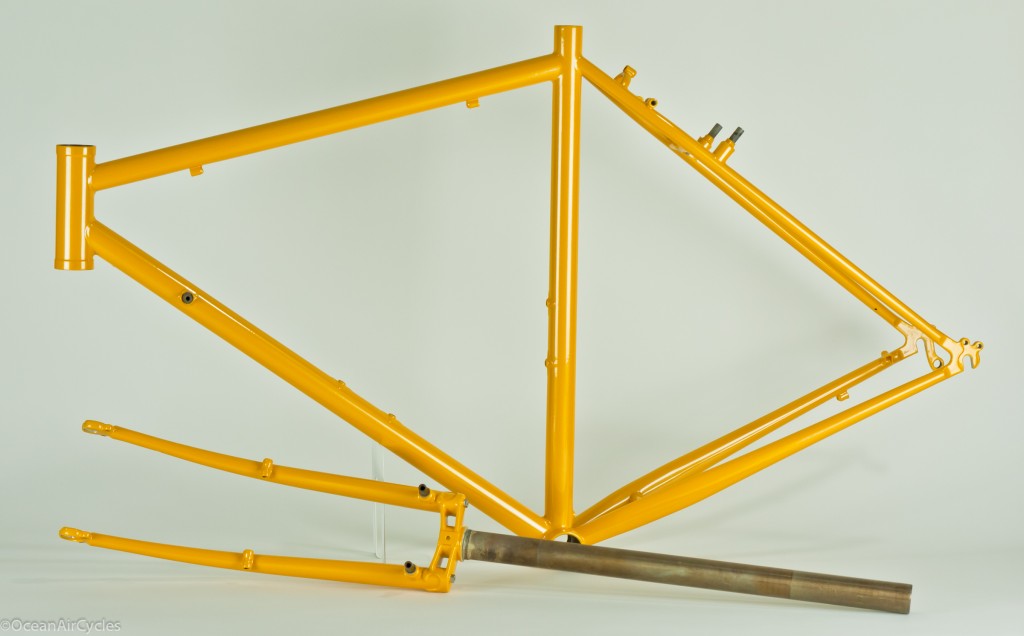
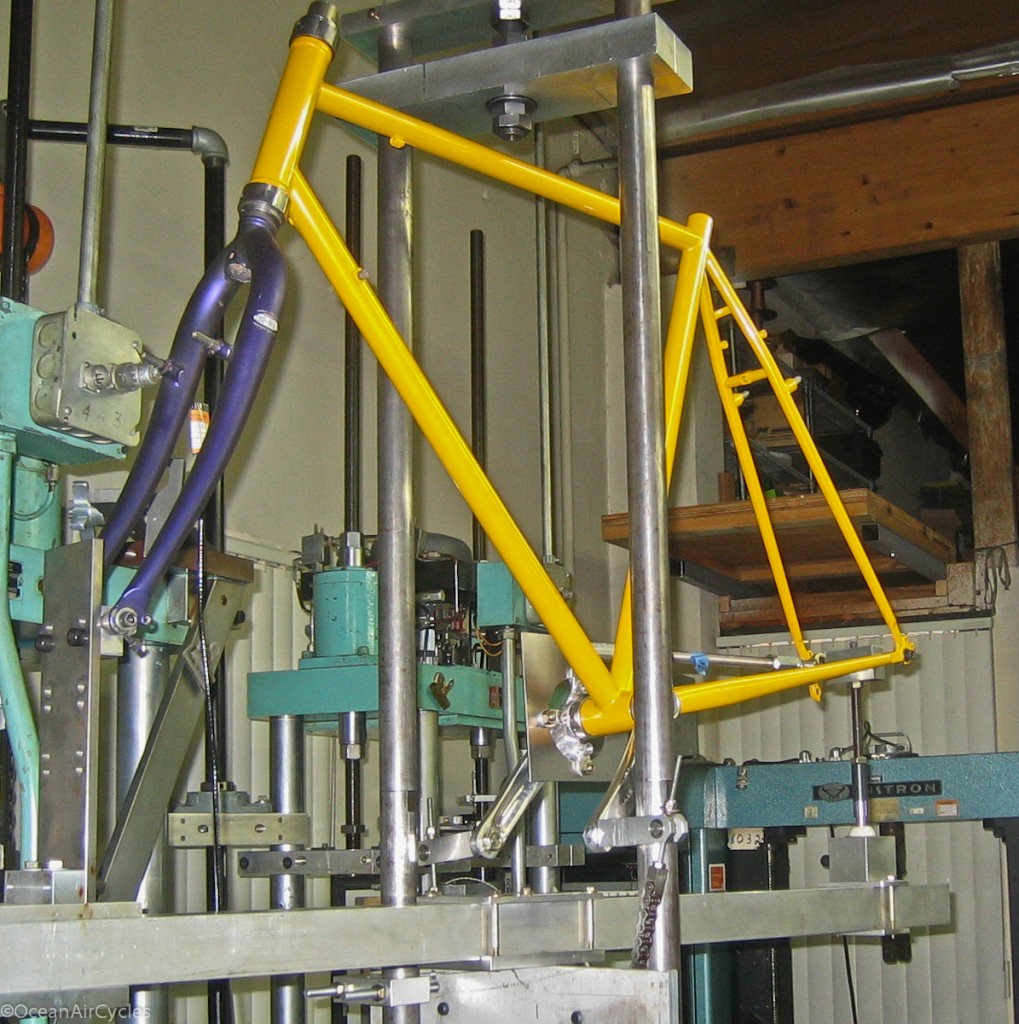
Aside from the usual ride the heck out of the bike sort of testing that needs to happen, I am also enlisting the services of a lab to test the frames and forks to EN standards.  This is to ensure that the designs OAC puts out there will exceed the European standards for racing and trekking bikes.  These standards are more stringent than those set forth here in the US, and help to ensure that these bikes will not only function as hoped, but meet the strict minimum standards loading and fatigue.  Today the pedaling fatigue tests started, and this is what the frame looks like in the testing machine.

This test will run for about a day, and then we move on to impact and fork fatigue and impact.  The lab while closer than most is still a few hours from OAC Headquarters.  This makes coordination of me being there a bit of a challenge, but the goal is to be there and capture some video to share as well.

This kind of testing will be integrated into our ongoing QC processes as we move from testing into production.  It is just part of the full program to ensure that the frame set you buy to build up into the bike of your dreams will be everything we here at OAC designed it to be.  This kind of testing, while being the smart thing to do is not mandatory in the industry depending on how a company markets its frame sets.  Many companies do this, I also believe many do not.  Those that do seem to put it out there, brag about it, or at least mention it.  It should make you, the rider, wonder what has been done to make sure your current or future bikes are what you hoped in terms of material performance.

I know I will be keeping everything as transparent as possible, so that you all out there can have confidence with any of our bikes between you and the road .

Color Shots

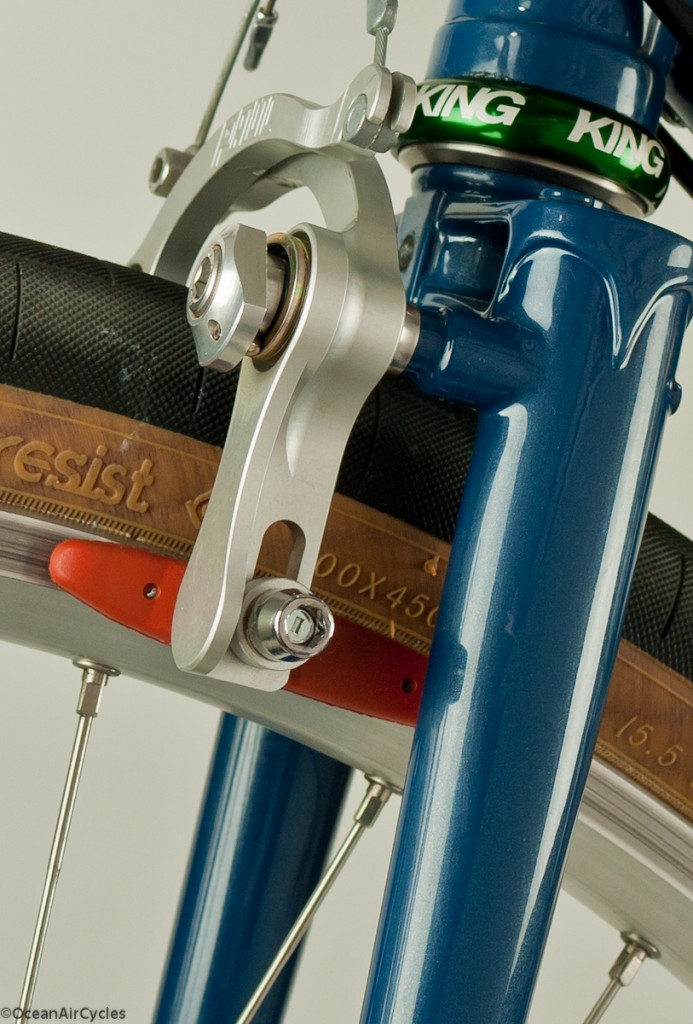
There have been some requests for better pictures of the color options on the frame sets.  I put some time into my studio lighting this past week and was able to get some shots of the blue and red.

I feel that these capture the color as best as I am going to be able to with a camera.  All three colors have a fine metallic that adds a nice shimmer and depth that is challenging to capture with a camera.

Decal Mockup

We are getting very close to the final decal art.

The down tube logo needs to shrink just a smidge to fit well on the smaller sizes.

Thinking about a Rambler?  Don’t forget to sign up for the newsletter to receive progress reports and discount codes via email.

Thanks for reading, happy Friday, and have a great extended weekend.  Get out there and ride, take a moment, hell more than a moment and remember how and why we here in the U.S.A. have the freedom to ride and play the way we do, thank all of the men who are serving, have served in any way and have given their lives to preserve this treasure that we have.

Yellow 51

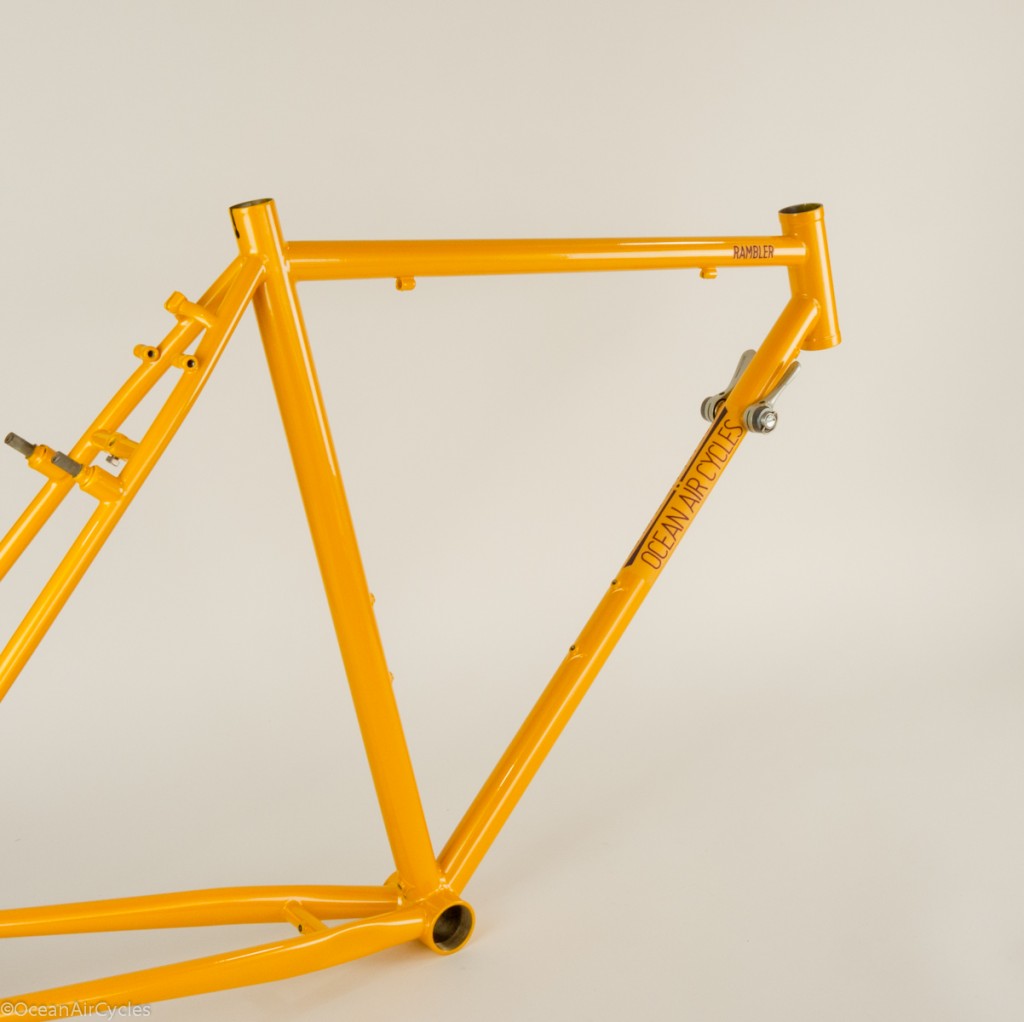
I have been putting some time into getting my photo set up dialed in and wanted to share made this picture of the 51 in yellow.

I am pretty happy with the way this lighting arrangement captured the high and low-lights of the yellow.  All three colors: Red, Blue and Yellow have a fantastic fine metallic that borders on pearl.  The catch is how hard it is to capture and communicate that through a computer screen.

Now back to getting the decal art sorted out.