As part of the recent rebuild of my personal Rambler I included a new dynamo powered tail light. THe B&M Secula is looking to be one of the better options for 2014 and I wanted some first hand experience with set up and performance.
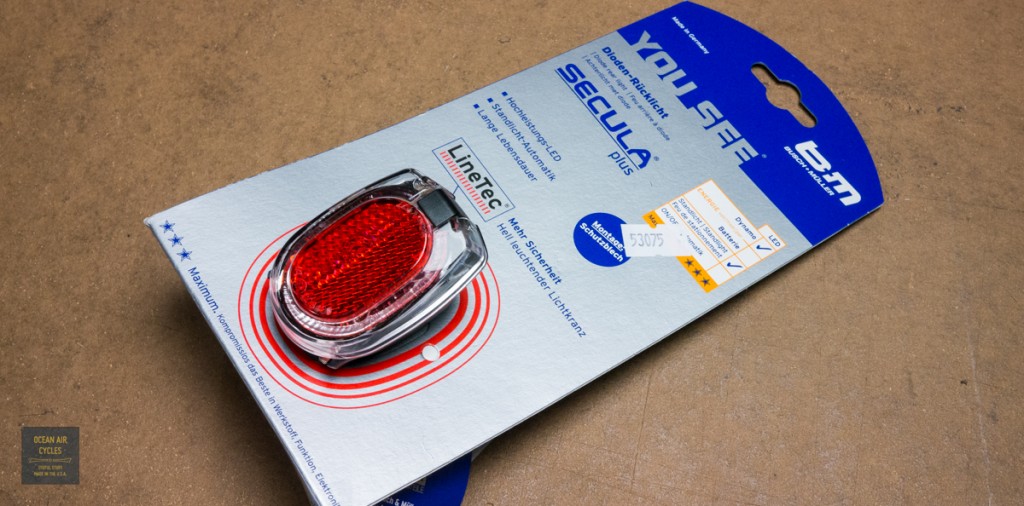 My previous go to light was the B&M Seculight, also a good performer and better than many battery powered lights on the Market. The Secula implements what B&M is calling LineTec. The LED shines into a thick prismatic lens distributing the light across a wider angle of view. Initial bench tests look quite promising, and I am looking forward to getting this out in the dark.
One thing I never noticed with the older B&M packaging was the direct intent to be used as a hole template for drilling the fender mounting location, this worked out nicely.
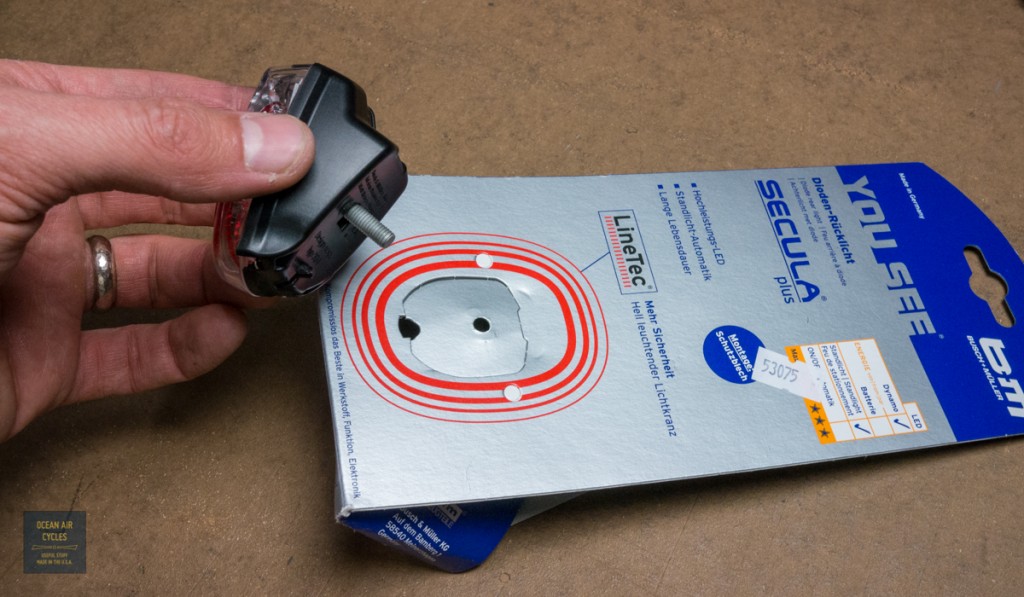
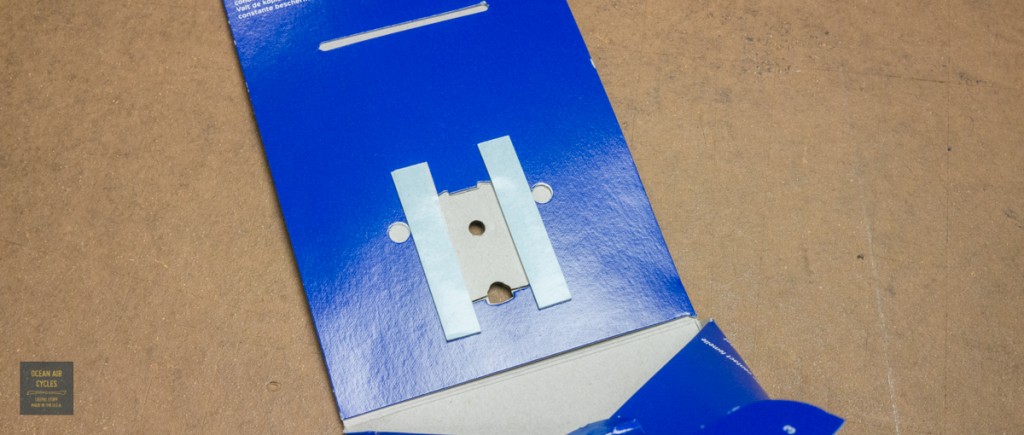
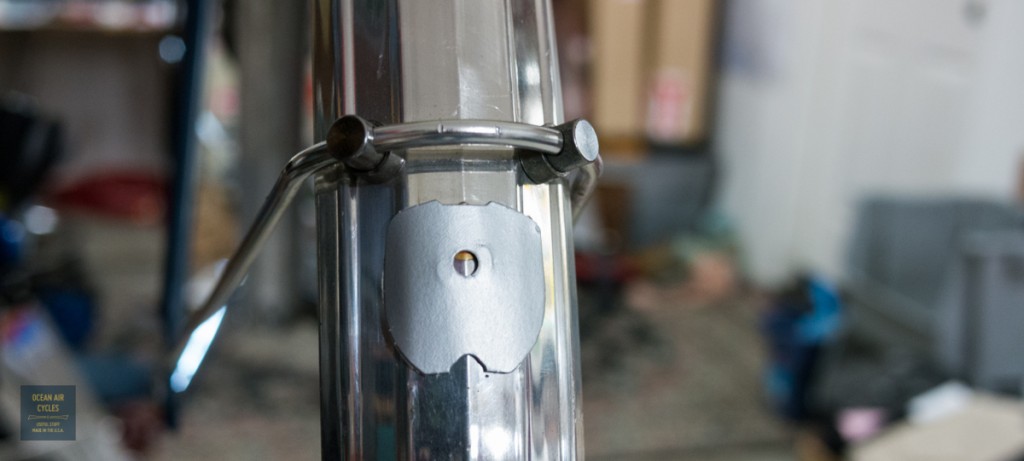 Everything went together well as a standard fender mounted tail light would. The only thing that bothered be a bit was the wire routing out of the fender to the bottom connection points. The design intent is to use a common hole for the alignment prong on the light base and the wire pass through the fender. As a rule I always use a relieve grommet on the holes to ensure the wire does not get cut over time. This led to a space conflict as well as the light base no longer following the curve of the fender. I resolved this by cutting a small section out of the relief grommet as well as shimming the mounting bolt with a round leather washer.
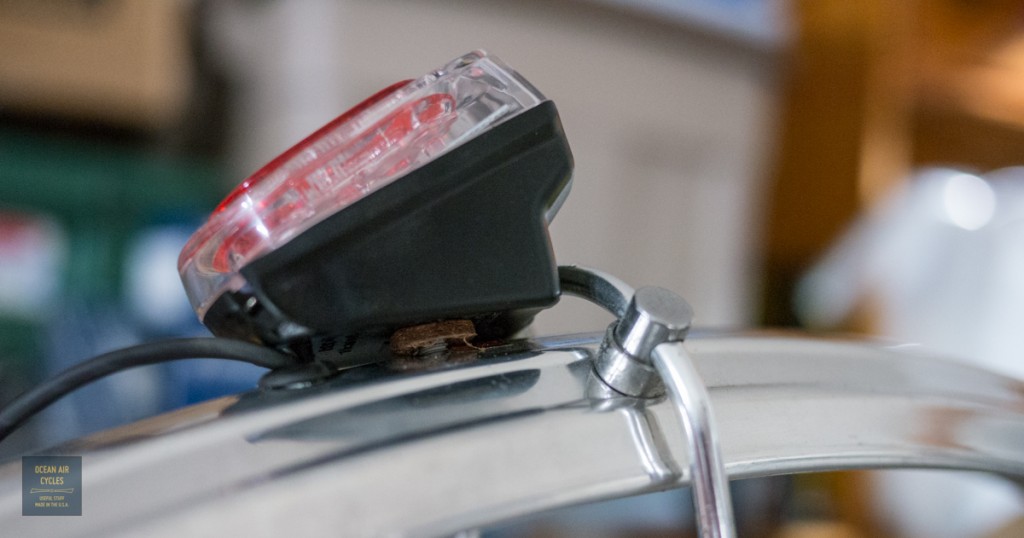 It all pulled in flush and snug. I replaced the stock nut with a nylon lock nut and trimmed the bolt a few thready to maximize tire clearance. It all came together well.
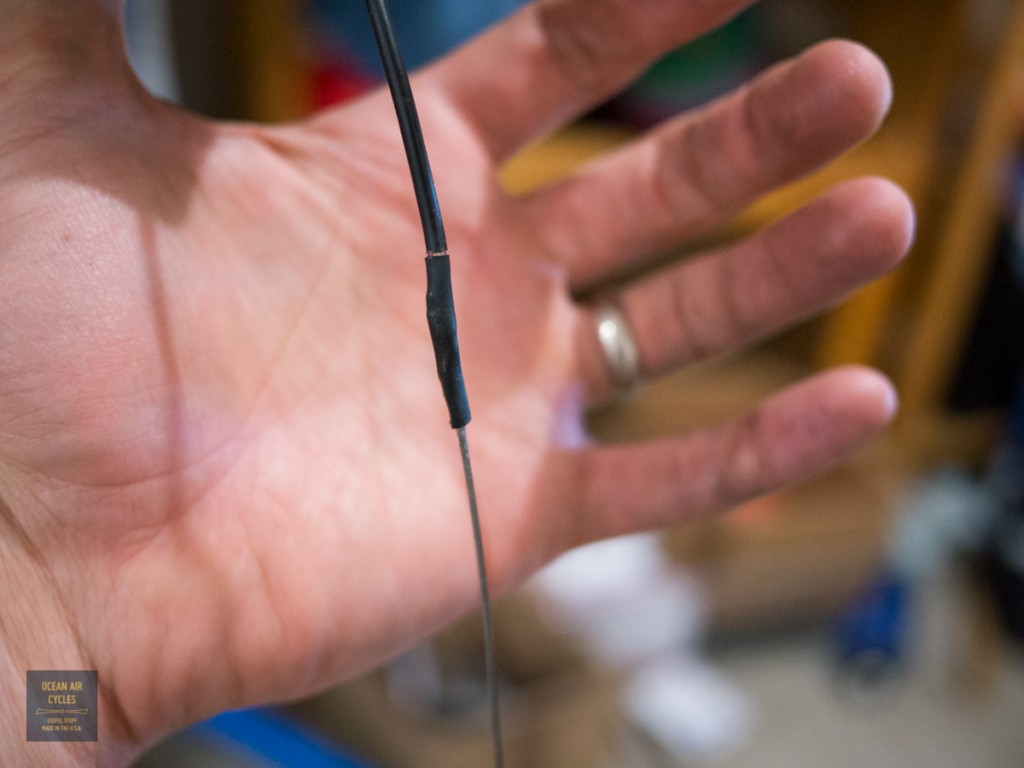
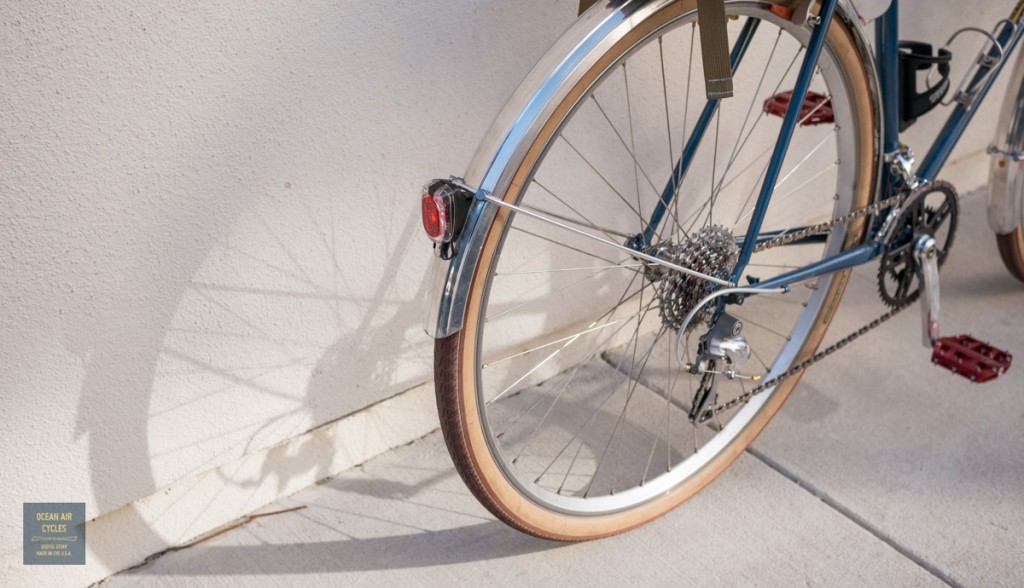 Through frame wiring was a breeze. I use an old derailer cable butt spliced to my dual conductor wire with the glue filled shrink wrap as a wire fish. All wire runs are through the frame or inside the fenders with the wires tucked into an edge. The exposed run from the seat tube to the rear fender is secured with a short piece of cloth tape. THe front fender had been previously drilled for a head light only. For this build I opted for a second set of holes. On new builds I generally use a larger hole and grommet to accommodate the two wires.
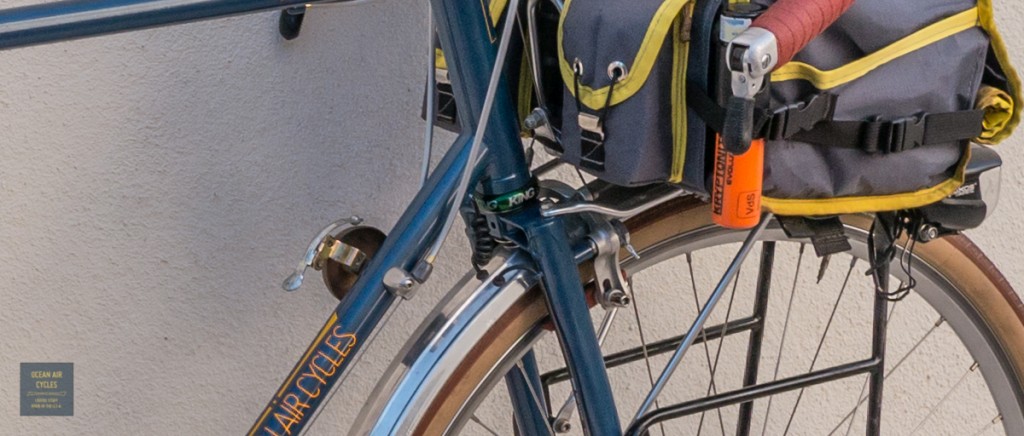
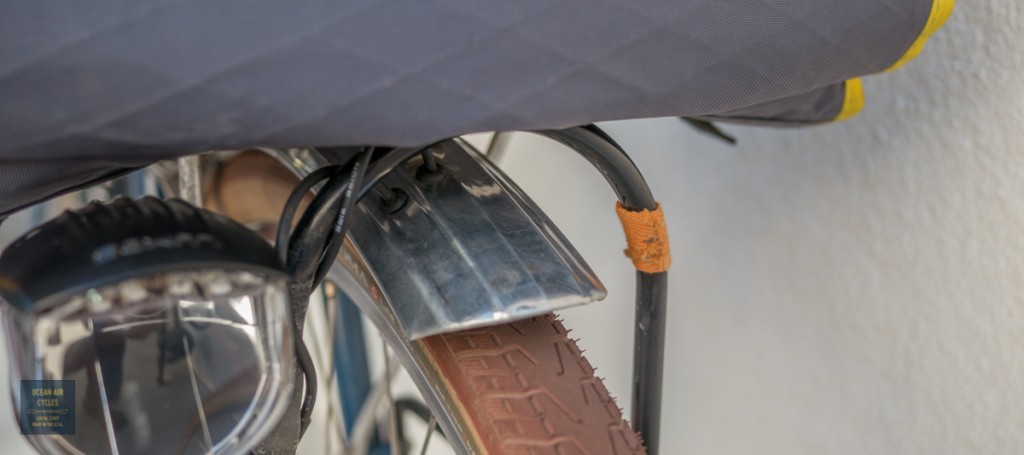
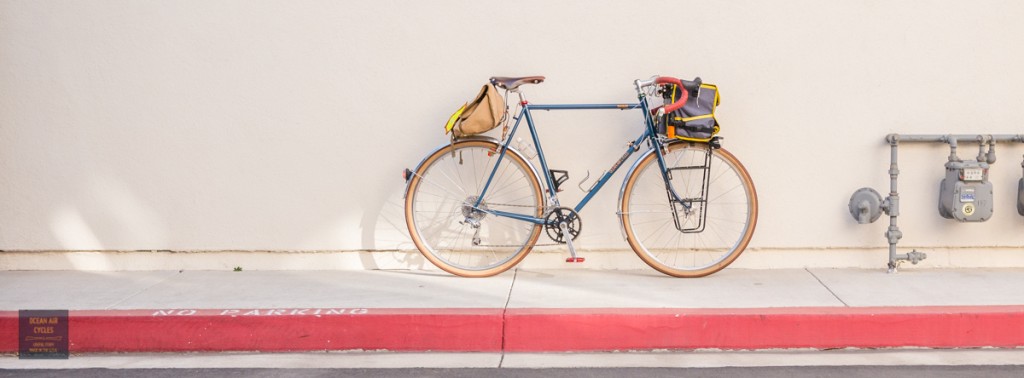
 My personal Rambler is finally reflecting the complete vision of what a Rambler is meant to be. There are a few details like the bottle cages to take care of still. My Rambler will also be the test bed for rack and bag projects, so matching there may never happen. Overall though I am thrilled with the way this build came together
That looks great Rob. I still need to mount my taillight to my fenders but I need to remove the BB and fish new wire through so I’ve been putting it off. Where did you get that washer for the fender? Can I get that at Home Depot or something?
Thanks, the grommets can be found at most well stocked hardware stores in the electrical section, they are called stress relief grommets I think. THe ones I use for a single wire take a 1/4″ hole. I will gram a pic and the drill bit I use in a little bit. Thinking about it I should do a “drilling holes in fenders” post this week too.
This is great craftsmanship. I plan on following your guidance when I install my taillight sometime soon. One comment: (and please don’t read this as typical internet criticism for its own sake) would it perhaps be more effective to mount the taillight a little higher on the fender’s curve so that it points more directly at a driver’s eyes? Just a thought.
I hear you on the mounting. THis is actually more a function of the stock vela orange holes than my preference. I have gone above and below their mounting points on various builds, and above ends up pointing at the moon, and below (as in this post) ends up low and just at horizontal. In defense of the situation here, the light has an amazing angle of view as well as casting a large red area on the ground. The Secula has solved most of the things I considered shortcomings of the existing lights. So well that I am no longer even thinking about my own hacked improvements
This is one of the arguments for buying undrilled aluminum fenders IMO… the pre drilled ones always seem to place the rear stays right in the perfect spot to put your taillight.
Rob, did you encounter a pair of small grommety things in the bag-o-bits that came with your secula? About to install mine and wondering what they are for.
I am pretty sure they are for waterproofing the entry holes on the bottom edge once the wires are installed. Honestly I did not use them, we so seldom get rain, and they were a pretty big pain to get in place well.
In my 5th pic down you can see where the wires would go into the bottom of the housing, that is where the grommets were intended to seal around the connector as it enters. Never having had trouble with external connectors on the other lights I decided to leave them open as drain holes
The small “plugs” are designed to connect the wires to the male spade connectors inside the light. A small hole is drilled through each plug – note dimple in plug end. The supplies two-strand wire is divided and each strand is paced through one of these tiny “plugs”. The wire is stripped, laid in the grove of the plug and folded over the top of the plug. When the “plug” is pushed into the light, the wires make contact with the spade connector.
When i setup my Secula Plus, I used the female spade connectors supplied to make the connections. Beside crimping the connectors, I soldered the wires to the female spade connectors and used the supplies shrink tubing to “weatherproof” the wire-to-spade connection. Hope that helps.
Thanks Rod, it now makes perfect sense. They are like mini single wire Shimano plugs.
Thanks very much for this page. I have a couple of questions, if you don’t mind. (And I’m new at all this, so I hope these make sense.)
1. When I was at the hardware store getting relief grommets, I couldn’t remember which size you said, so I got a couple of each. Is that 1/4″ hole you mentioned the same measurement I want to see on the inner part of the grommet when I lay the ruler into the Death Star’s trench?
2. Why did you use a leather washer as a shim instead of using a second grommet in the mounting hole? I’d think that would allow the offset from the fender to be (almost) identical at each hole, plus would it possibly be more rot-resistant?
Thanks!
I mounted a Secula Plus taillight on my wife’s bike (fender mount). Instead of using 1/4″ relief grommets, I used Shimano’s DI-2 grommets. These grommet are split for easy wire threading and they lead the wire close to the fender – i.e. almost flush with the fender. The DI-2 grommets are oval shaped (6 mm X 7 mm) and require a little filing on the 1/4″ drill hole. The small wire hole in the grommet accepts the B&M wire supplied with the light but will not accept a coaxial wire cable.
To mount the light, I used a washer and Nylock nut instead of the supplied B&M nut. In addition, I place a thin leather gasket between the back of the light and the fender.
Thanks much, again.
I tried the Di2 grommets at one point, but I think I bout the smaller ones by mistake. THank you for reminding me to dig this up and see about getting a pack of the larger ones.
1. Yes that size is good for a single wire. There is a slightly larger one that I use for two wires through a single hole at locations like the front fender.
2. A second grommet would probably work, but I have the leather washers on hand. I am not sure why the Secula is designed in a way that leaves it sitting funny when mounted. It is one of those subtle things that most people would not even see or care that much about.
All right, this weekend: WE ARE GO FOR TAILLIGHT.
I appreciate the information–thanks!
So there really is no neater way of handling the wires than just sort of bunching/looping them south of the housing? Given the kinds of high-end bikes that use these and the intent that they be routed through the alignment peg hole, that seems kind of odd.
(Not to mention all the marketing images that show the taillight all nice and clean on a fender, with no wires showing…)
I agree with you on the desire for a more integrated path into the housing. The wire could be run tighter to the light housing, but there would be 90 degree bends in the wire at connection points. I am more comfortable with wider sweeps and less stress on the wire.
Me too, but I’d be even more comfortable with connection points that aim straight out the back of the housing instead of down from its bottom. They already make two models, one for seatposts and one for fenders–you’d think the fender model would be more suitable for, well, fenders. And B&M is clearly aware it’s undesirable, or they wouldn’t have removed the wires from their marketing images.
Anyway, my project’s temporarily on hold while I get a crimping tool (and wait for Amazon to send me some IRC racer’s tape for the wire routing), but your pages are printed out and waiting in the basement on a music stand. Back to it soon…
Do you mind if I ask what size and brand/model of fenders you have? Are they for 700c?