At the current time the Mark’s Rack made by Nitto is the best option available for fitting a small front rack to your Rambler as a bag or basket support. It has all of the hardware needed to mount and only needs the struts trimmed and slightly adjusted (bent) to fit the four point mounting system perfectly. The Mark’s rack is really a supreme value in quality and strength, yet versatile. Having one in your parts bin is always a good thing, they can be adapted to front or rear mounting on most bikes. When you buy one, this is what the standard kit looks like.
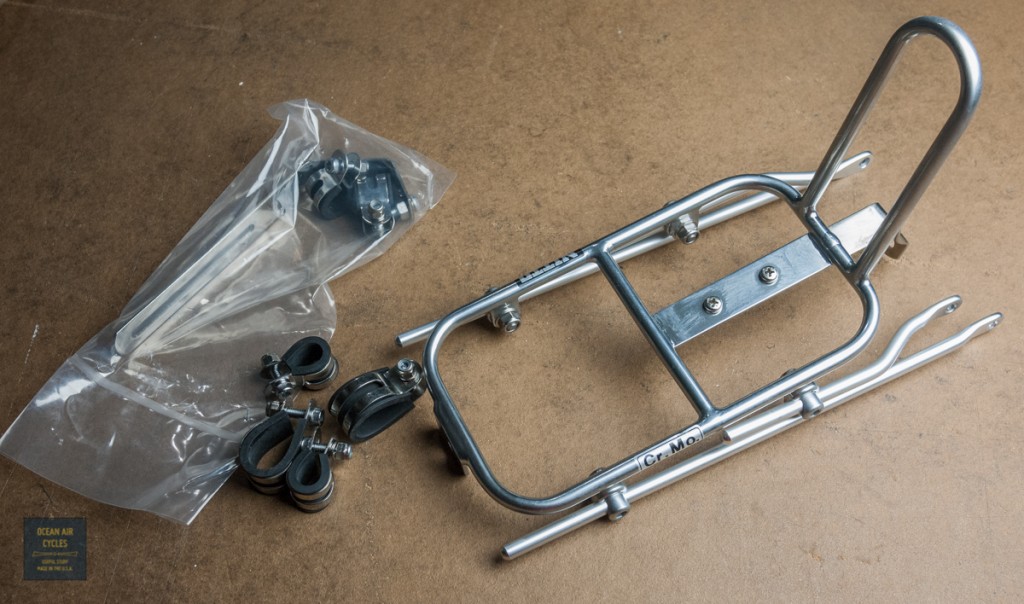 Step one is stripping off everything but the four round mounting struts. Save all of this hardware for future projects as it is some of the nicest you can get your hands on. Next loosen the strut draw bolts, 10mm wrench, a bit so that you can move the struts without everything falling apart. Mount the two front struts to you mid fork rack mounts with M5 bolts while holding the rack in its approximate final position above the front fender.
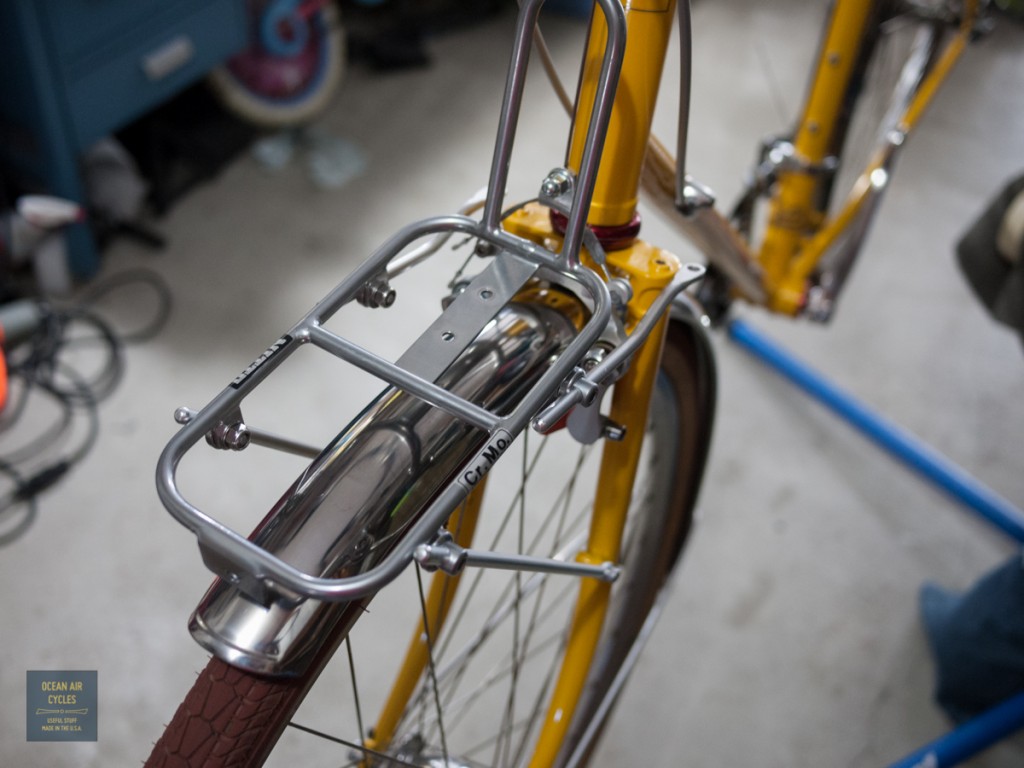 Gently tighten things into place so that approximate trimming needs can be determined. At this point you can also see about how much bending will be needed for the rear struts. Note the orientation of the struts. It can help to mark the inside, or direction of future bend. Once bent the struts are not the same, but mirror images of each other.
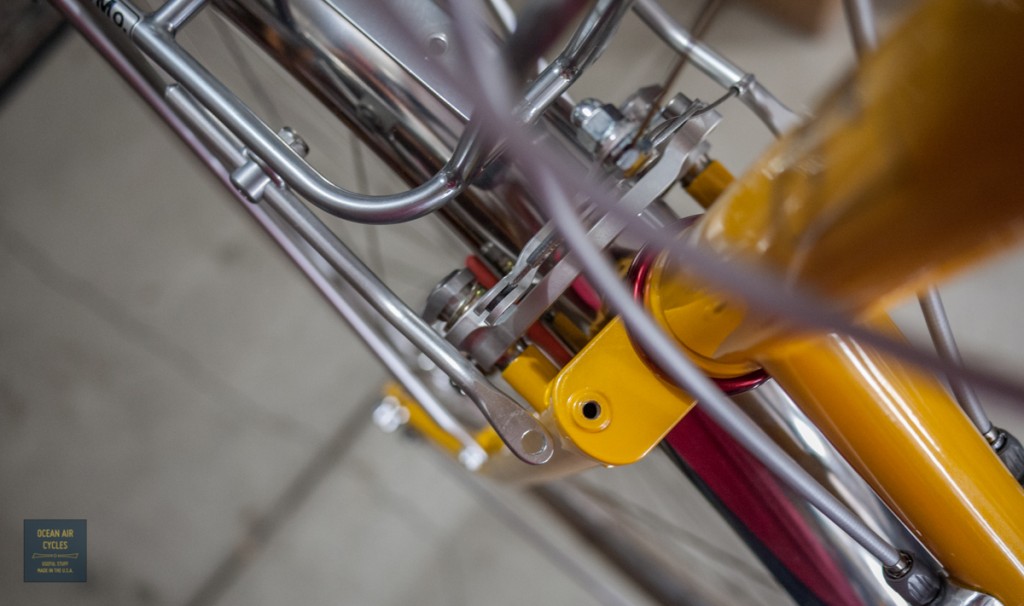 Mark each of the struts for trimming. Remember you can always cut or file a little more off, but never put the metal back. In general I leave about 1cm of strut beyond the draw bolt for fine tuning fit.
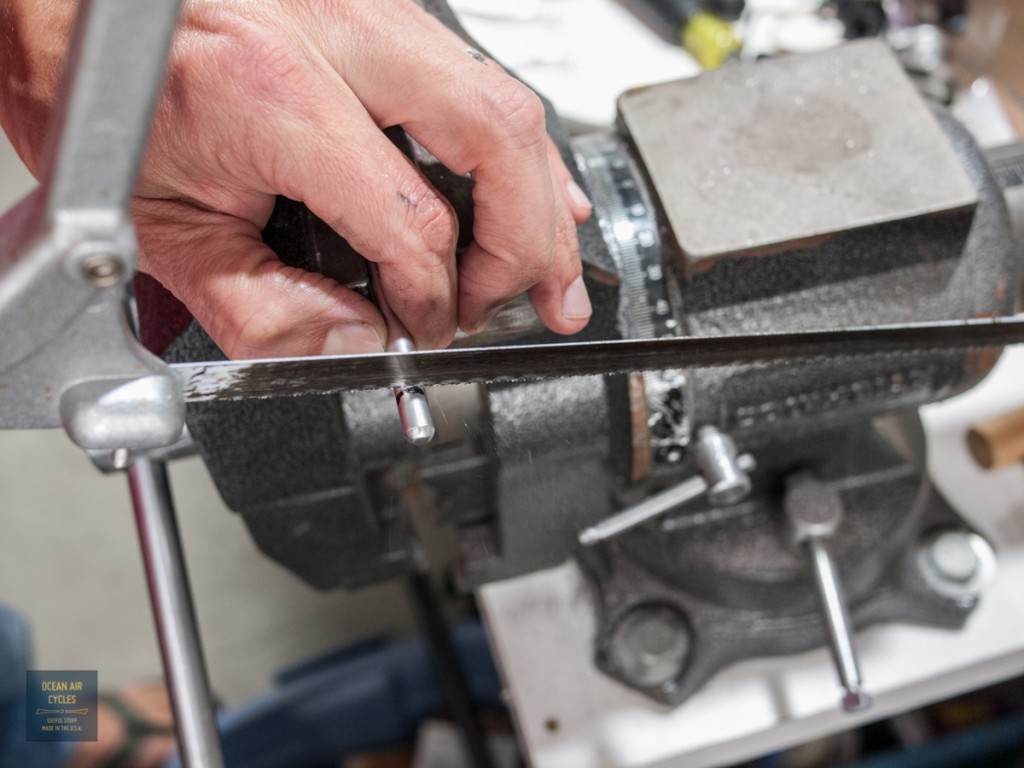
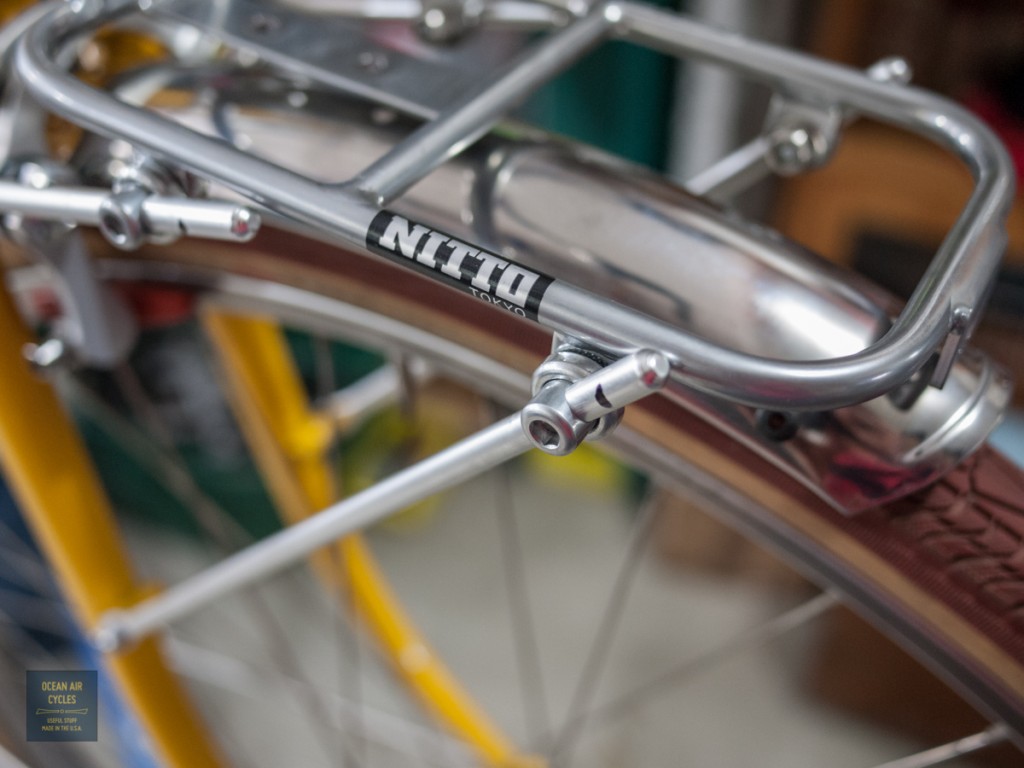 Now dis assemble everything, careful not to lose any of the small parts. The draw bolt washers and struts will likely have you proving that gravity is indeed still working at least once during the install. Carefully clamp the strut in your vice. Soft jaws or a rag wrapped around the strut are optimum, but judicious clamping force will get the job done without marring the struts. I use a hacksaw to make the cut. Again, it is always easier to take more metal off than put it back.
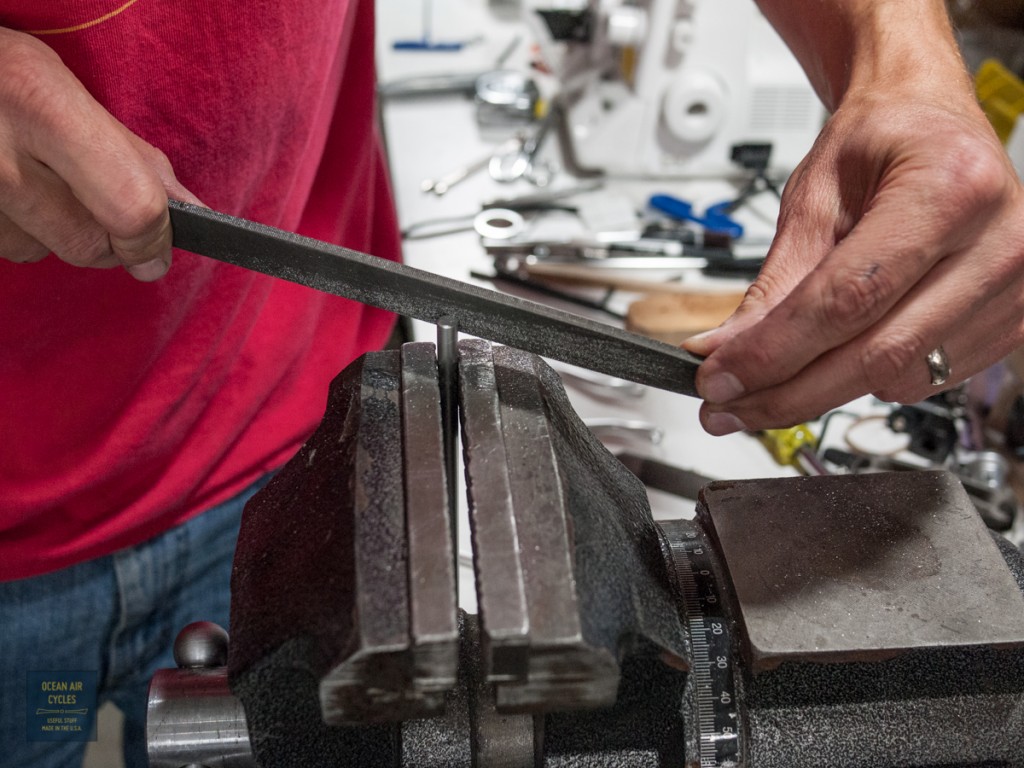
Next file the rough cut end flat, the file a bevel on the edge. For added detail it is nice to sand the end with fine grit and the matte finnish will be uniform.
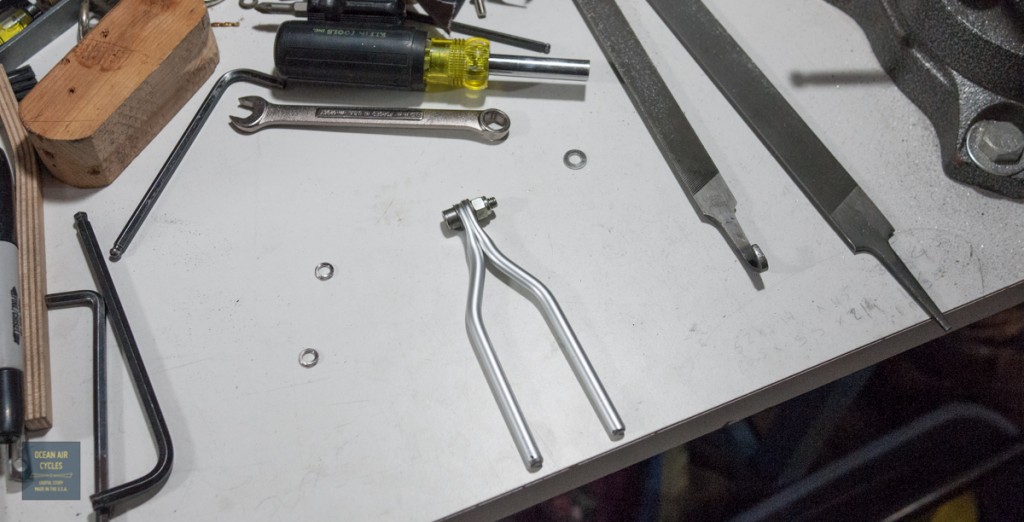
 Once all four have been trimmed, it is time to bend the rear struts. Bolt them together at the end with a M6 bolt, nut and two washers. This will keep them in alignment during the bending process.
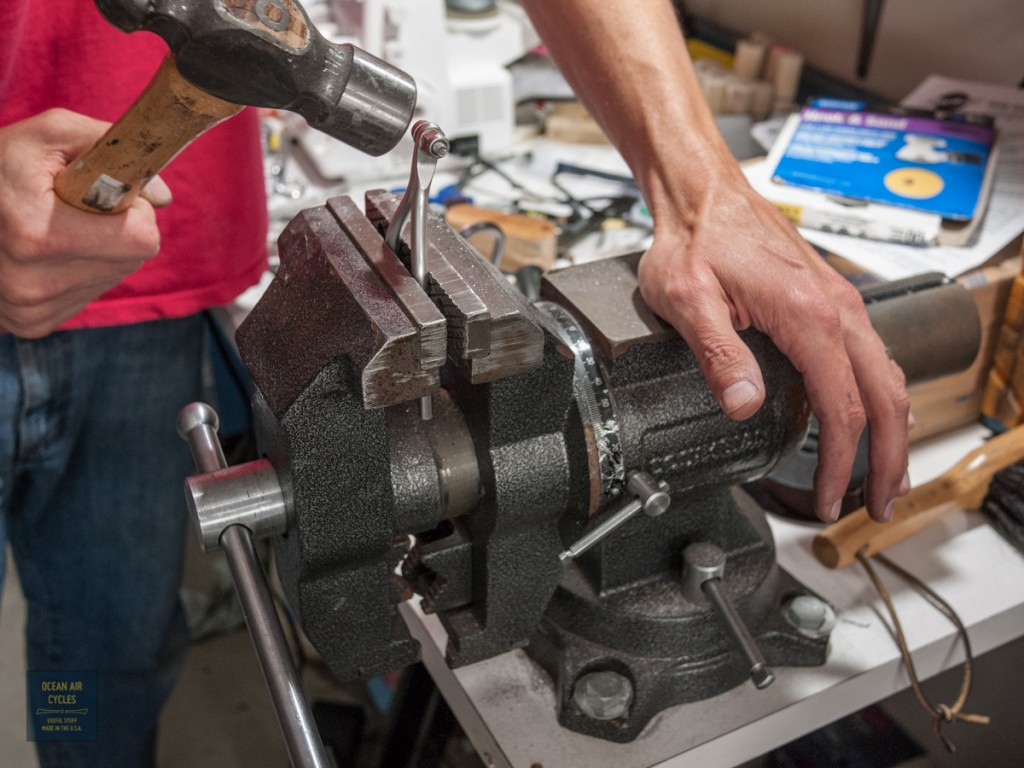
 Back into the vice, clamped just below the factory s-bend, with intended bending direction noted, it is time to move some metal. The force needed to cold set is less than you probably think. Work up to it, while you can bent them back the other direction a bit during final tuning, too much back and forth will wreck the strut.
 If things go fantastic you will get it all perfect on the first pass. Chances are that you will start back at the top and go through the process at least one more time to get the fit dialed in. That is why we leave a bit of extra metal on the struts. his is what it should look like as things come together. There is a sweet spot between tight and loose with the draw bolts and mounting bolts where you can adjust the position of the rack in 3d space with out everything coming apart. The goal is to have the struts cold set such that there are no spring forces in the mounted struts. This will help to extent the fatigue life of the system.
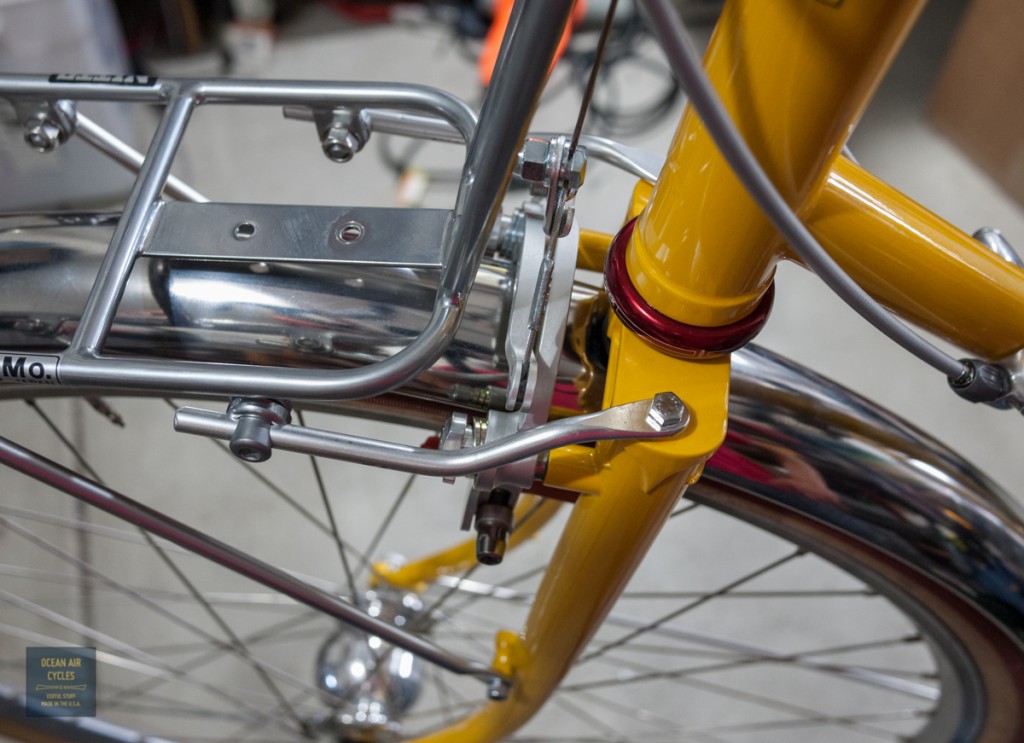
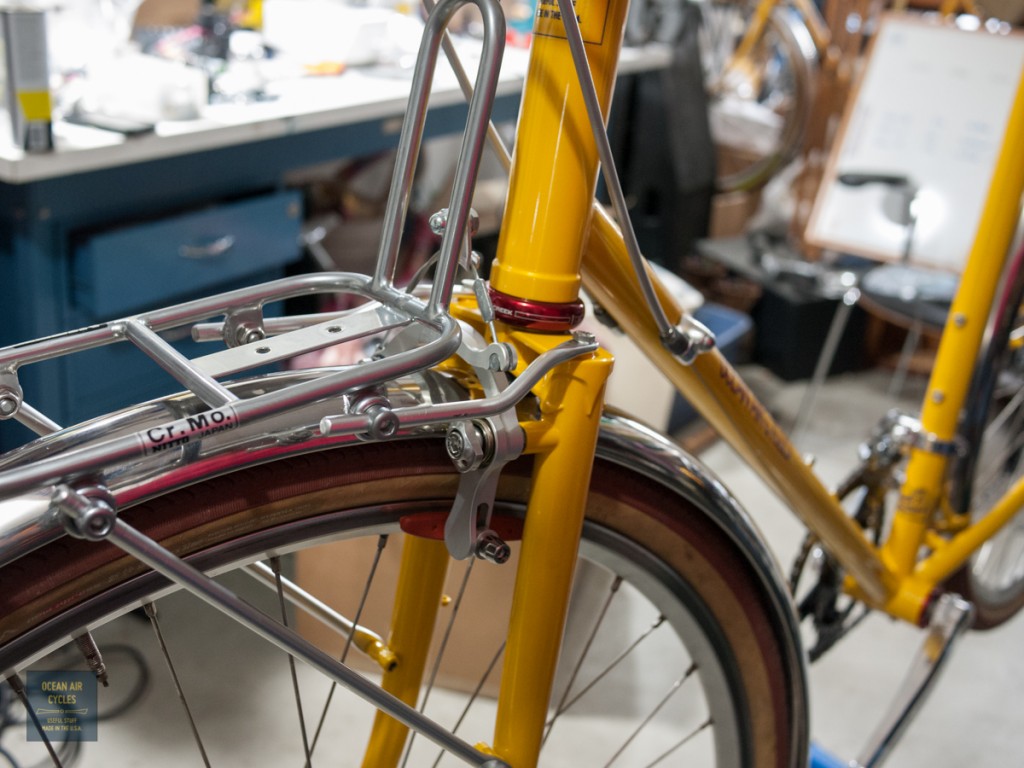 For the final tightening, use one of the included split washers between the bolt head and strut. Clearance above the fender should be close, but not so close that movement of the fender results in a rattle. If desired one can make an angle bracket to connect the fender tip to the rack for added fender support. Here it is all together with a headlight mounted.
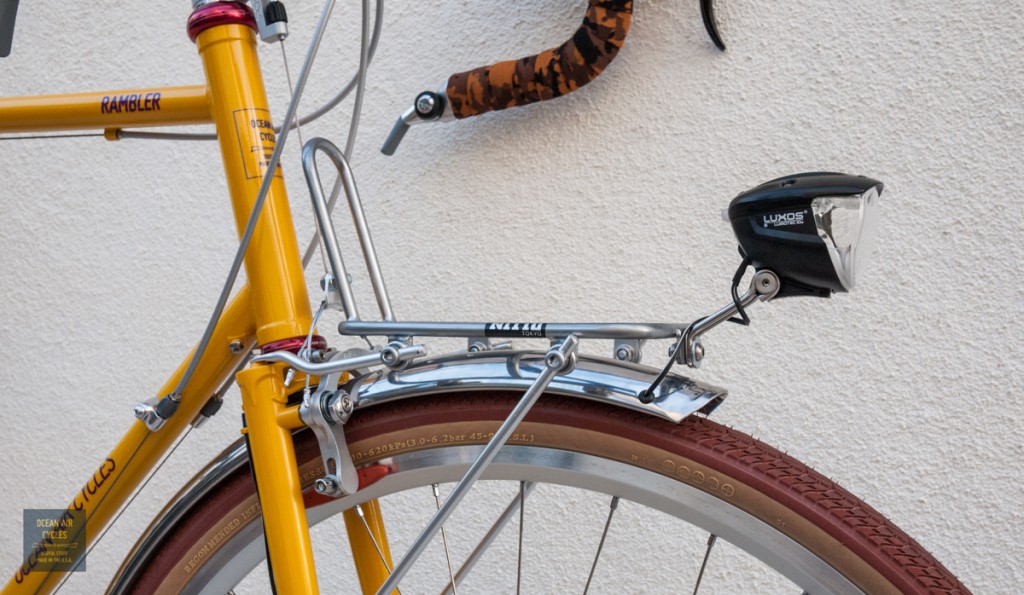
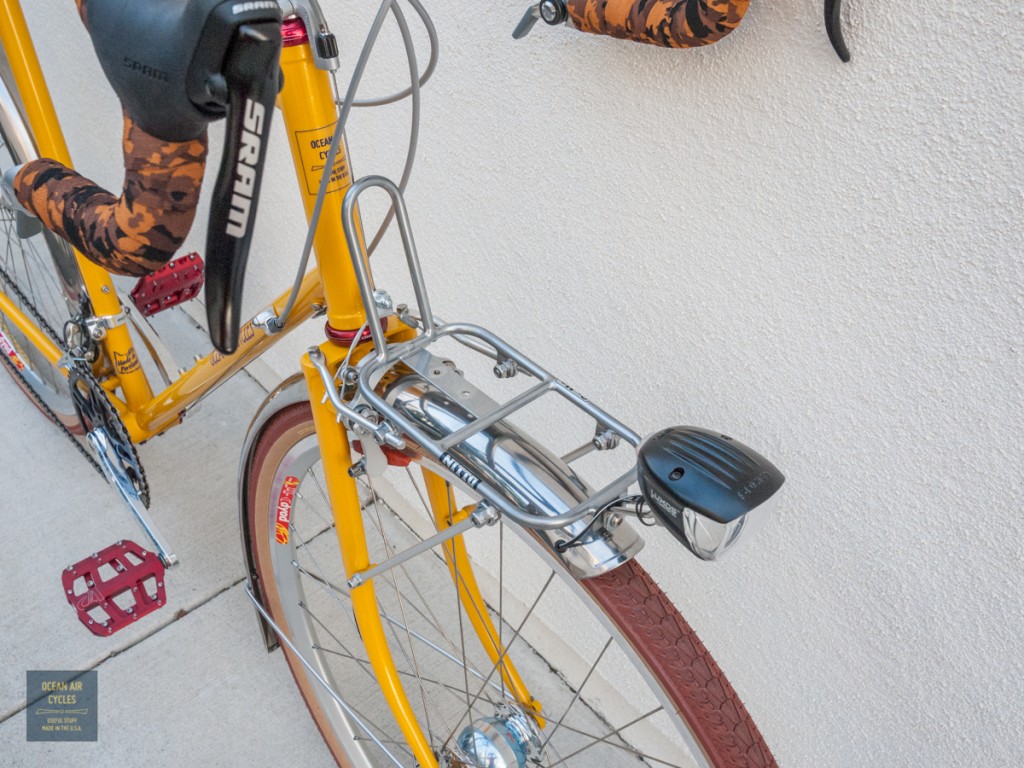 This will work equally well on 700c and 650b Ramblers. The distance between the upper and lower fork mounting points is consistent and thus the rack position follows the same.
In the near future we will be offering the mark’s rack through our store front with the above adjustments made to the struts.
Love the idea of one customized for those of us with a Rambler and without a good vise. Sign me up!
Andy, let me know if and when you are ready for one, I added them to the online store front, http://store.oceanaircycles.com/products/nitto-mark-s-rack
turnaround on a modified one is about 1 week – Thakns
What’s the weight limit on these with 4 struts? I ordered a Docena and want to know how much stuff I can cram it if I buy a Mark’s Rack…
It generally goes well up to 20lbs, around 25 it gets wiggly and at 30 you are into disconcerting. Never pushed one to failure, but if you keep it under 20,use the bottom velcro and a decent decaleur system it will all be fine
It’s a shame Nitto has changed the height of the tombstone on the M18. It’s so ridiculously small now.
Perhaps the target consumers are now those with baskets or gravel bikes – and not those with classic styled rando bags? Anyway, I didn’t keep mine. Aesthetically, it just looked wrong.