The Bags I Have Been Using

Lately I have been getting more interest in the various bags I have on my Rambler.  The 5 bag set up I have been running in most of the pictures is a mash-up of self-made and store-bought bags that have built up over the last five years.  Some are on the bike every day, while others, the panniers, are only there for the more voluminous loads.  I have a few new designs I am getting ready to sew up, and before the switch I thought it would be a good time to share my thoughts on each of the bags.

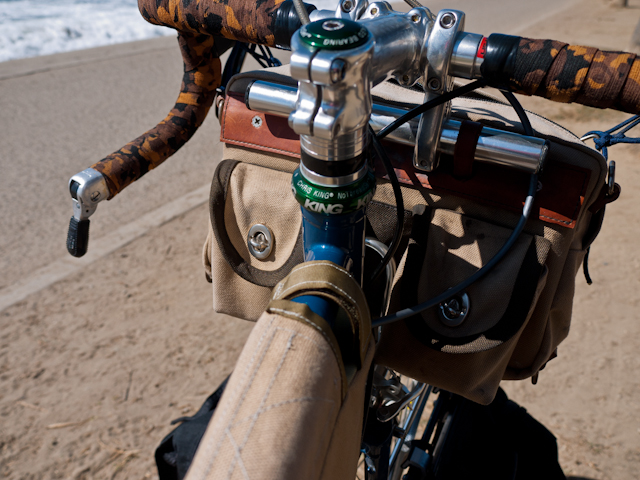
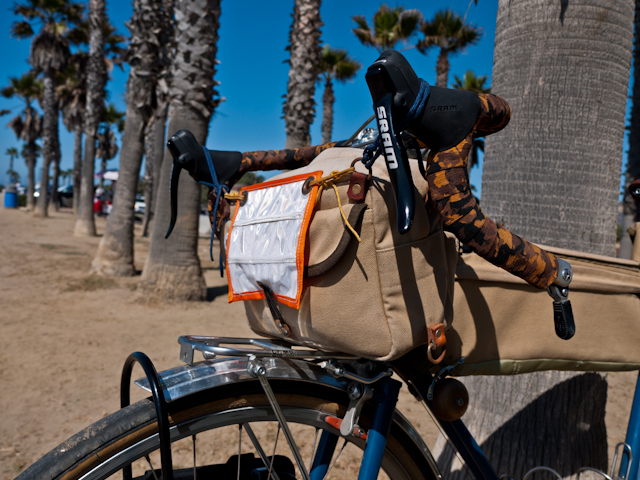
Up front I have been using an Acorn brand handle bar bag for a few years now.  These bags are hand-made by a husband and wife team in Los Angeles, and are an incredible value if you can get your hands on one.

This bag holds all of my essentials: spare tube, patch kit, pump (Lezyne micro floor drive) multi tool, maps, energy bar for an emergency bonk and plenty of room left over for my Micro 4/3 camera kit or a lunch and jacket etc.  The bag is made with un-waxed canvas, and has proven water tight through a few rainy seasons now.  You will also not my “FrontFlector” No.1.  I have a couple of different versions, all working as hoped.  While not a headlight replacement, I have found it quite effective in getting driver’s attention.  There is over a full 20 square inches of 3m reflective tape, it can easily be retro fit to most traditional front bags, and is integral with the front pocket.  I will be offering these as part of the line over this winter.

The frame bag I run all the time is the first one I have ever made.  It came out well enough in spite of my early sewing skills and has help up far better than I expected.
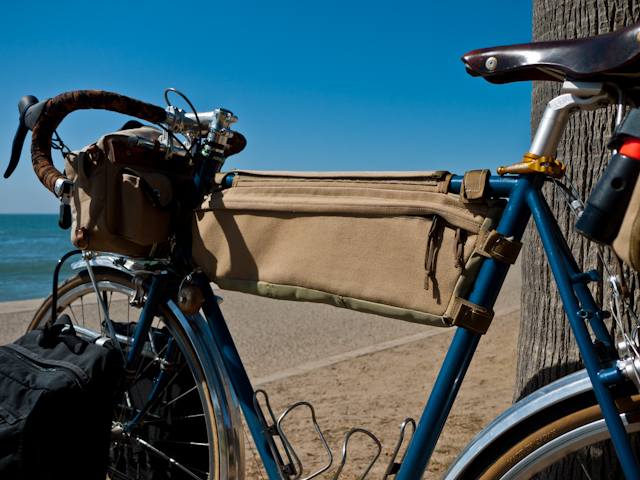
Click on the Pic to see the bag specs

Some of the design aspects were meant to be a trial, assuming I would need to replace or repair in time.  It is going on two years at this point, and nothing has needed anything other than use.  I carry my pole mounted GoPro camera in it on most rides, and often use it to carry a dozen eggs.  On longer rides it holds a 2l platypus bladder, and in the winter it holds my extra layers and the come on and off throughout the ride.  Like the Acorn bags, I chose the un-waxed canvas, and it had proven water tight through two winters.

On the rear I have my self-made saddle bag.
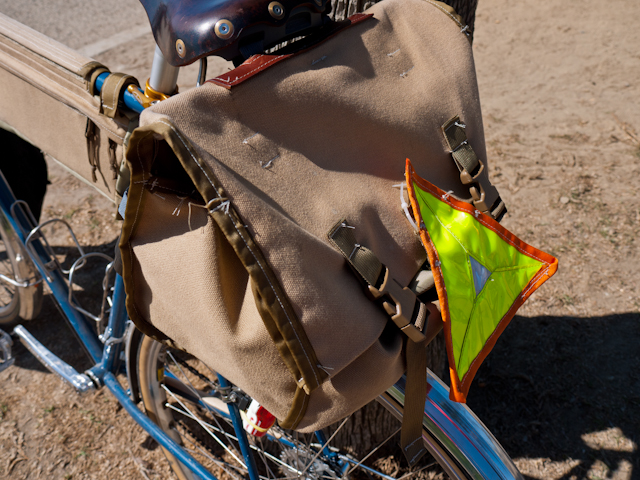
Click on the Pic to see the bag specs

I originally made this bag to increase the rear loading capacity of my Rivendell Roadeo, a sport bike, that was not intended to carry panniers, but has a geometry biased towards rear load.  It has just a bit more room than a Carradice Nelson long flap.  Made with the same un-waxed canvas, it has yet to let me down in a California rain storm.  As of late it mostly holds up the reflector, and the occasional bulky package.

It also, like my front bag, has a self-made reflector.  Starting with the basic premise of the reflective triangles made for runners, I upped the reflective surface area.  Most triangles have a mesh center, but if you are strapping it to you bike or bag, a breathable center is a waste of real estate IMO.  It may look a bit dorky, but after thousands of miles at the margins of the day, it gets results.  Hands down cars give me a wider passing space when it is on there, and I do not leave home without it on the bike.

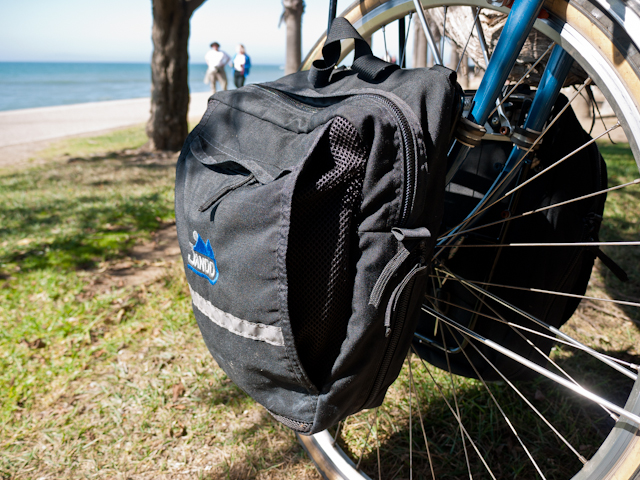
For the loads with a bit more volume I have a set of the Jandd Mini MTN panniers, that I modified with a set of Arkel mounting hooks.  These have been with me for well over 5 years now and have proven quite versatile.

They are a mass-produced bag, made with Cordura Nylon.  They are fairly water-resistant, but have had leakage in heavy rain.  The width of the bottom half is expandable for the really big loads.  I have used these for everything from touring, to groceries and commuting.  They will swallow a gallon of mill, 2 quarts of yogurt and have tons of room the softer packages.  While labeled mini, these have a surprising amount of capacity and are rated at 2000 ci for the pair.

I am pretty happy with all these bags.  If it were not for the constant need to tinker, the tools and ability to make exactly what I want, and it being part of the business, I would probably push these bags for a decade or more.  So what is next?  I am planning on making a 5 bag set with Dimension Polyant’s XPAC laminate material.  This is a composite 3 layer laminate of cordura, mylar, and pack cloth with rip stop fibers.  The weight is a fraction of the canvas, and it will be waterproof.  Canvas is great, but my three every day bags tip the scales at around 7 lbs empty, that is significant IMO.  I will still have a set of canvas bags in the works, bit materials have pros and cons, and I need to work it out with some test bags.

The rambler is designed to handle modest front loads, and I want to up the size on the handlebar bag.  This will reduce my tendency to fall back on the panniers when I need just that little bit more space.  The design will be rooted in a traditional Berthoud style bag, but with modern materials and a couple of twists.

The frame bag will be similar in design to my current bag, but with a couple of improvements and the use of XPAC as the main material.

The saddle bag will shrink a bit, have a different closure system, and shape.

Fourth on the lest is a set of roll top panniers.  Everything I can find on the market, short of the Berthoud mini, is still a bit big for most of what I need.  I am leaning towards a roll top design for water tightness and a bit of flexibility in volume.   I will use Arkel hooks until I can find something lighter that is as easy to get on and off, yet incredibly secure.

Time to move the designs from paper to pattern, cut some cloth and get sewing.
 

Overnight Tour on the Central Coast

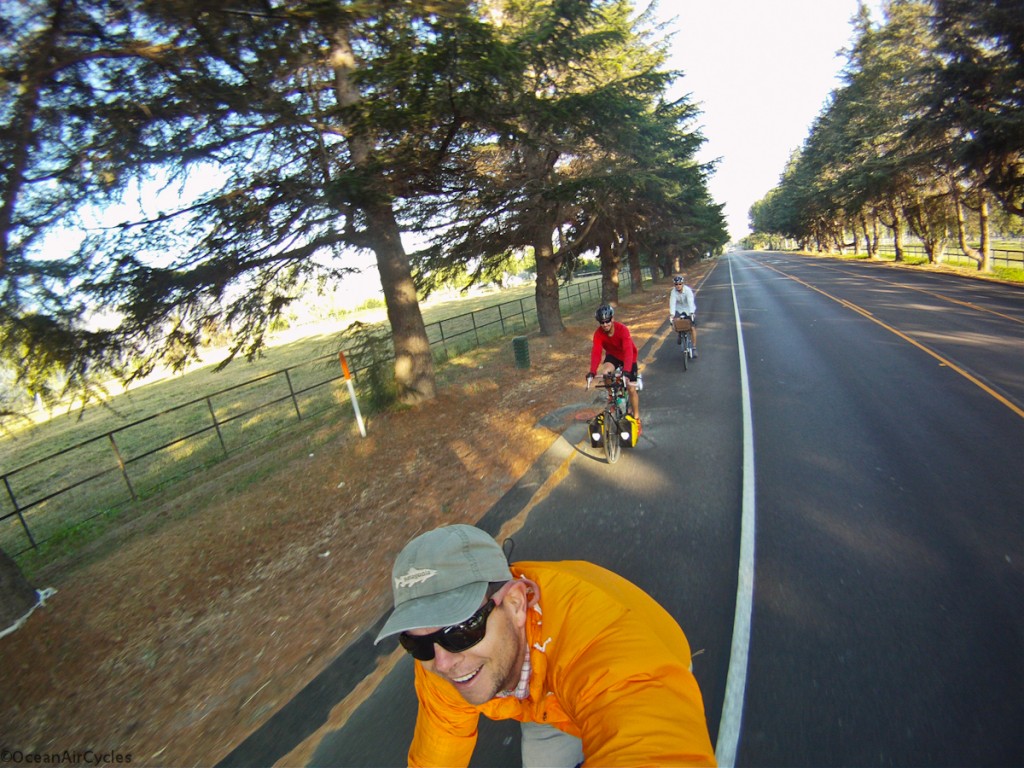
Earlier this week I headed out with a couple of buddies on a two day tour on the central coast of California.  The trip was originally conceived by two different friends who ended up having to pass on the trip, and that is a shame, as it was a fantastic ride.  Mike, Jefe and I met up Monday Morning to take the Surfliner (Amtrak) up the coast to the small coastal station of Surf.  Day one was the ride to Buelton, camp overnight, and then over the mountains and down the coast home.  Pictures, as always will tell most of the story:

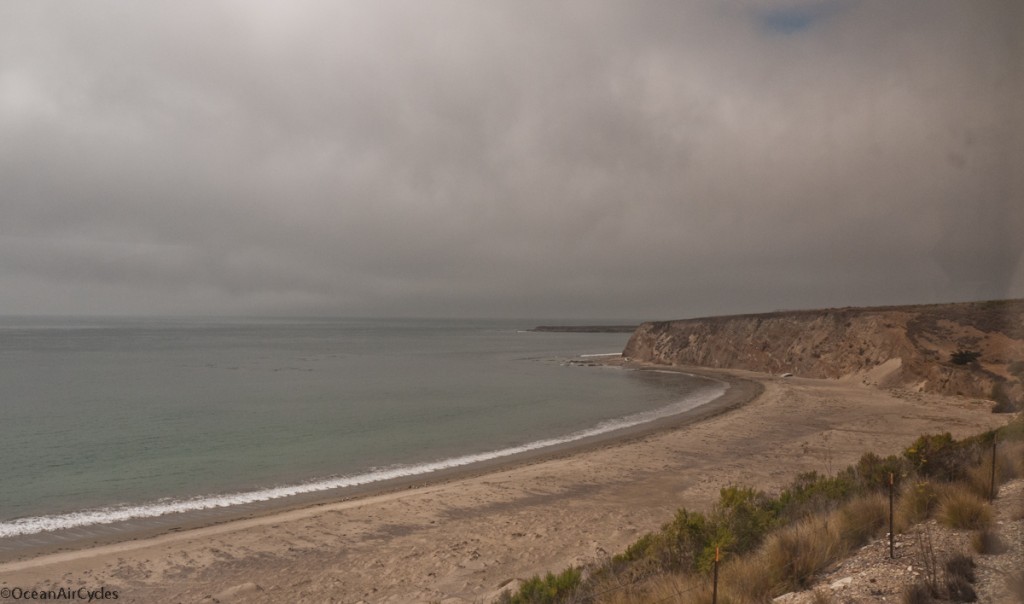
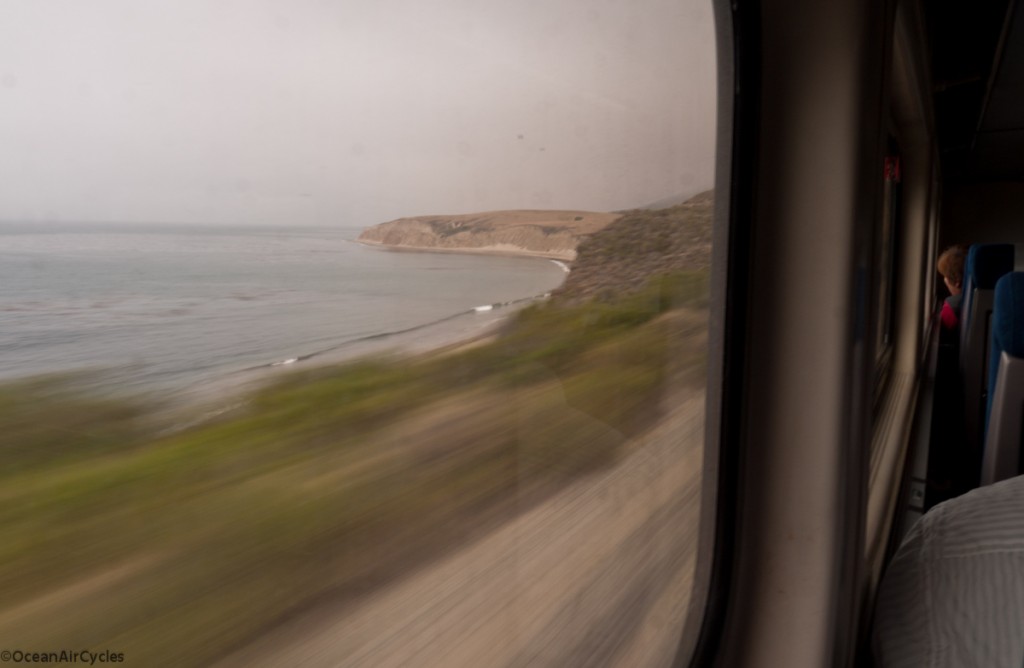
View of “The Ranch” from the train, this strech of open coast is all privately owned and off limits for most of us.  I dream often of being able to ride and surf there.  Beautiful open land, the way this stretch of coast has been for hundreds of years.

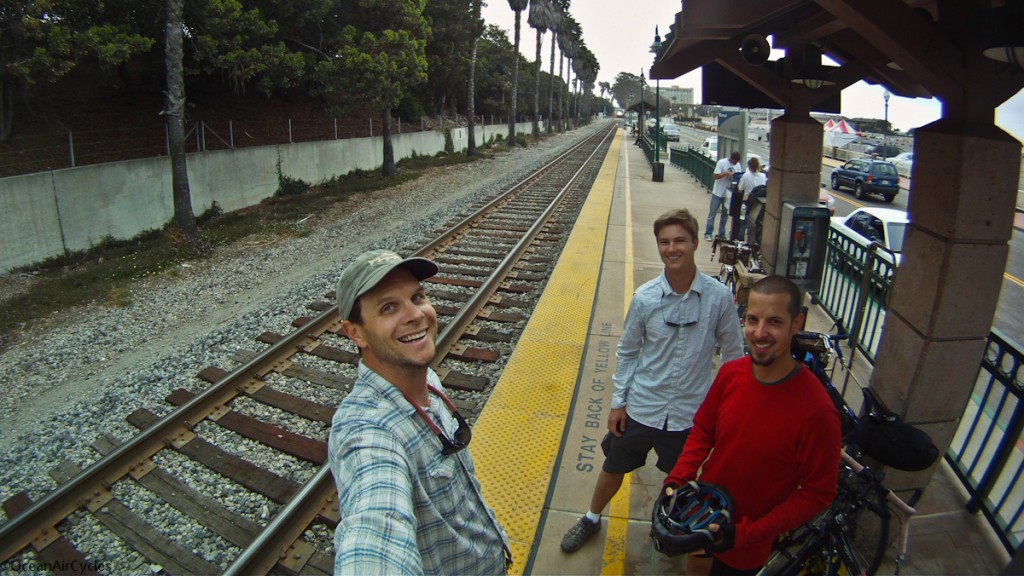
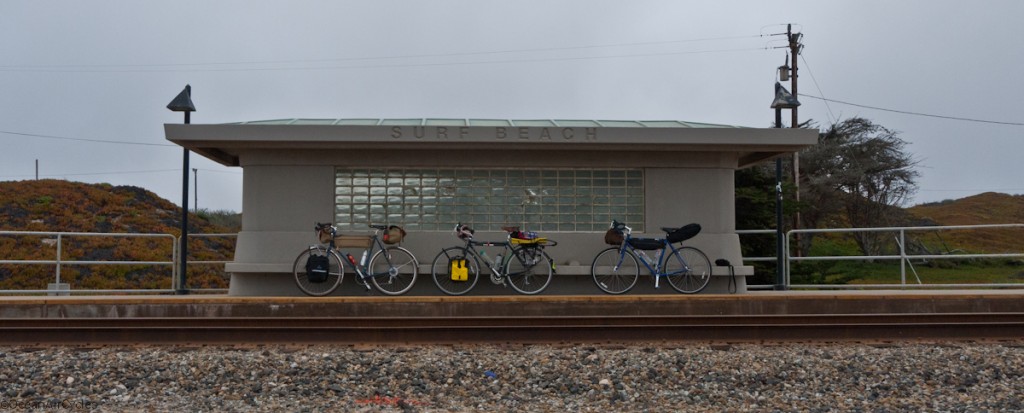
Surf Train Station, no Cell coverage, nothing but you, the beach and a road out.  Not a place you are likely to end up by accident.

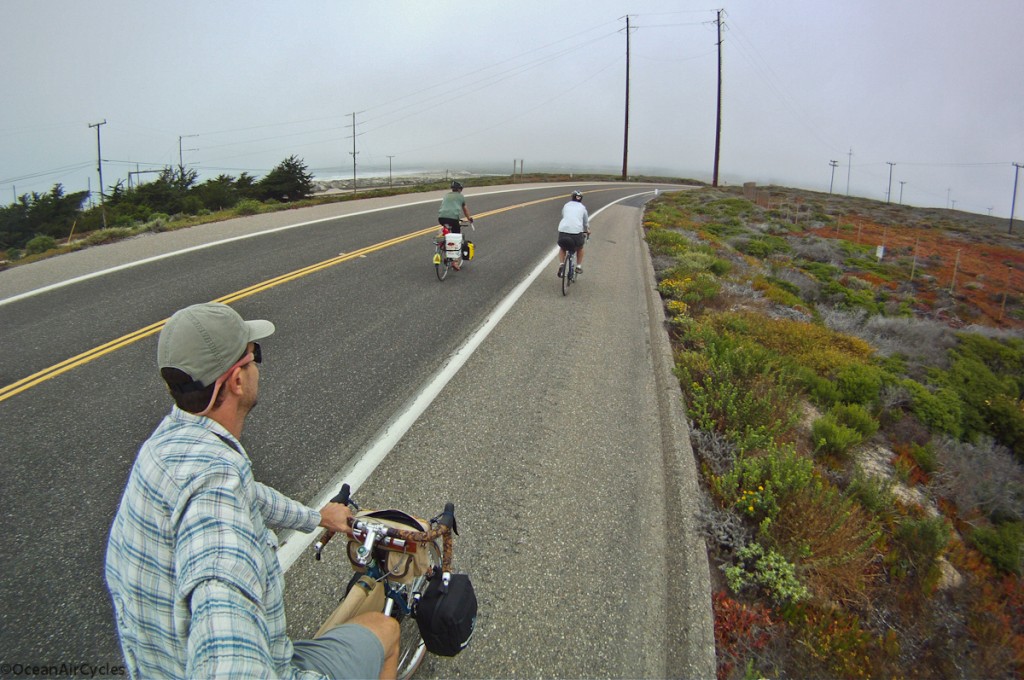
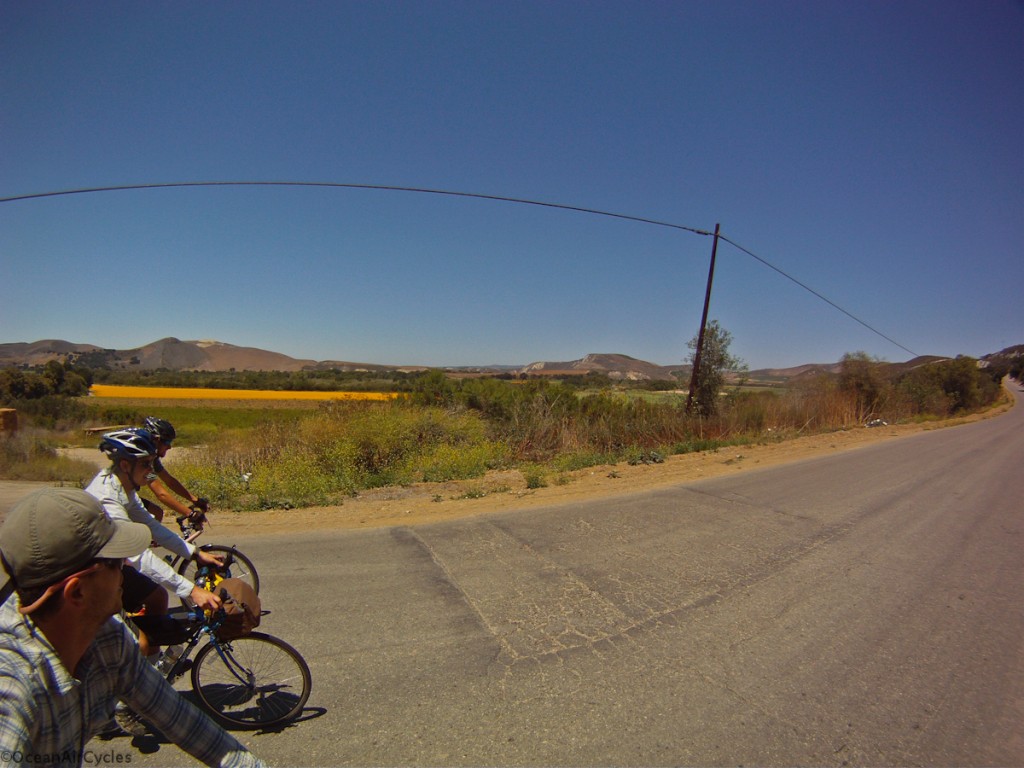
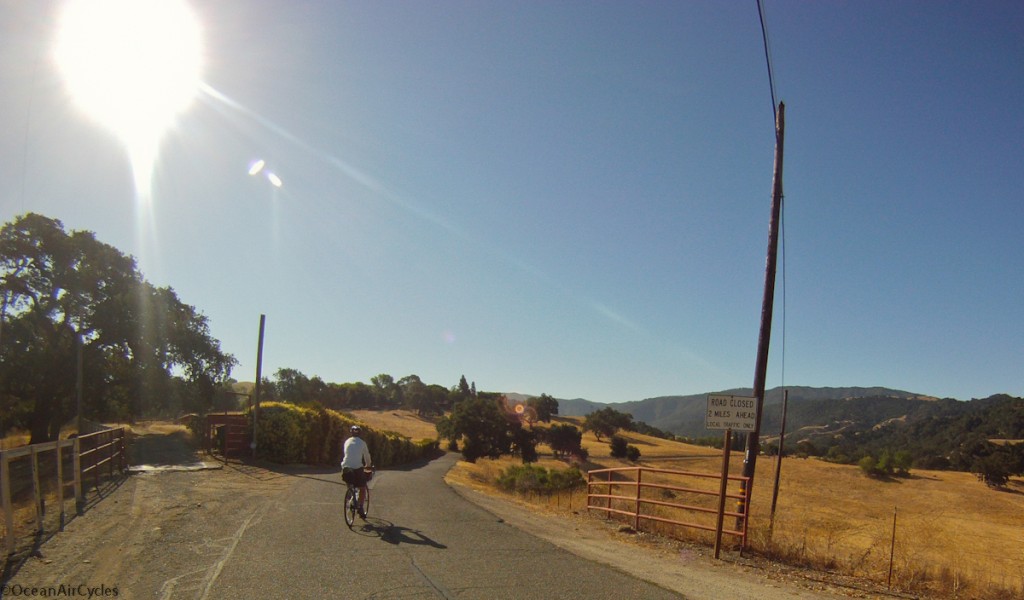
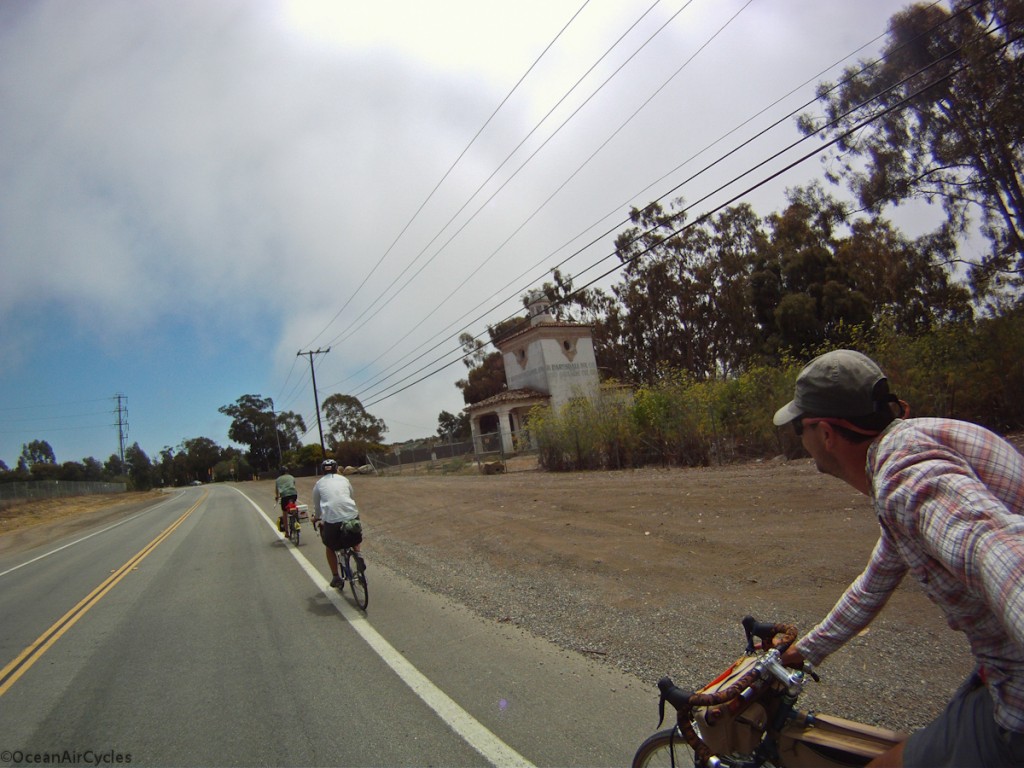
Out of the coastal fog, through Lompoc and heading down Santa Rosa rd.  This is an incredible example of the hundreds of miles of country roads the California central coast has to offer.

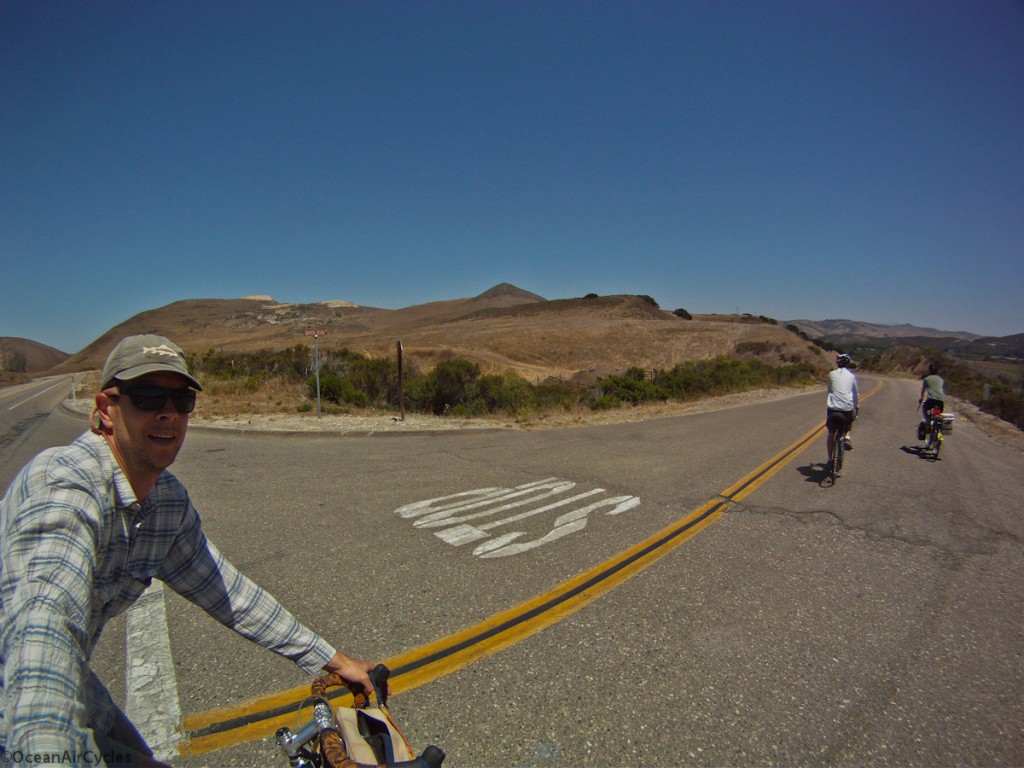
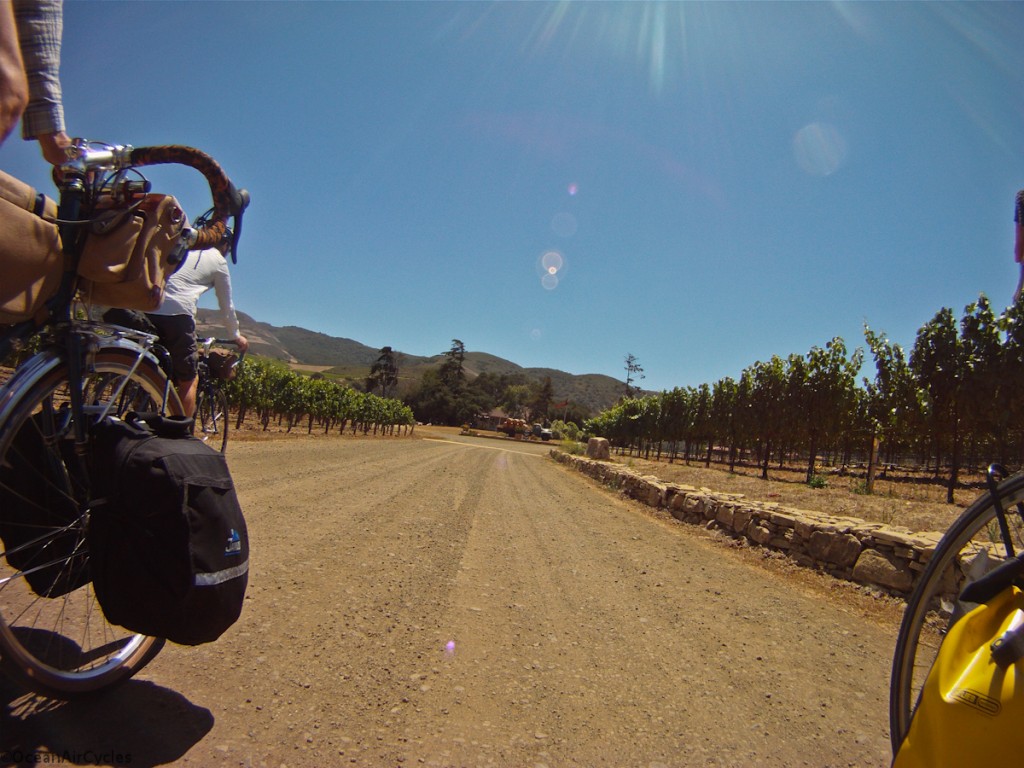
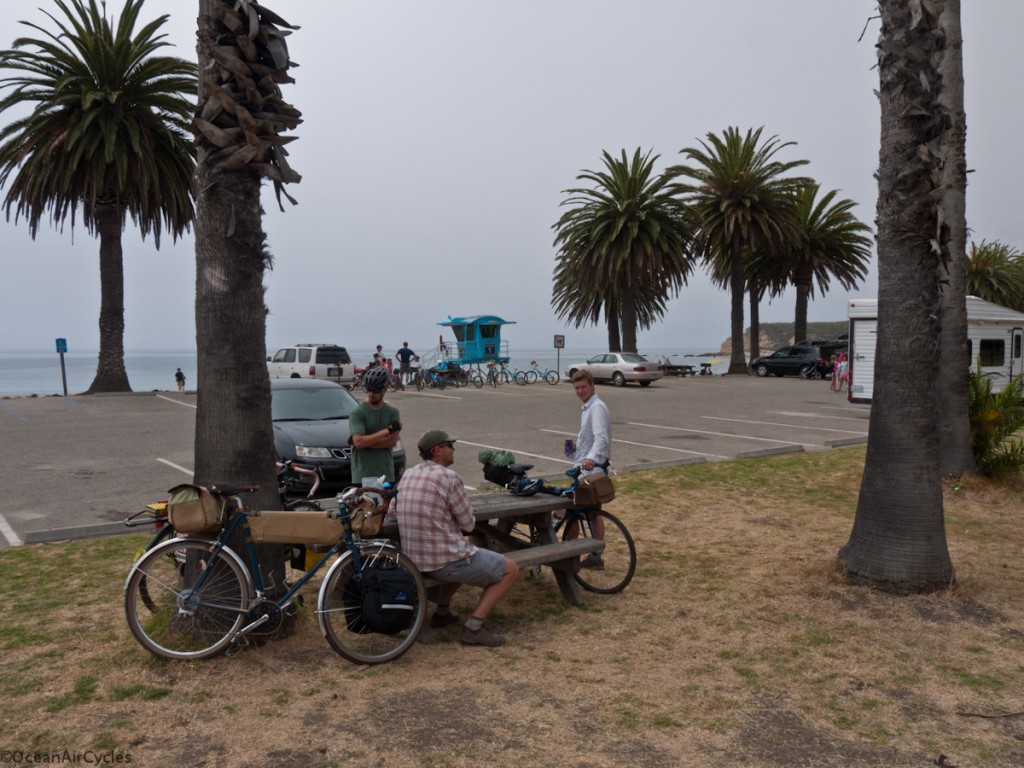
Yes it was hot, and consensus was clear, it was time to stop and sample the local “grape juice”!

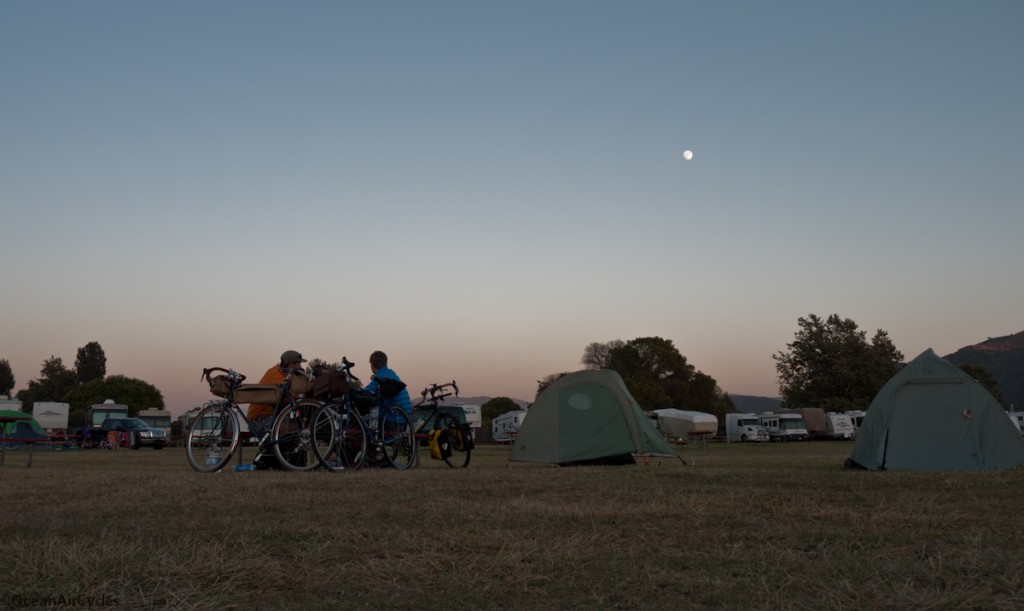
To help keep things light we ate in restaurants, Buelton is home to a few good ones, and we picked Firestone Brewery.  Sorry no Pics, hunger was over riding the creative side of the brain.  The Burger was fantastic, I could have had two, but logic prevailed.  The Flying Flags campground was pretty nice.  Although, next time we all agree that we would rather push a little further into the ride for the first stop.

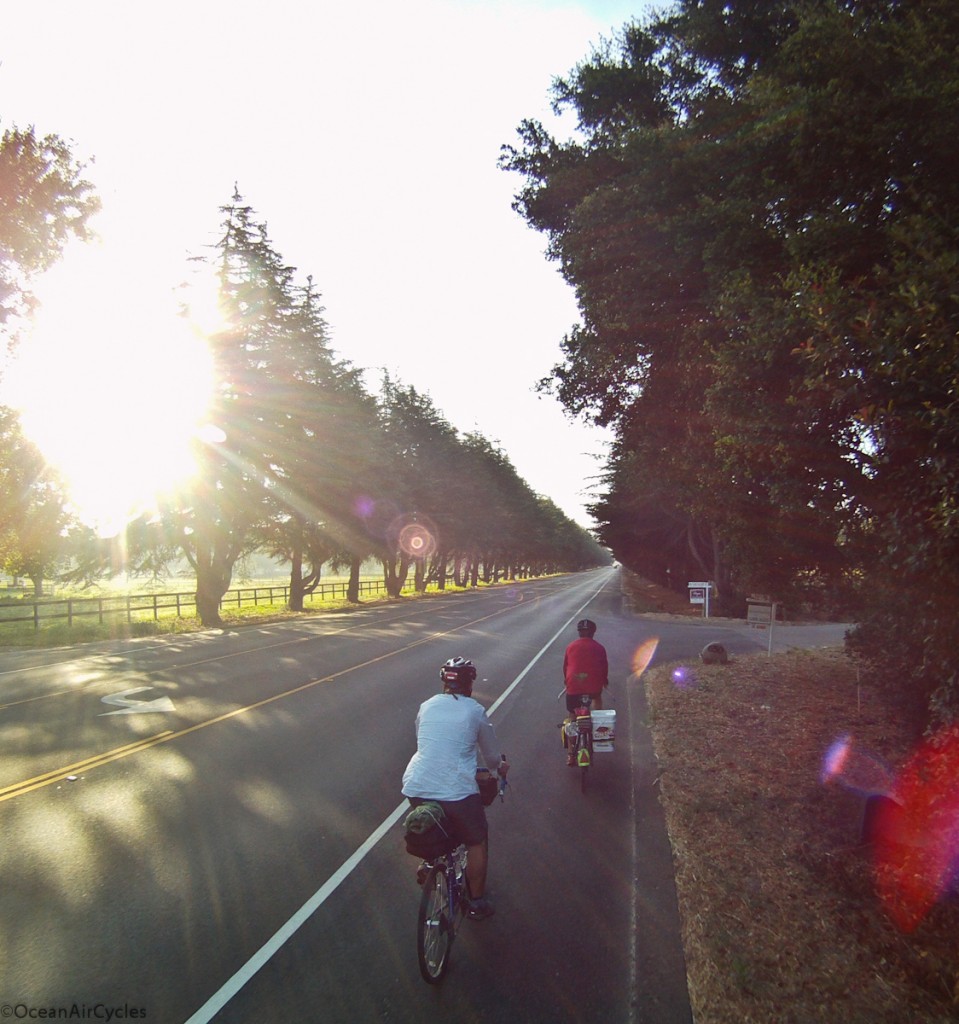
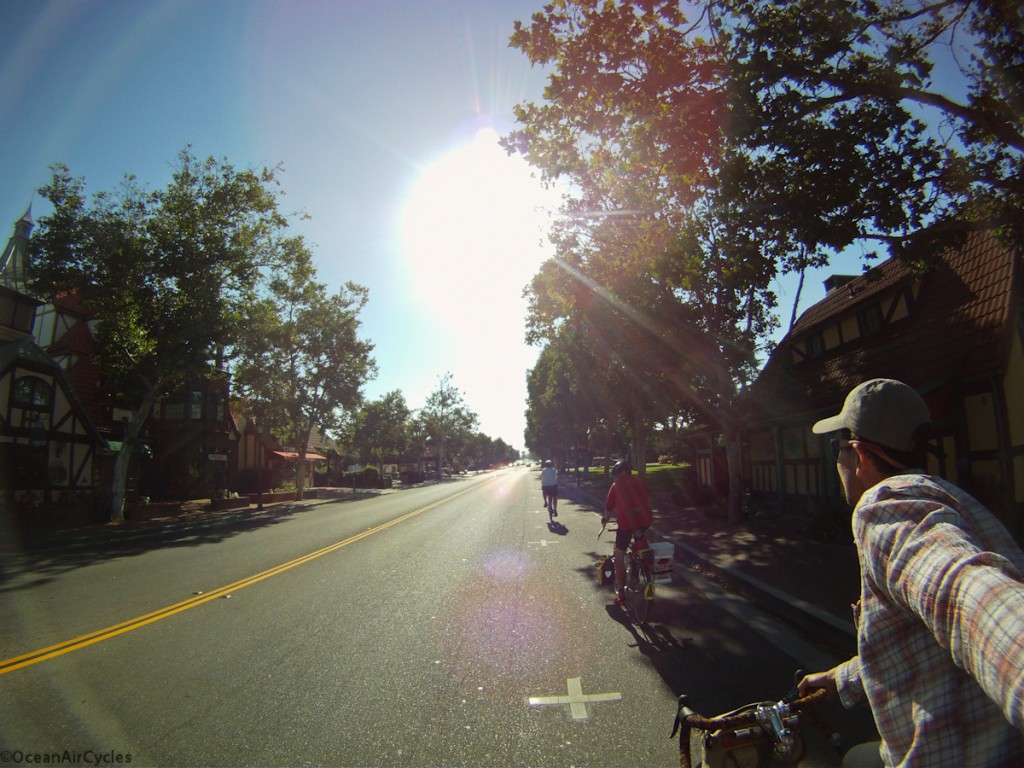
The next morning started with a few miles to wake up and grab some breakfast in the next town of Solvang.  The whole town is Dutch themed, one of those places you have to visit to really understand.  Bellies full, we pushed off.

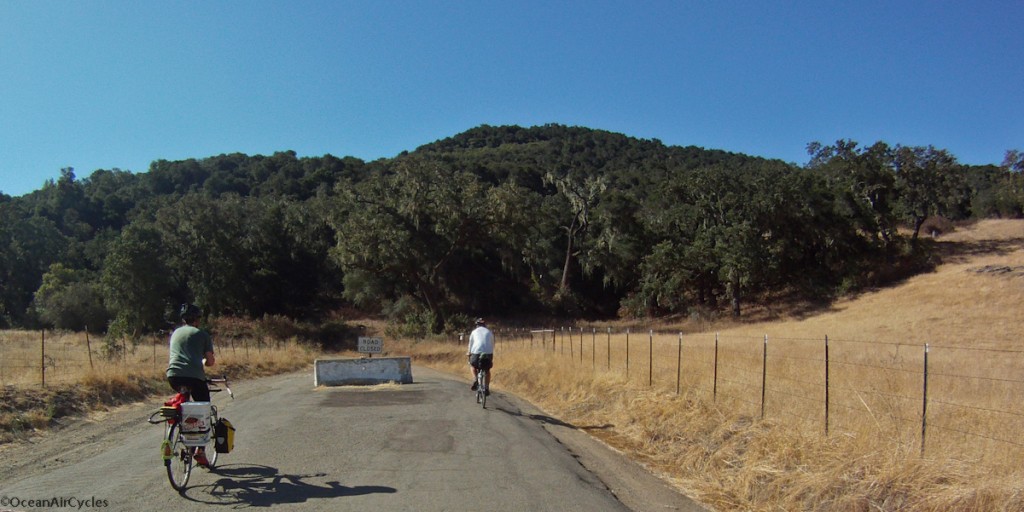
This was the start of the real climbing on Refugio Rd., 4 miles of sustained 10-14% grades.  The legs were willing, the heat was climbing, and I will admit, that I opted to hike-a-bike through plenty of sections.  I was carrying too much weight for this leg of the trip.  I had looked at the map and elevations, but did not really appreciate it until I was all the way immersed.  It was hard going up, I was focused on making the top, and the camera never came out for the next hour.

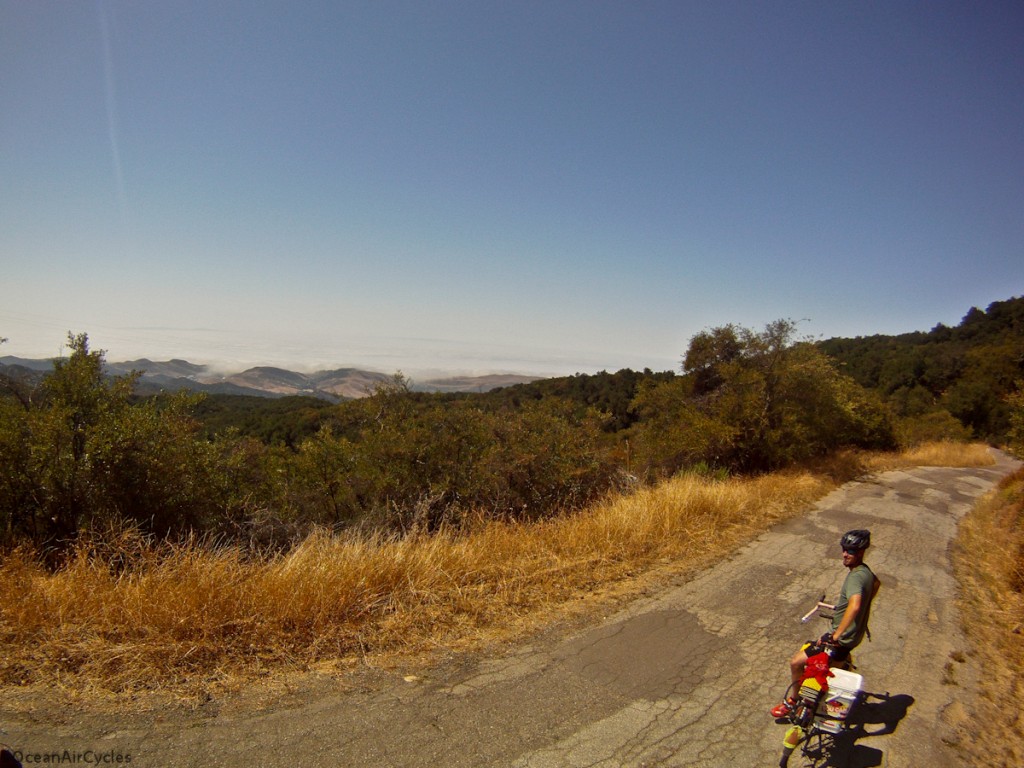
Over the top and well above the coastal fog.  At the break between the fog and horizon you can just make out the top of the channel islands.  The ride down was a blast, but Refugio Rd is in terrible condition, many potholes.  I elected to keep my hand on the bars and not fool around with the camera.

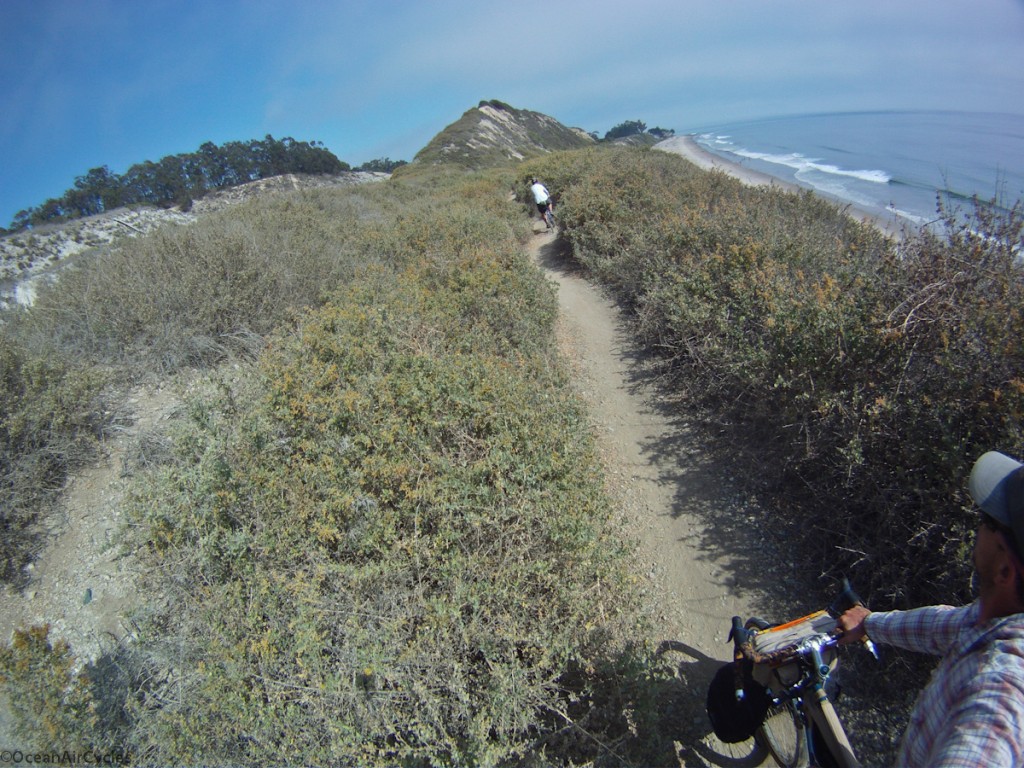
Heading into Santa Barbara.  As we worked our way South East along the coast, we were flirting with the edge of the fog bank the whole way.  The summer temperatures were cool and crisp, but the regular tailwind never made an appearance.

The last view back up the coast before the final 10 mile push home.

The trip was perfect, the company, weather, terrain etc.  This is sure to be a stepping stone for more local rides like this.  The whole thing was comfortably pulled off in just over 36 hours.  I could have brought less, we could have done a few things differently, but it all worked out.  My legs are the only part that is not in a state of recovery this week.  I am still processing my thoughts on the trip and will be sharing them over the coming weeks as I make some changes in my gear.  The Rambler continues to exceed my expectations for this type of riding, and we are all looking forward to getting back out there.

Thanks Mike and Jefe for helping to make it all happen.


Rambler No.3 Built Up

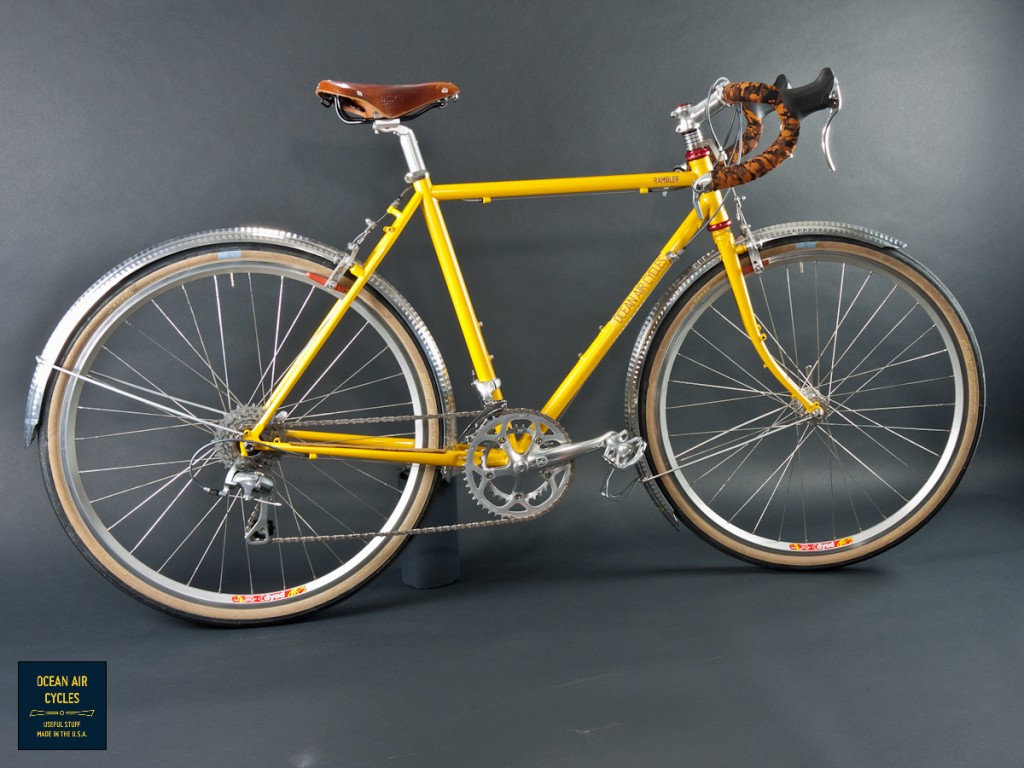
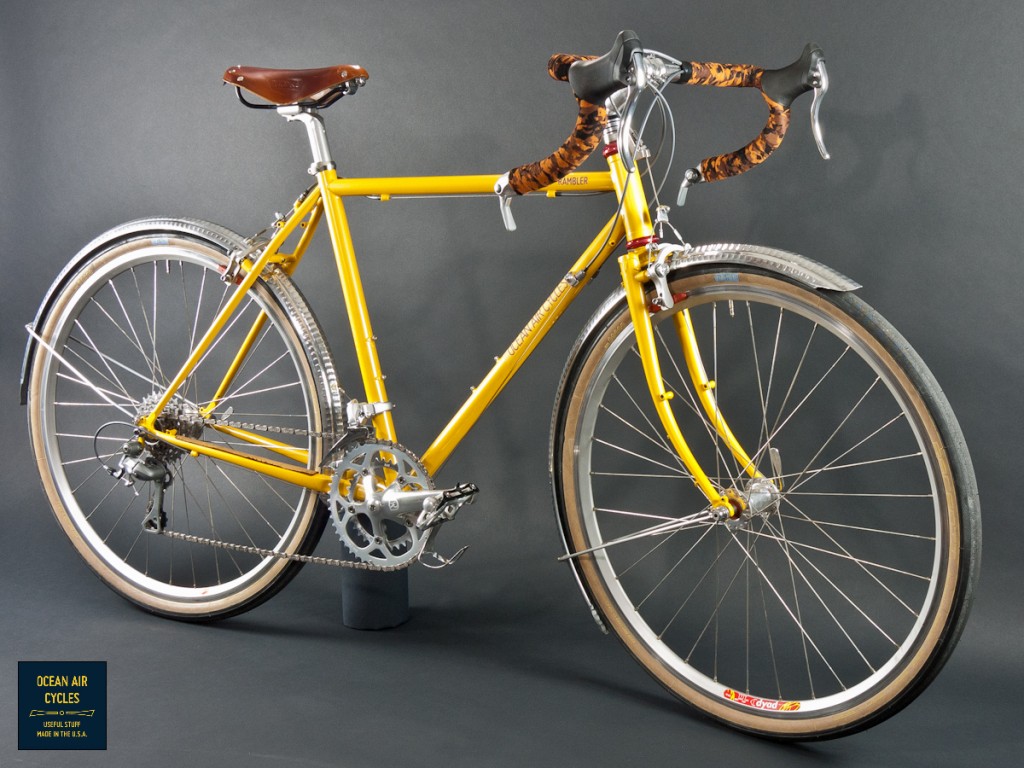
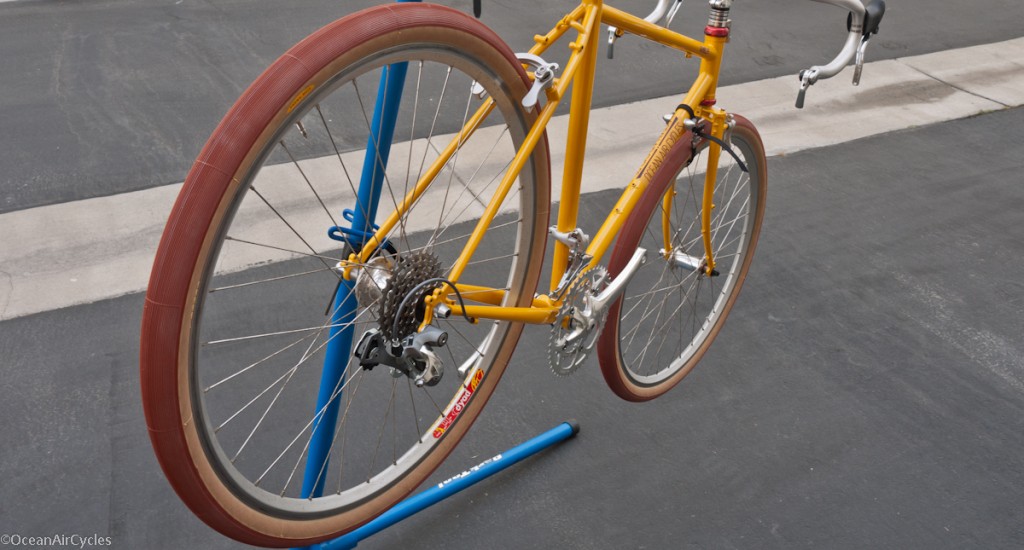
Rambler No.3 is now fit and built up to what it will most likely be for a while.  I still need to sort out the racks, but am stoked on how it turned out.

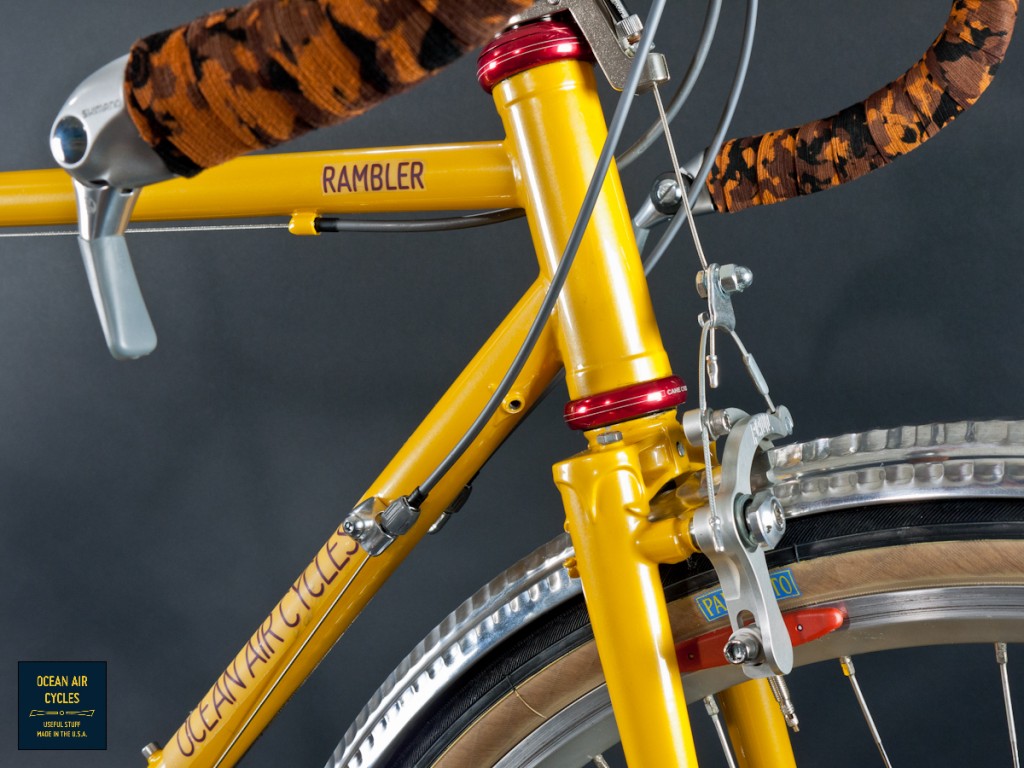
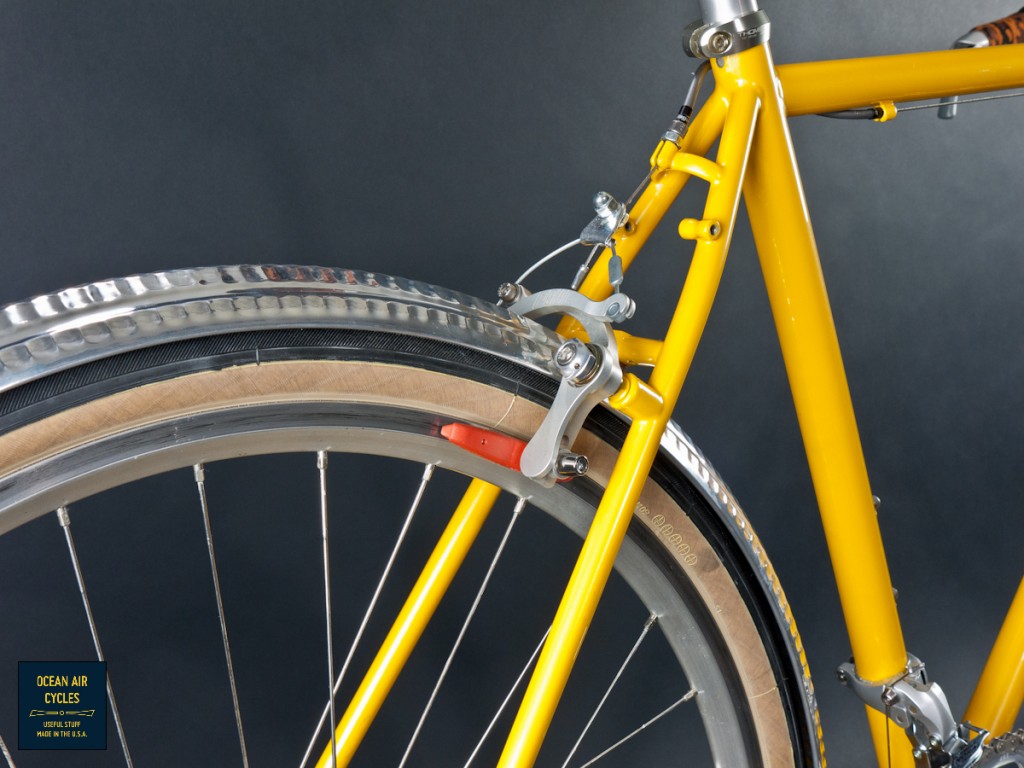
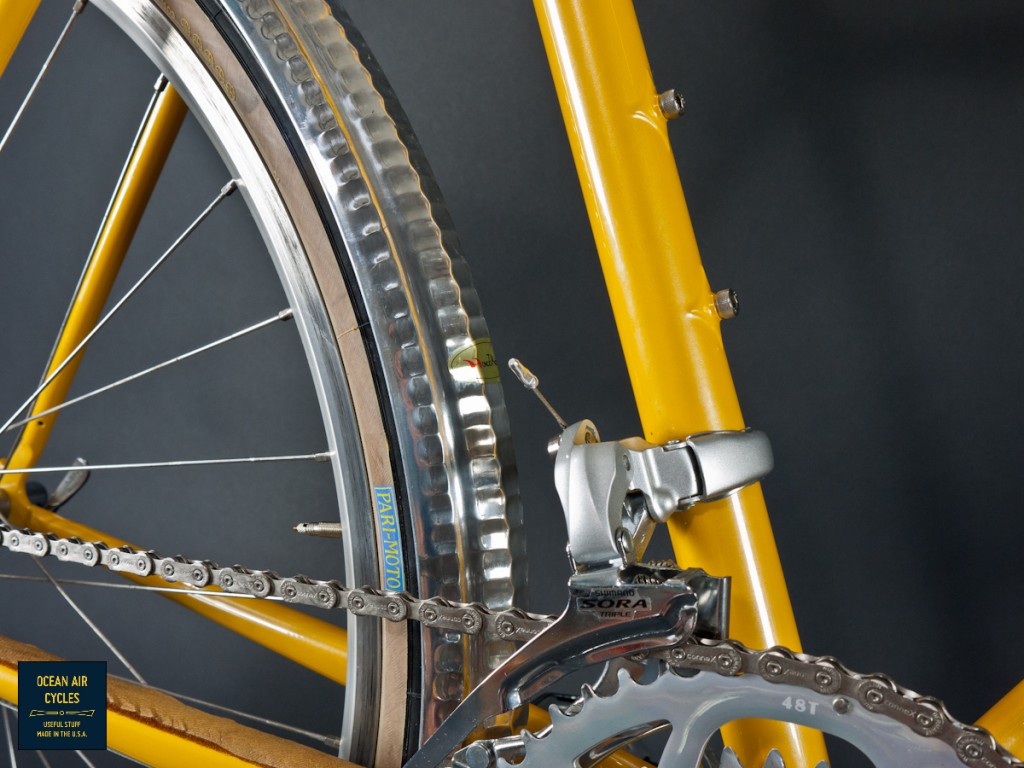
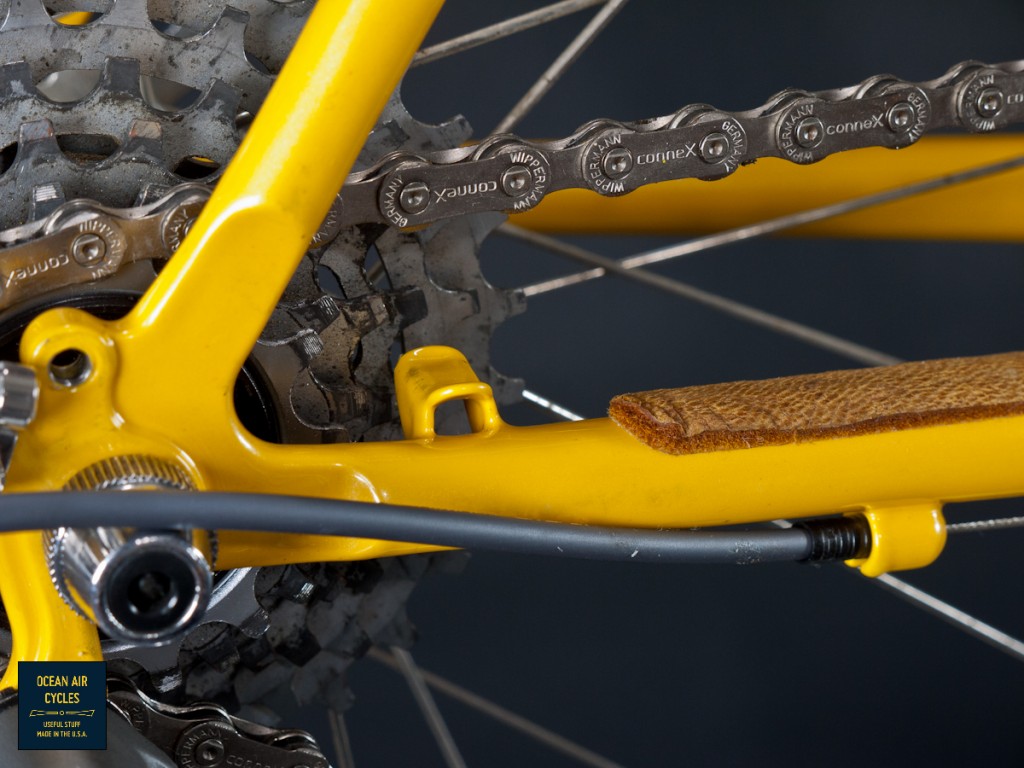
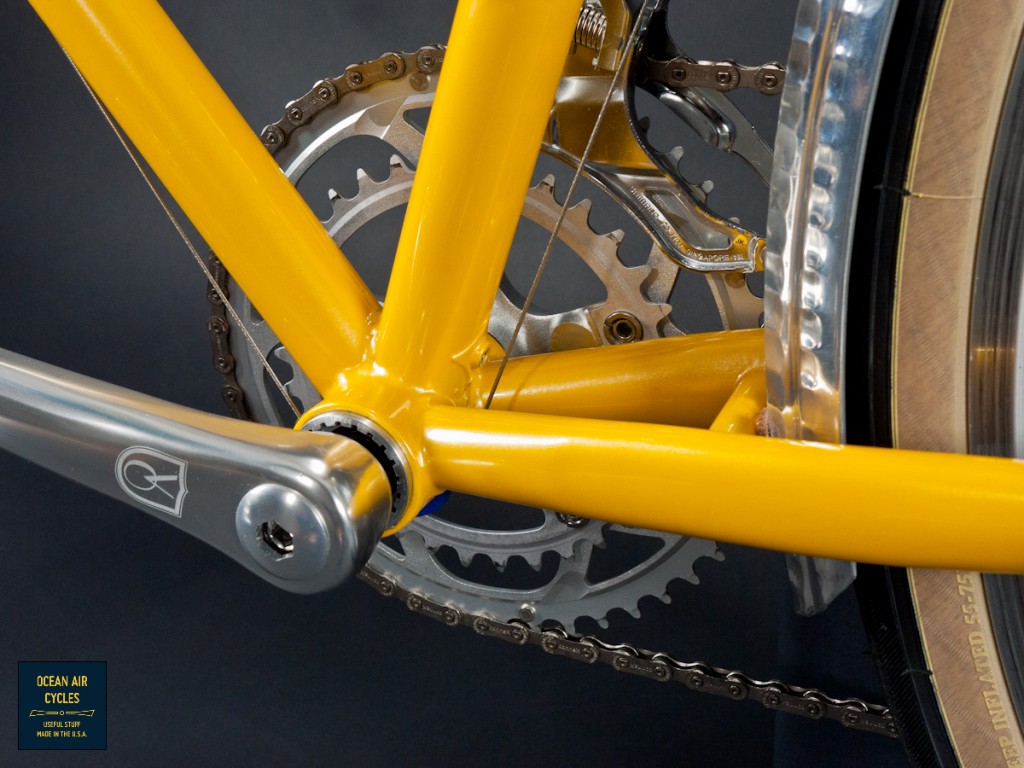
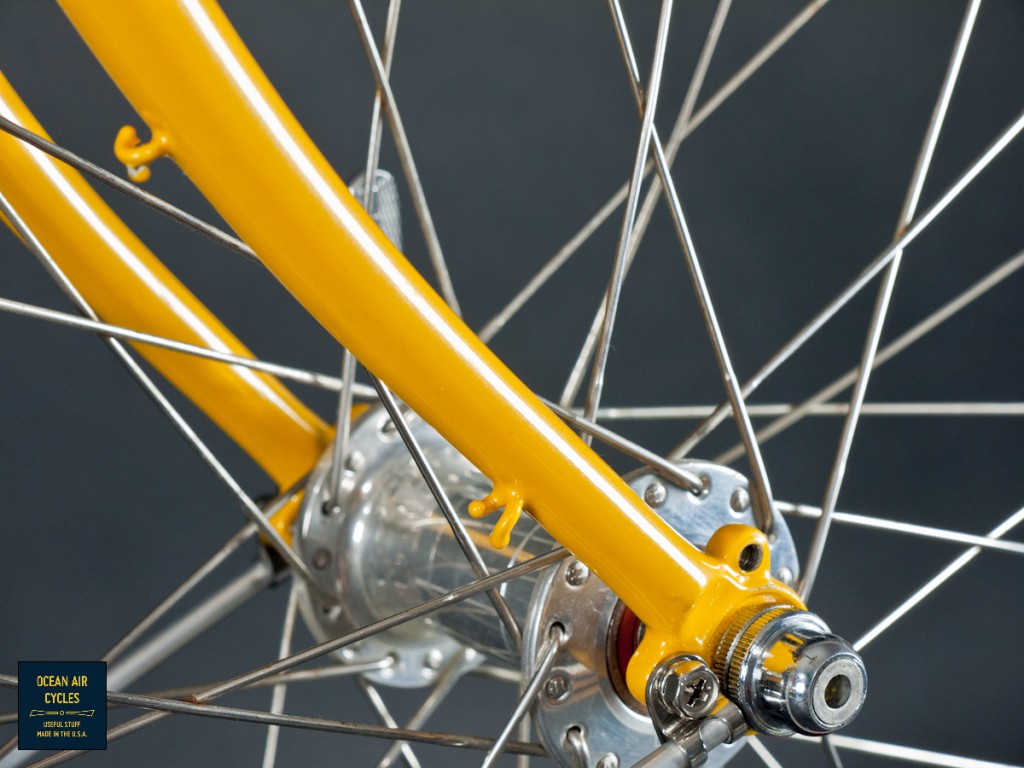
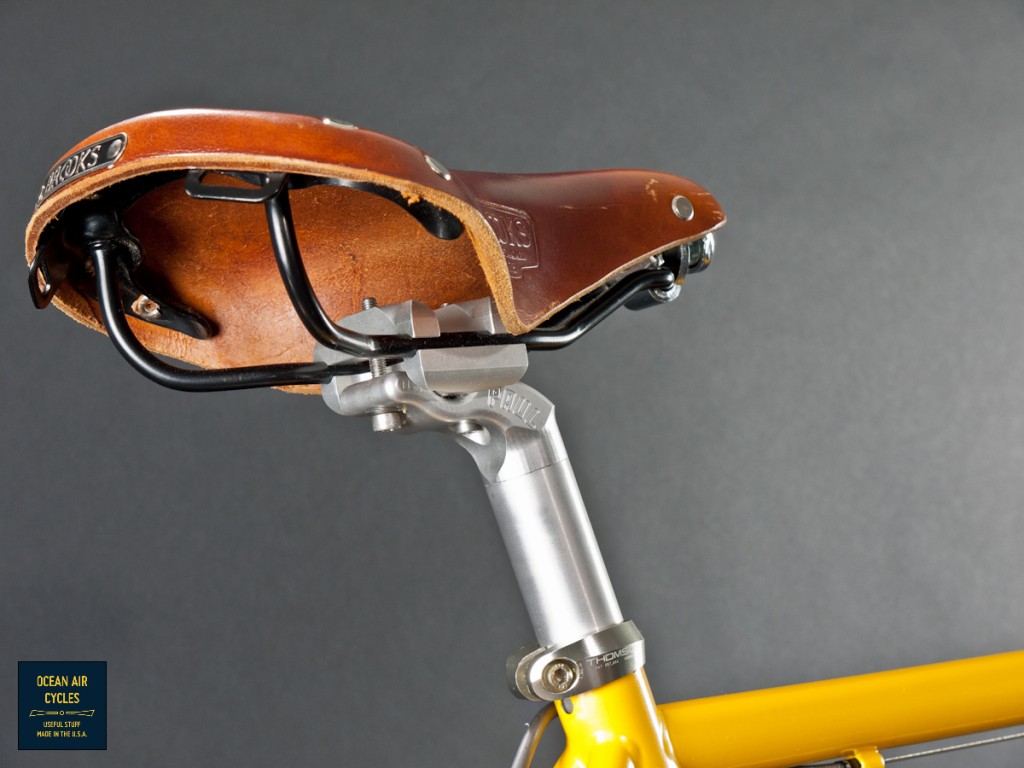
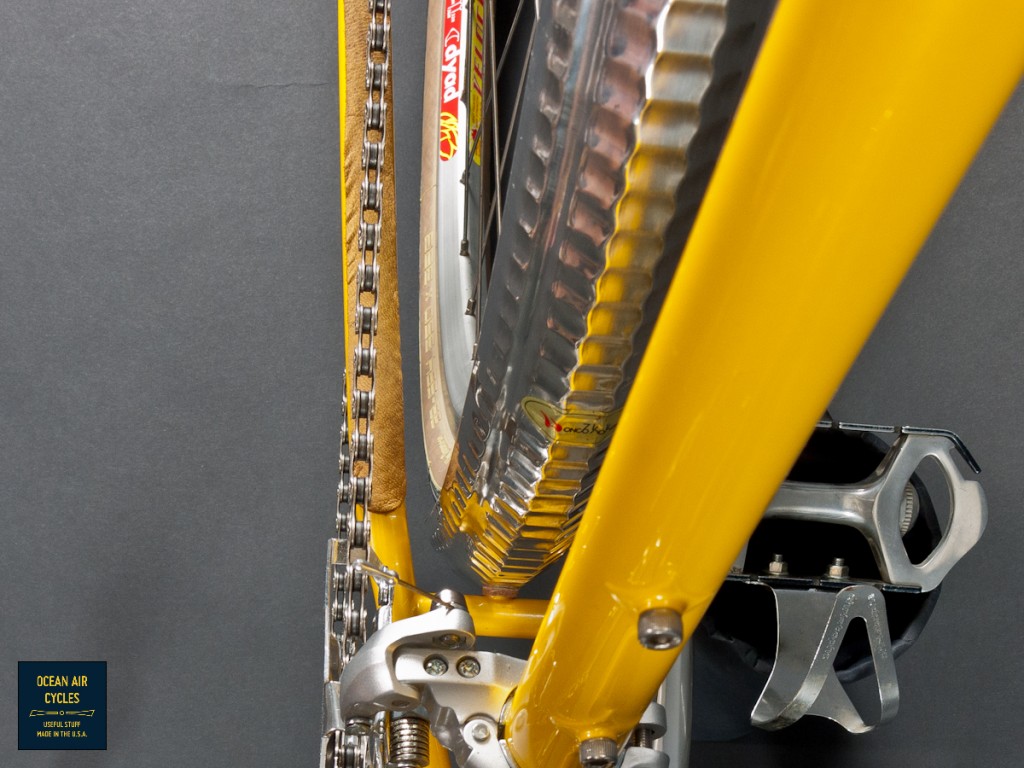
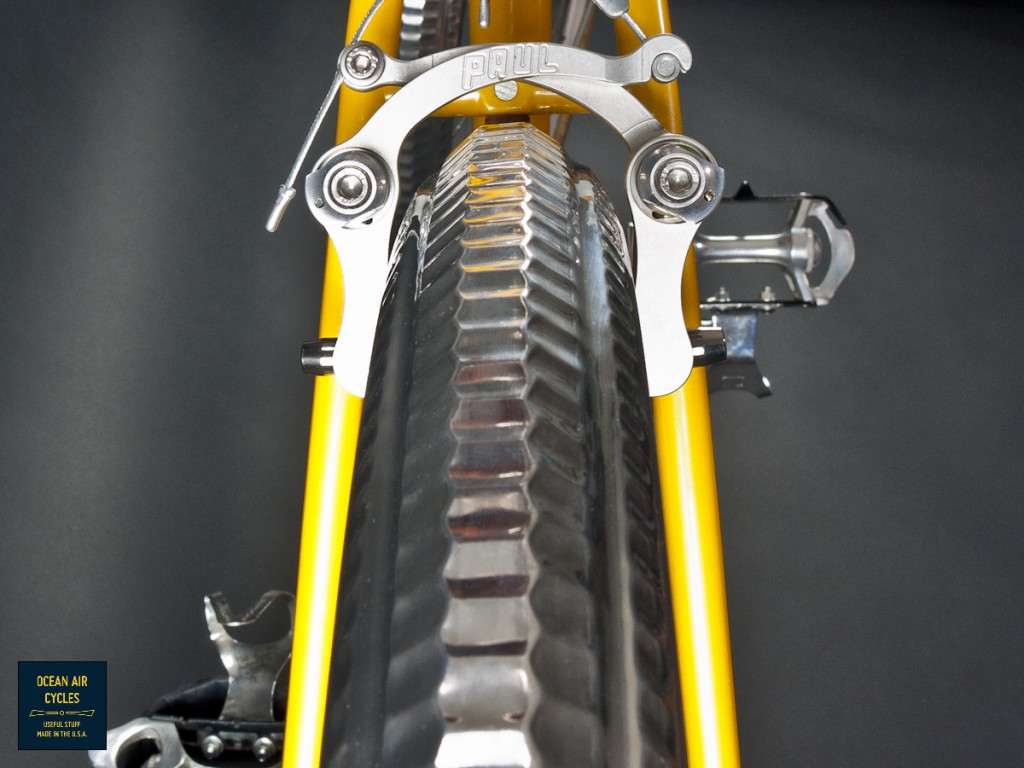
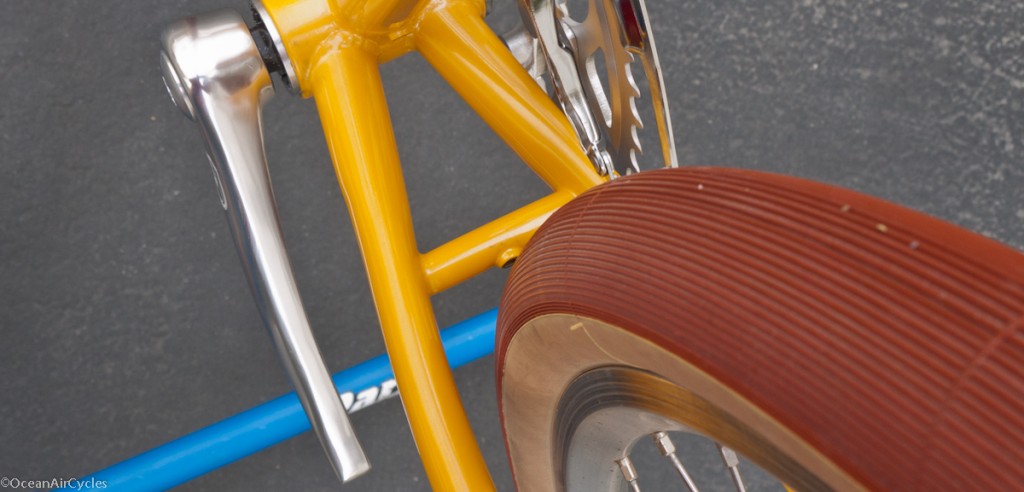
After riding the bike a bit with the Hetre tires, they just felt to big and cushy for the nature of the bike.  One lap around the block with the Pari-Motos and I knew it was a perfect match for such a little bike.  The hammered Honjo fenders are the 50mm offered by Velo Orange, and are a perfect fit for the 38mm tires.  The verdict is still out on how the HWY 1 handlebars will be for the long haul, but I thing the shorter reach is a good thing.  The pictures tell the story of the frame details, lighting wire provisions, rack and fender mounts, etc.

Having been in the business of designing and making things most of my post college career, I will never cease to be excited every time a project comes together.  Having this bike in front of me to make the pictures, for my wife to ride, and to make available for other people to find joy in cycling is incredible.  Thank you for the opportunity to deliver a product that works, and might even be a game changer for some people.  Finding small bikes that work and fit well, like the one above is not easy, and I plan on changing that.

Rambler No.3 Test Rides

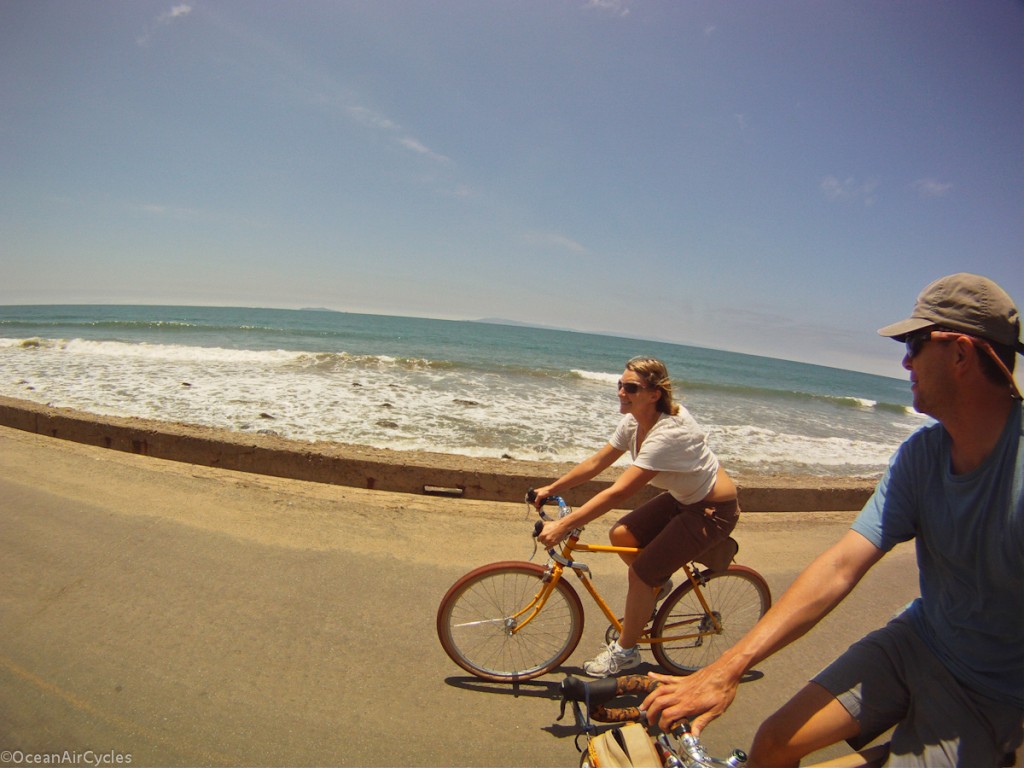
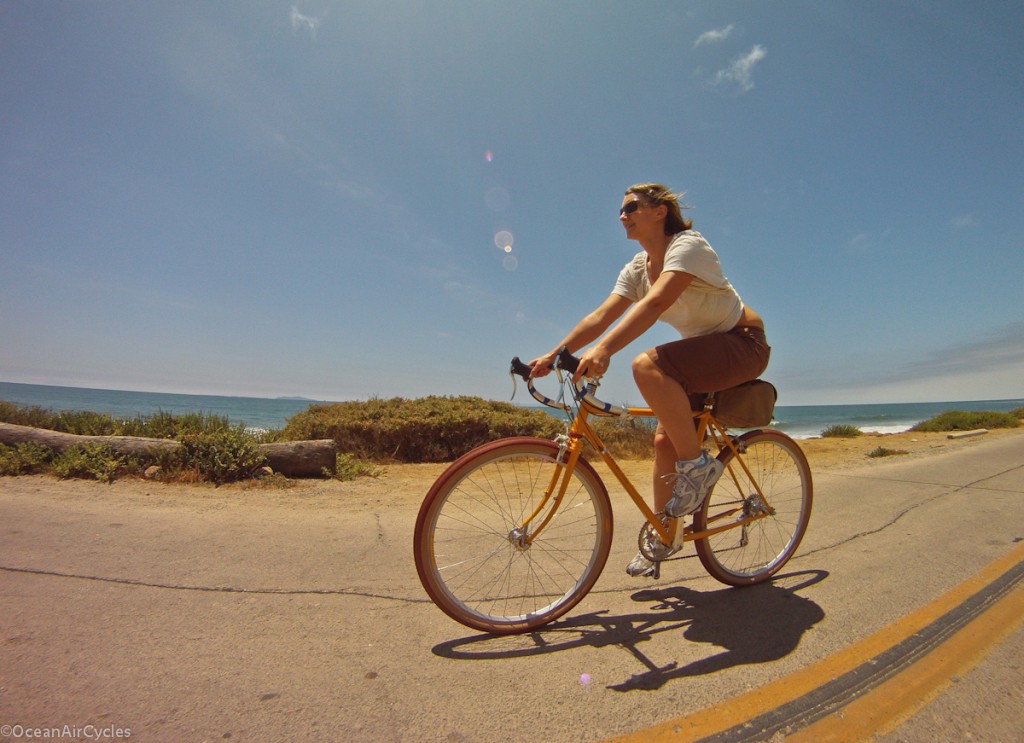
We have been getting out on Rambler No.3 for a few test rides.  There will probably be a couple of minor adjustments to the cockpit, but it is pretty close to spot on.

After years of trying to find an off the rack bike that will fit my wife and smaller friends properly it looks like we have a winner.  A common problem with many smaller frames is an overly long top tube combined with a steep seat tube.  IF the rider is even able to get the saddle into the proper position with a conventional seatpost, the reach to the bars is usually far too long.  The most common fix is to push the saddle forward and throw on a super short stem.  Unfortunately this often results in too much weight on the hands, possible knee pain and a generally poor fit for the smaller riders.
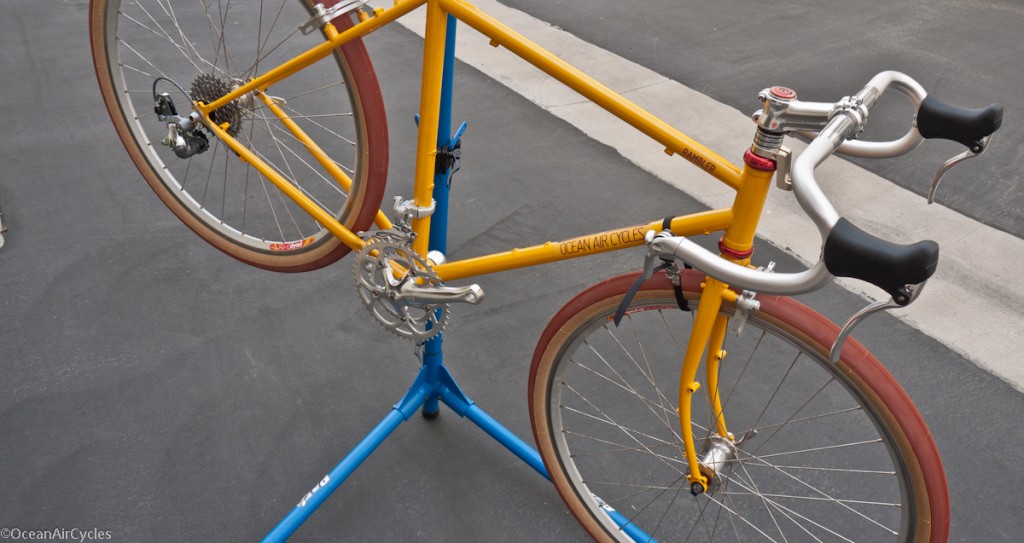
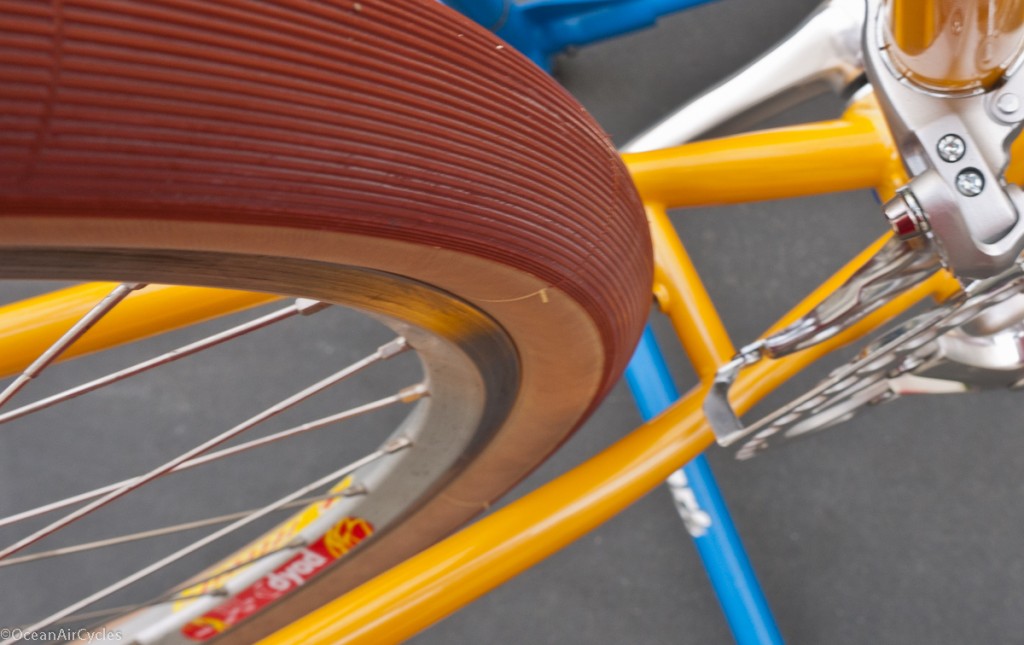
The 51 Rambler solves this issue with a 51cm top tube and 73deg seat tube angle.  This keeps the drop bars at a comfortable distance with a properly positioned Brooks saddle.  After more modern shop bike test rides, and a few vintage offerings that have passed through our stable, this is the first time ever that I have had her on a bike with drop bars and seen a smile.

The next step is fine tuning a few things, wrapping the bars, likely swapping out the Hetres for PariMoto tires and getting her Honjo fenders dialed in. More pictures soon!