Fully Racked up with Bruce Gordon Low-Rider

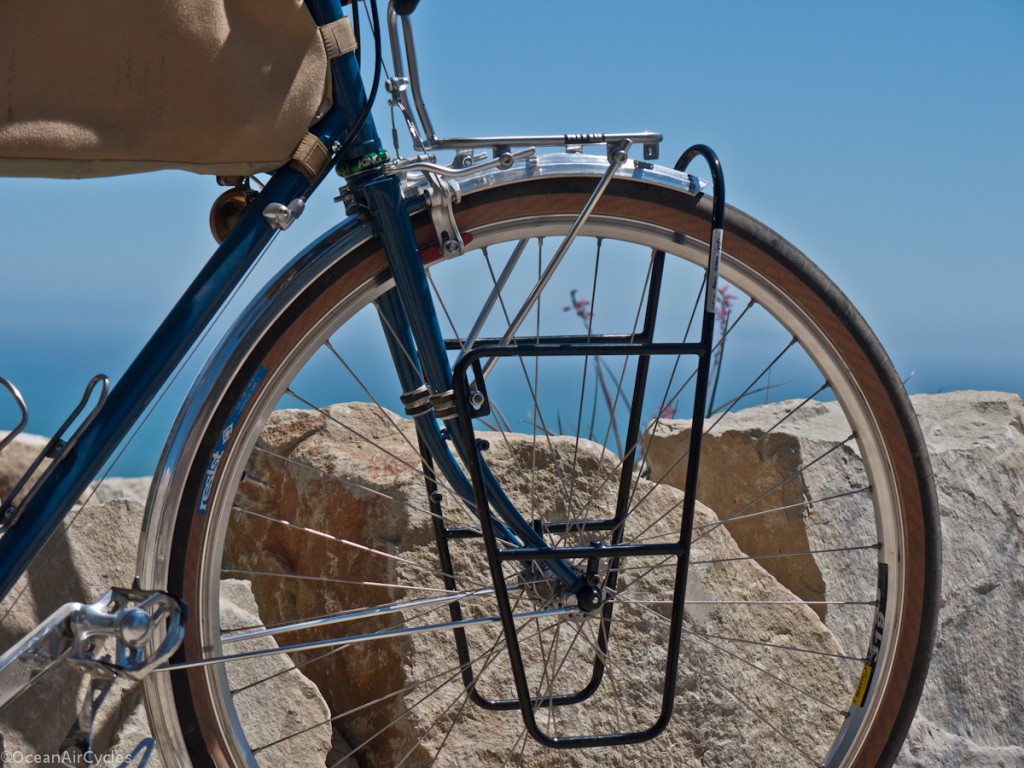
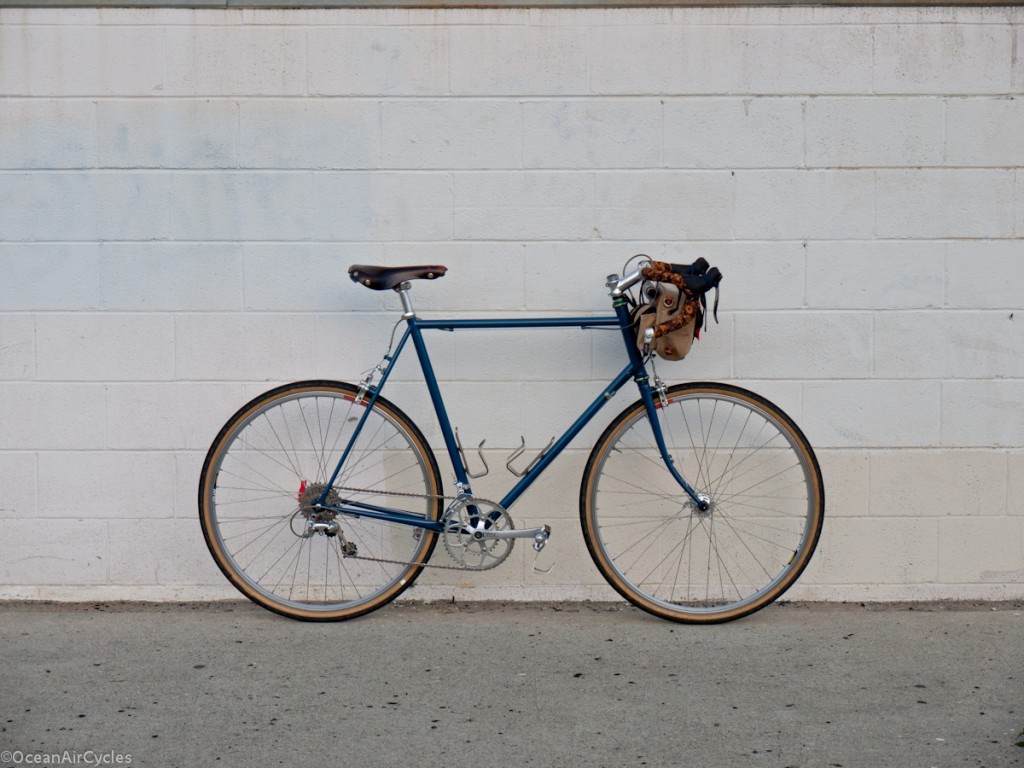
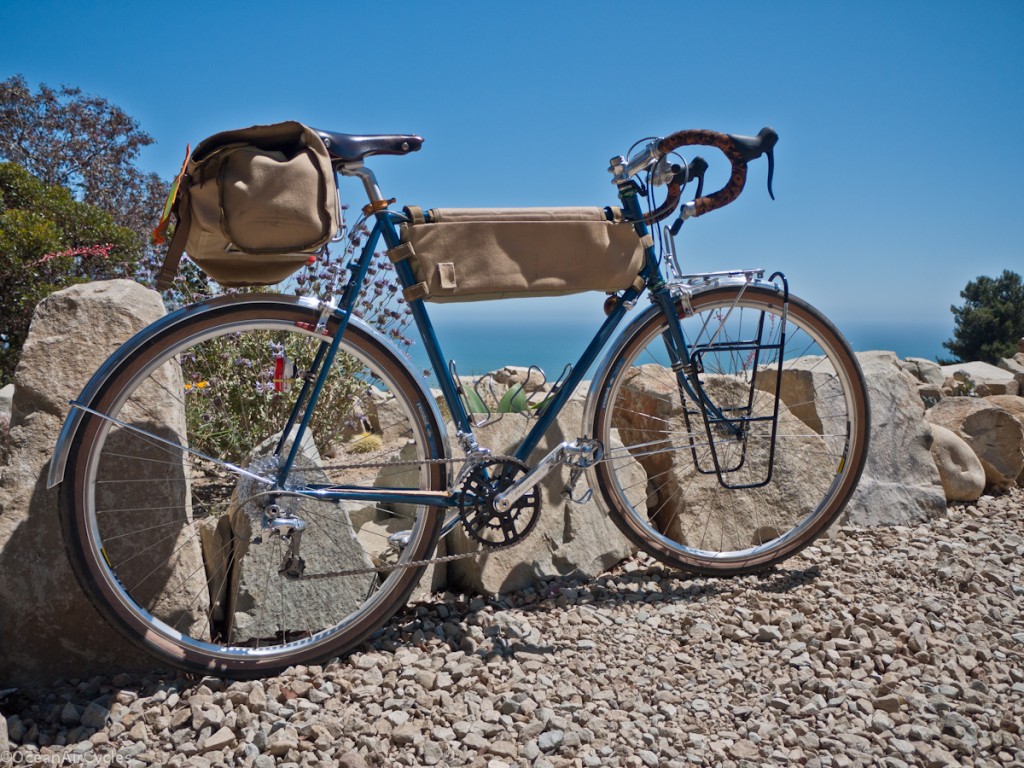
Part two of how I have been racking up the front end of Rambler No.1.  Yesterday you saw the Mark’s rack from Nitto.  That rack is a great handlebar bag support and for occasional small loads.  When I know I will be hauling more volume, and need the panniers, I go with the Bruce Gordon Low-rider rack.  Hand welded with aircraft grade 4130 steel in Petaluma, Ca, these racks are IMO the best bang for your buck in front pannier racks.  The design is rock solid, the price fair at around $180, and it will likely be the last front low-rider rack you will ever need to buy.  If you do need to get rid of it, the used market has been around $120 for as long as I can remember.  Here is Rambler No. 1 all racked up:

The way I have it set up you can quickly take it off and on without having to alter the position of the upper rack at all.  The upper rack mounts to the inside of the fork, the low-rider to the outside.  Two nuts at the top and two bolts at the dropout and you are ready to go.  Production Ramblers will have the hourglass mount located higher than my sample so that this rack will bolt up right out of the box.

The space between mounting points provides plenty of clearance between the top cross bar of the low-rider and the support struts for the Mark’s Rack.  Easy on and easy off for the panniers.
Mark’s Rack Fit on the Rambler

The Rambler while a well handling bike with no load aside from the rider, is designed to ride well with a modest front load.  As part of the design there are integral rack mounting points: two eyelets at each dropout, two mid fork hourglass mounts, a hole drilled through the crown at the traditional brake mounting point and two M5  bosses set into the shoulders of the fork crown.  One of the questions that keeps comment up with the Rambler is what front rack do I recommend.  In particular a rack that will work well with the rack mounting bosses located in the shoulders of the fork crown.  While popular among custom bikes of this genre, this mount is less common on production bikes.  By providing for two upper mounting points, the rack can be more stable and have redundancy.  In the case that one upper mount should fail, loose a bolt etc., you have a second mount in place helping to prevent the load from crashing into the front tire.  Trust me, loads into the tire are not a good thing.  Solid rack mounting helps to keep things where they belong and you rolling safely.

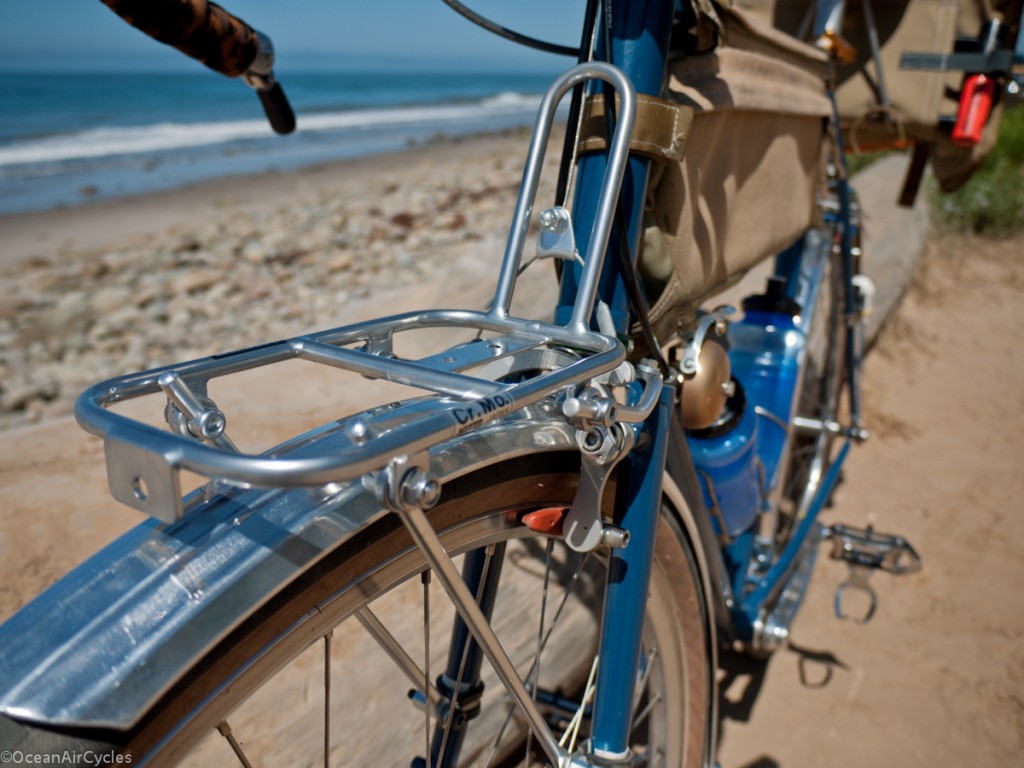
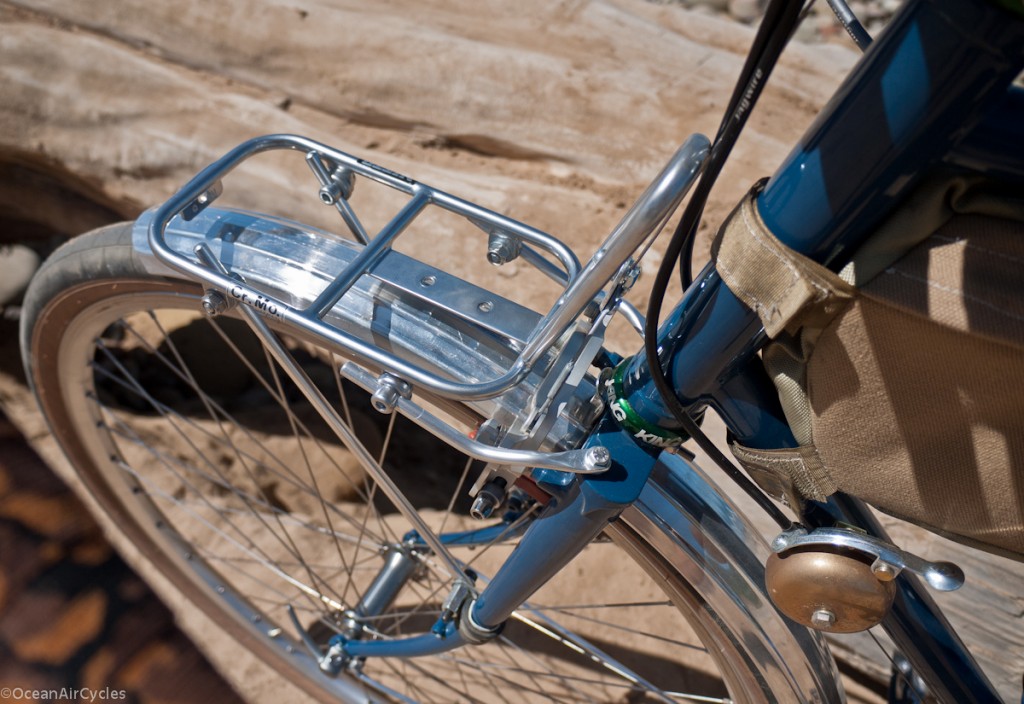
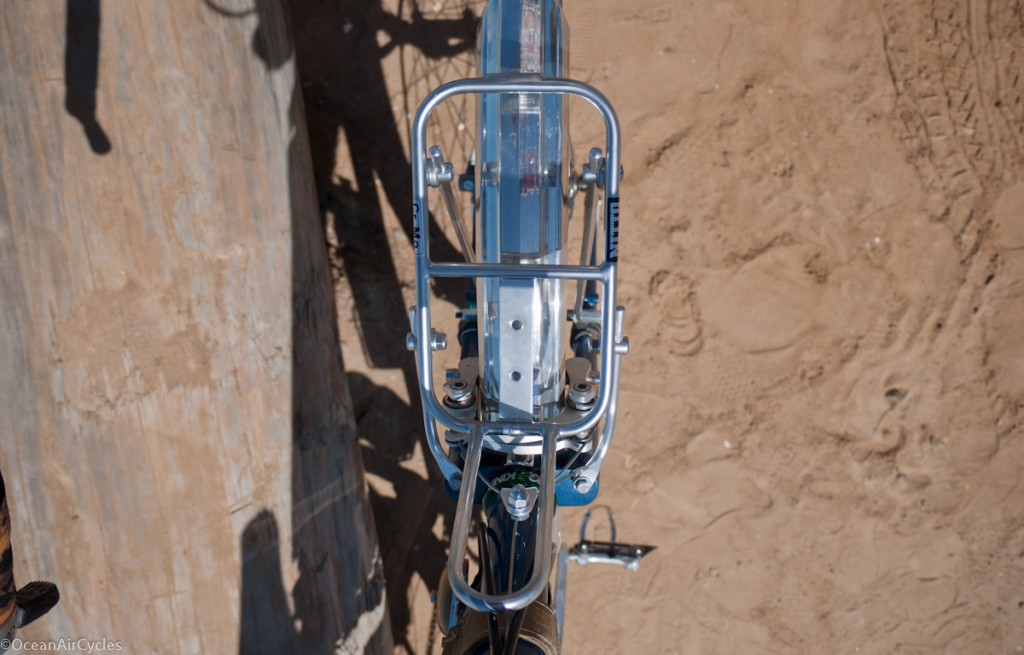
The most versatile and well made small front rack on the market at the moment is the ‘Mark’s” rack produced by Nitto of Japan, and designed by Rivendell employee Mark Abel.  This rack is made of brazed CrMo steel with a nickel plate finish for long corrosion free service.  The mounting has provisions for four struts and a center bracket to the crown.  These options allow it to easily mount to just about any bike as a strong and attractive solution.  I have been using it on the Rambler with the central mount to the crown and the two front struts connected to the mid-fork.  I recently replaces the central mount to the crown with two aluminum struts between the rack and the upper crown mounting points.

Rambler with Marks rack

Rambler with Marks rack

Rambler with Marks rack

With the mount to the center of the crown the rack was stable, now it is rock solid.  I had to reshape the supplied mounting struts a bit, hammer and bench vise.  After trimming things to length it all bolted right up.  While I knew it would fit fine, it is exciting when a plan comes together.  Next, since I have a habit of fiddling with things, I will work out a way to attach the fender r added support and fine tune the fit.

The way I have it set up I can quickly install/remove the Bruce Gordon low-rider pannier rack.  I will have a pictorial of this process in the next week.  The keen of eye will notice that I have all of this mounted to a band clamp on the mid fork.  Production Ramblers will have the hourglass mounted such that the racks will bolt right up.  So far little details like this are all that needs to be adjusted between the samples and production.  Testing continues, but I am ecstatic with how these are turning out.

Putting In the Miles

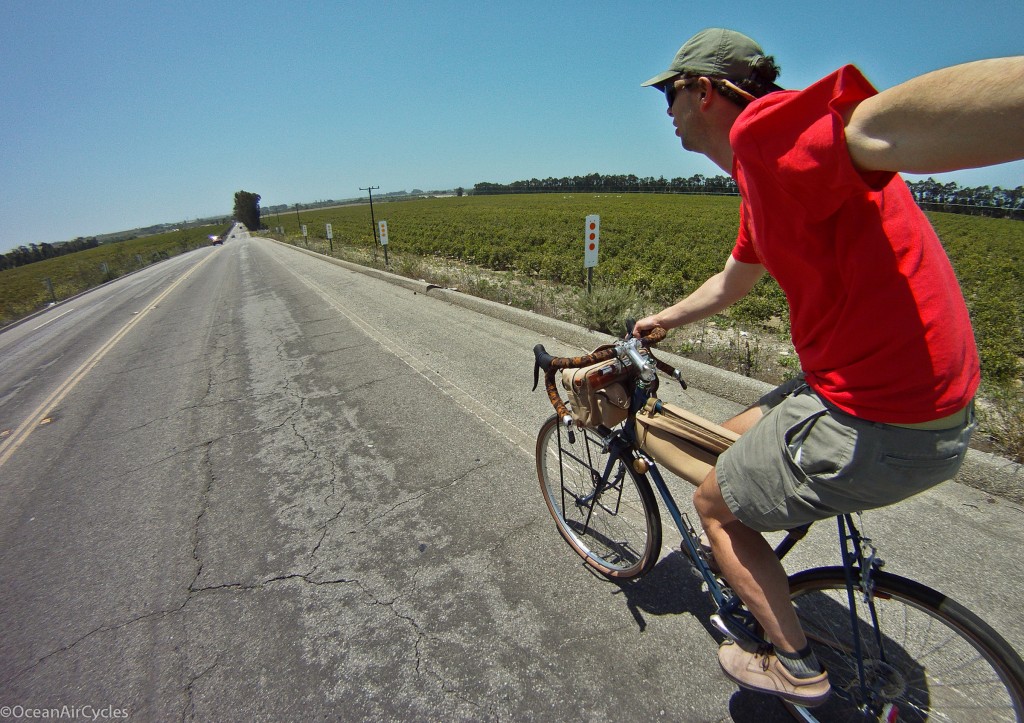
The fun part of this venture is being my own test pilot.  That means I “Have to” put in the miles every day, no excuses.  Time lines are tight, and I need to push the bike in some aspect every day.

It is a tough job, but somebody has to do it.  I believe there is an added element to products that are tested by their designers, a level of commitment, that they demand firsthand feedback.  I will be getting plenty of outside feedback as well, but there is something inherently good about being willing to push your own designs.  There are plenty of products out there including bikes that have never actually been used by the guys selling them.  Here at Ocean Air, I will be testing everything we produce under our own label.

If you were wondering, today’s test was light load and softish fat tires to see if I could induce shimmy.  I was ale to get it to oscillate a few times, but it would settle right back down on its own, and that is a good thing.

Also of note, it has been scientifically proven that red shirts will not only help you go faster, but be more attractive and possibly feel stronger too.  The best part is that I still have plenty of said shirts available to satiate the incredible market demand.

Sulphur Mtn Ride Report

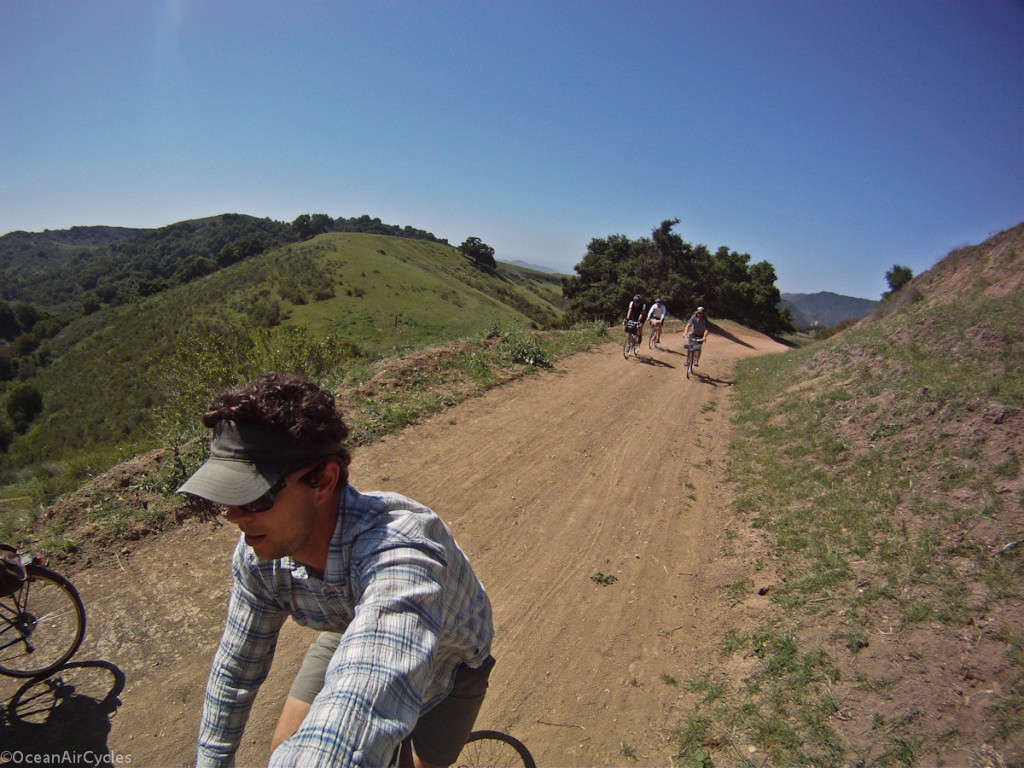
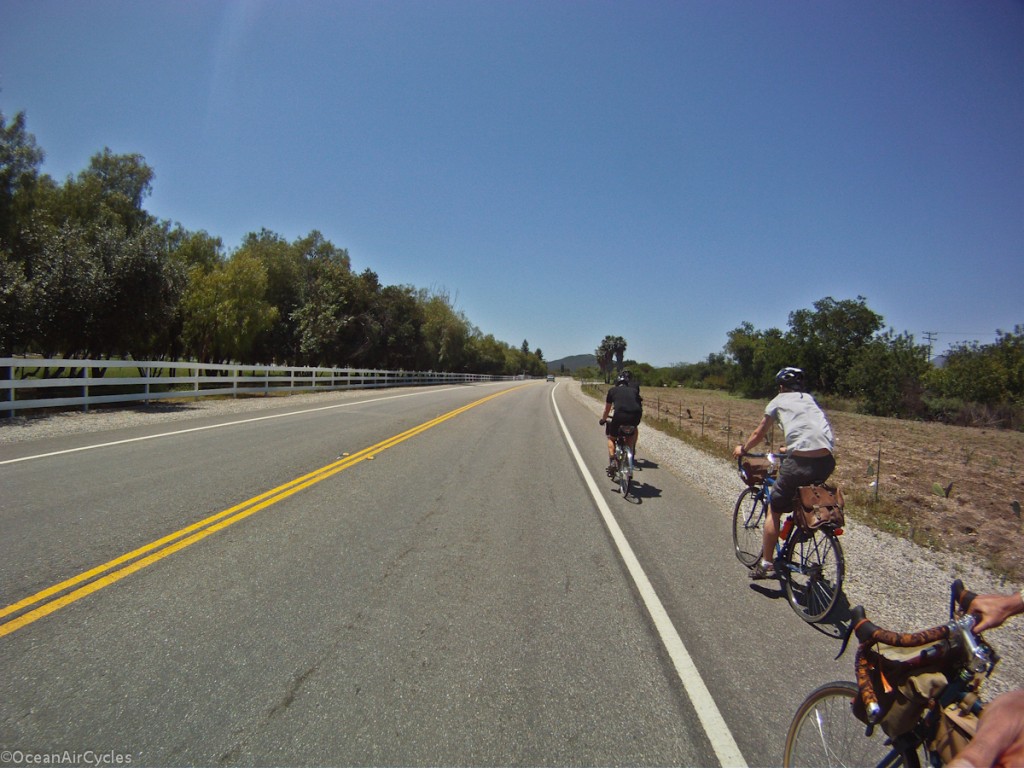
Yesterday was incredible!  I was able to pull together a group of seven guys, most who had never met each other to head out and ride 50 miles and 4000 feet of climbing on one of my favorite mixed terrain routes.   Four guys on 650b, one sporting 26″ and only two of us on 700c,  all “road” bikes and not what you usually see out on the dirt in this area.

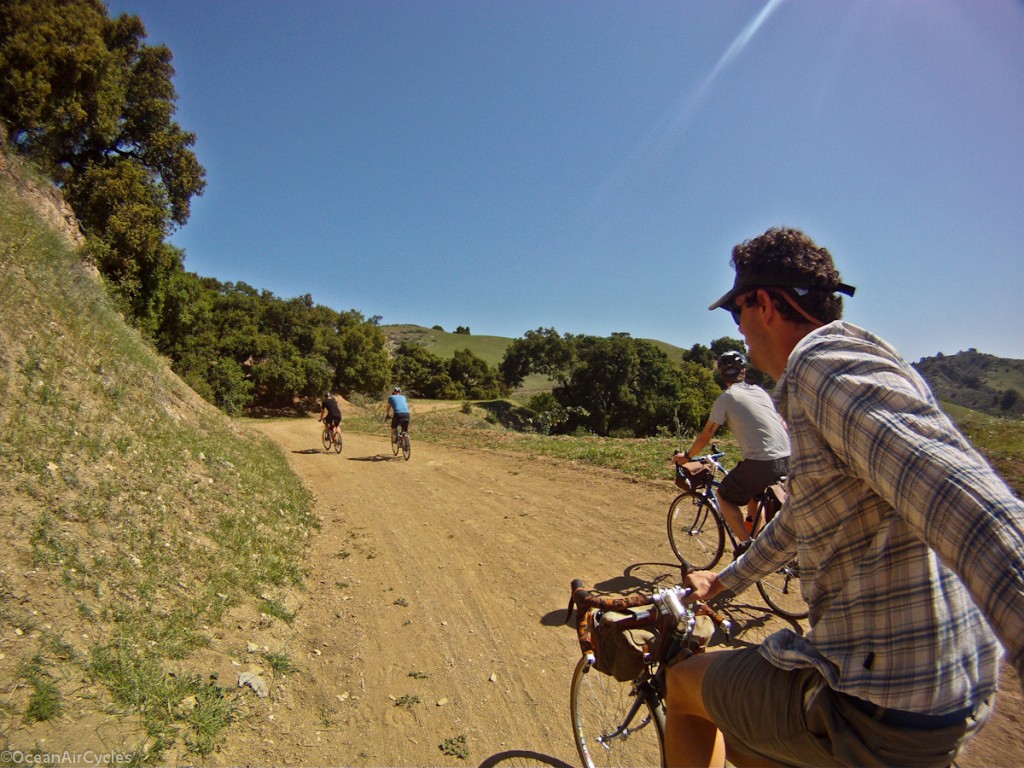
The weather was perfect, warm not hot, light breezes and not a cloud in the sky.  The hills had some green thanks to the recent late season rains.  And the dirt conditions were perfect.  There is an 8 mile warm up on the Ventura river trail before we set into the work of the 10 miles or so of dirt road climbing through the cattle ranches and countryside.  While only about 1/5 of the mileage, this is where we spent the largest percentage of the time.

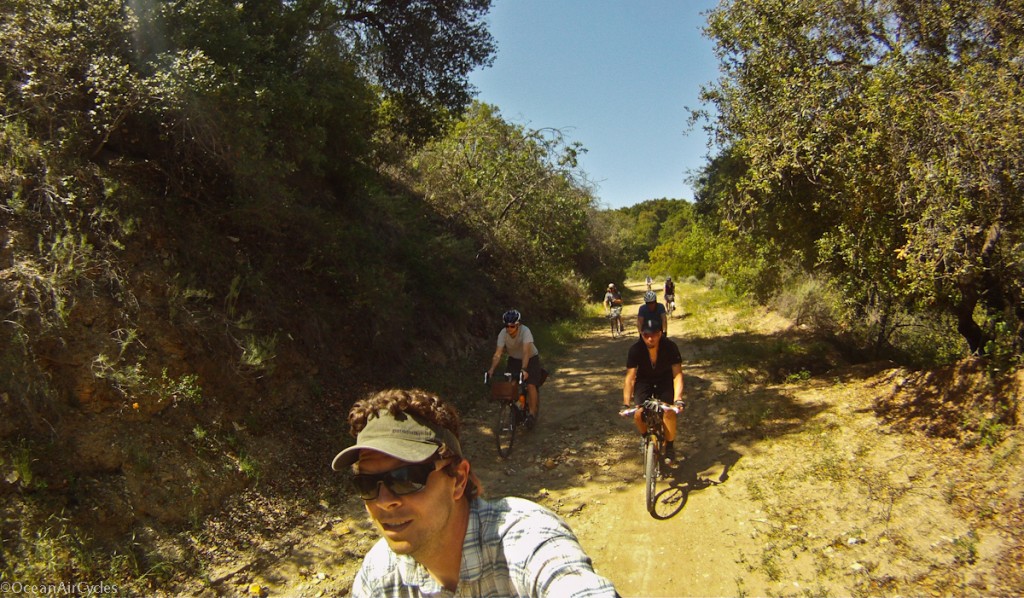
Here is a shot of the whole group;

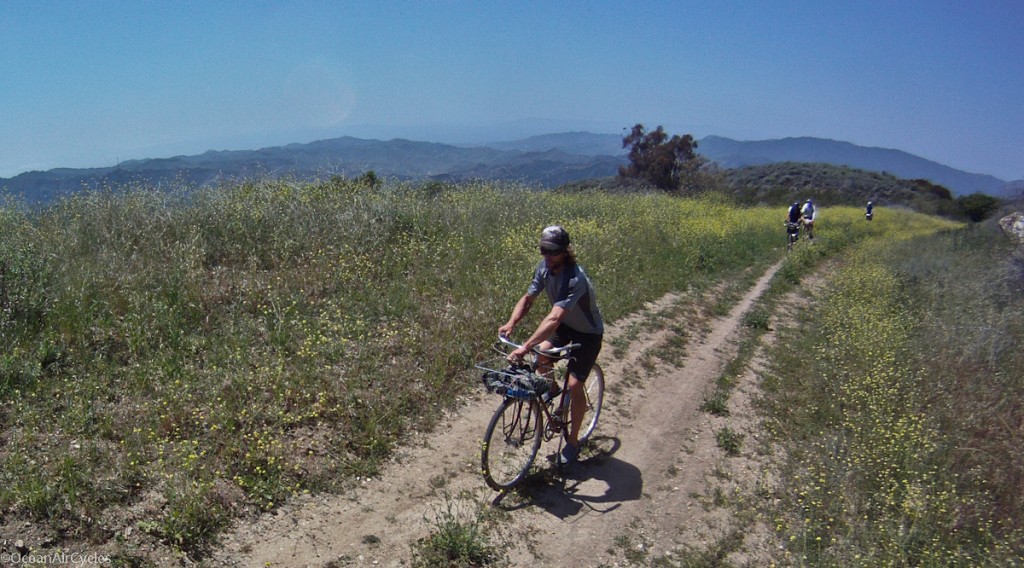
Here is Mike F rocking the Trek I had converted to 650b a few months back with some downhill pedals and sanuk sandal shoes.  With a low gear ratio of 40/32 he was still leading the pack throughout the whole day.

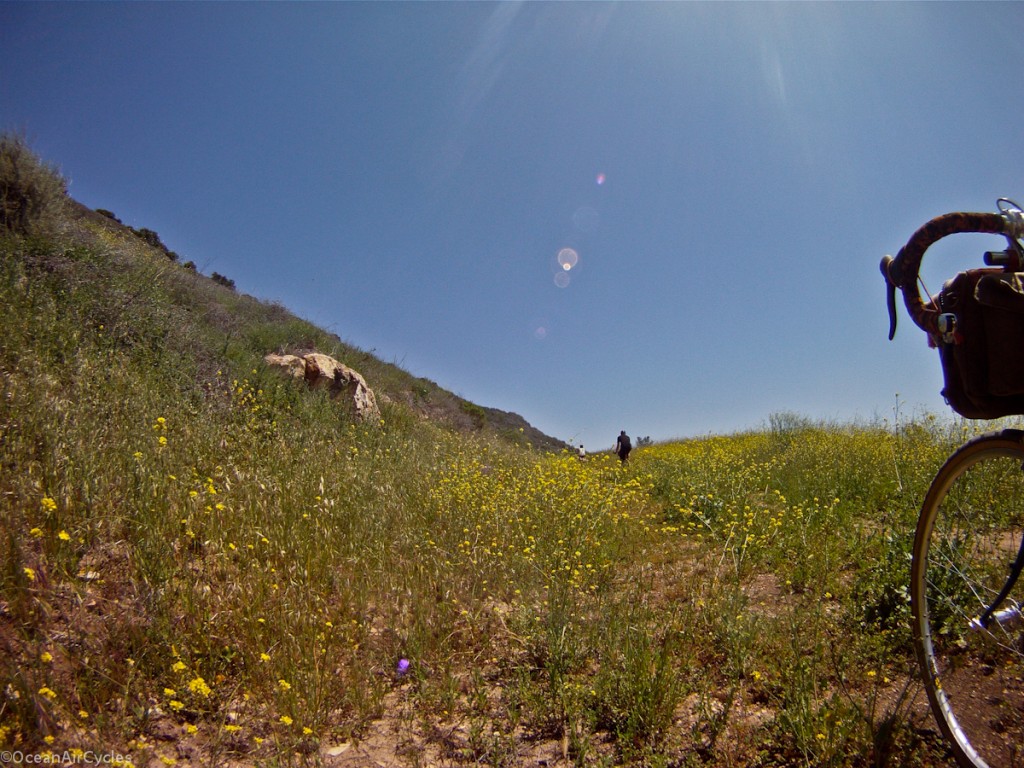
The fog was well offshore, obscuring the islands, but there were still full panoramic views of the entire Santa Clara and Ventura river valleys.

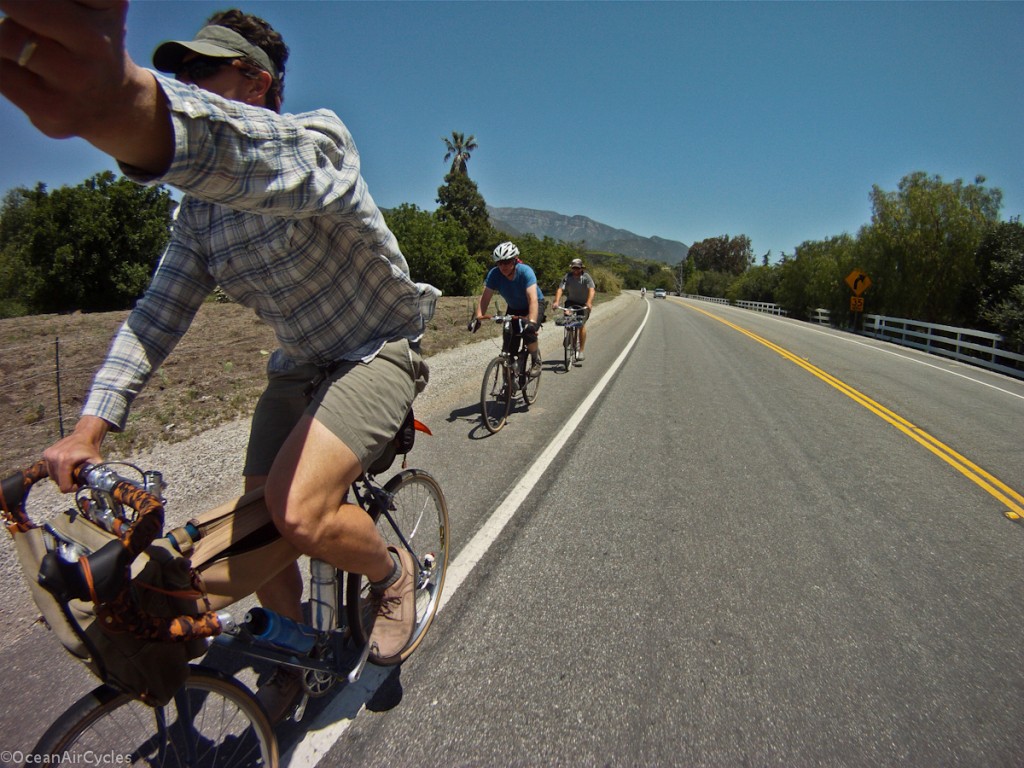
With the time spent on the dirt, the road sections went pretty fast by comparison.

For me the ride had a few highlights.  First and foremost was sharing the loop with friends.  I have done this ride a bunch alone over the years, and hands down it is better with a few buddies.  Everybody had a good time, not too much suffering on the steep sections and the closest thing we had to a mechanical was a couple of slow tire leaks that needed topping up along the way, and Errin hit some gum.  A giant Thank You to all who were able to come out for the ride.  I am looking forward to doing this again soon.

Mike’s trek was flawless, not a squeak or rattle on a bike that has seen months of use since I restored it for him.  My Rambler No1 met and exceeded all of my performance expectations, both climbing and descending.  My friend Aaron was on Rambler No3.  He had never ridden it before that morning, never ridden a bike with drop bars, never ridden more than 30 miles or so and surely not with 4K feet of total climbing and  two wicked fast twisty descents.  He was able to hold strong with all of us, the whole time, excepting a slight bonk, but that was right before our planned lunch stop.  While riding a bike of my own design and having it go well was rewarding, having it go that well for your friend is far greater.


Number One

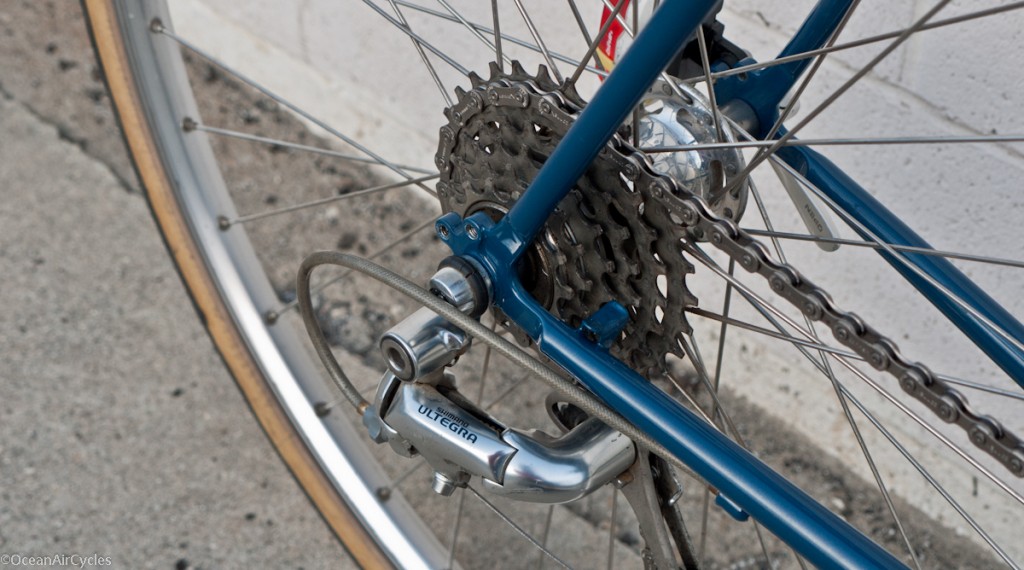
Bikes number one and two made it here yesterday.  I found the time (read not sleeping) to tear down my Roadeo and get a preliminary build on Number One so I can get to the business of riding it.  I am really happy with this bike, particularly as it is a first sample and we had to just go with a few details that will be refined for production.  I will let the pictures do the talking.

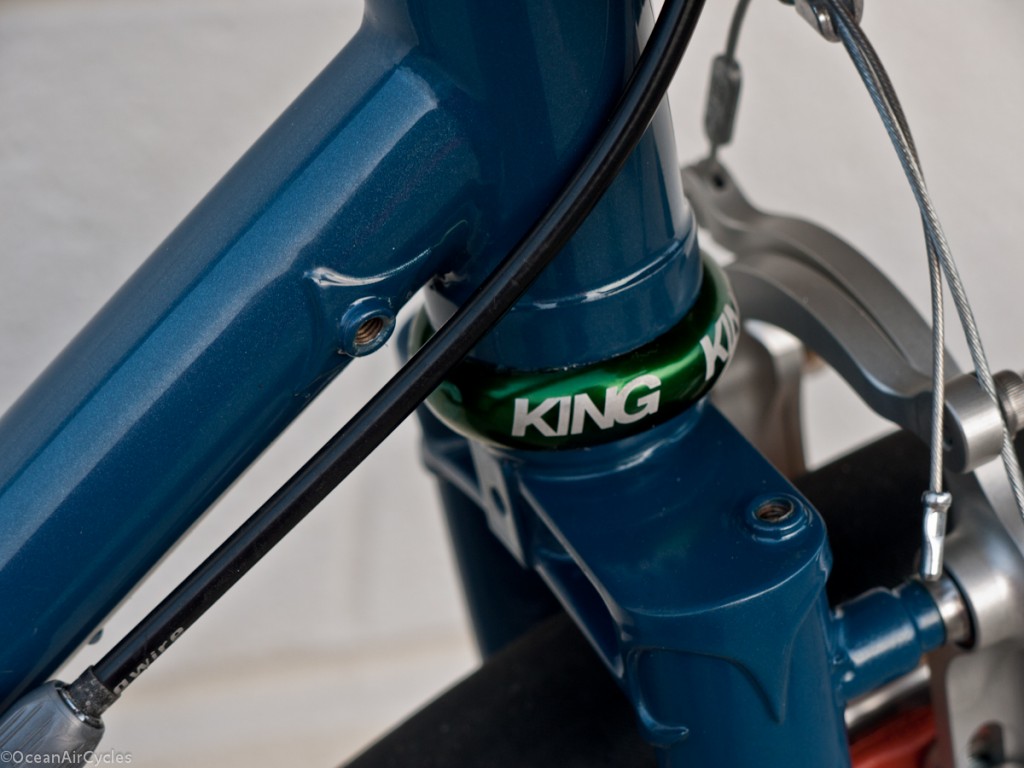
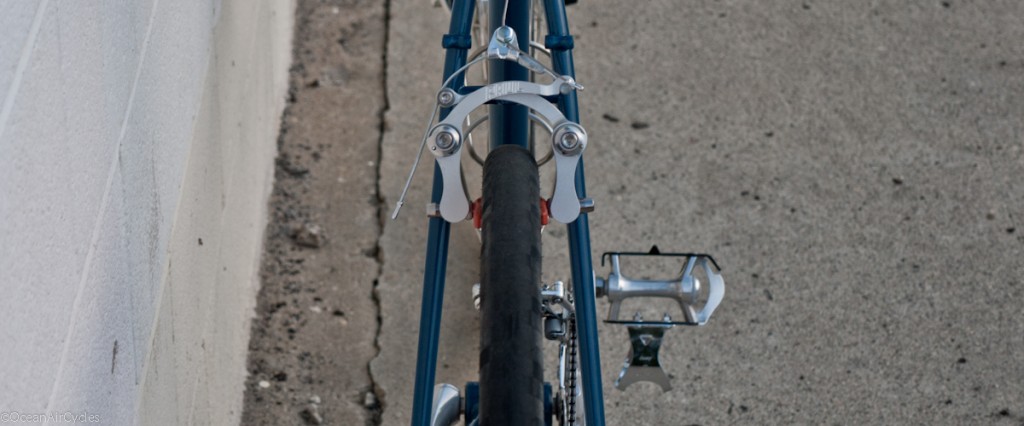
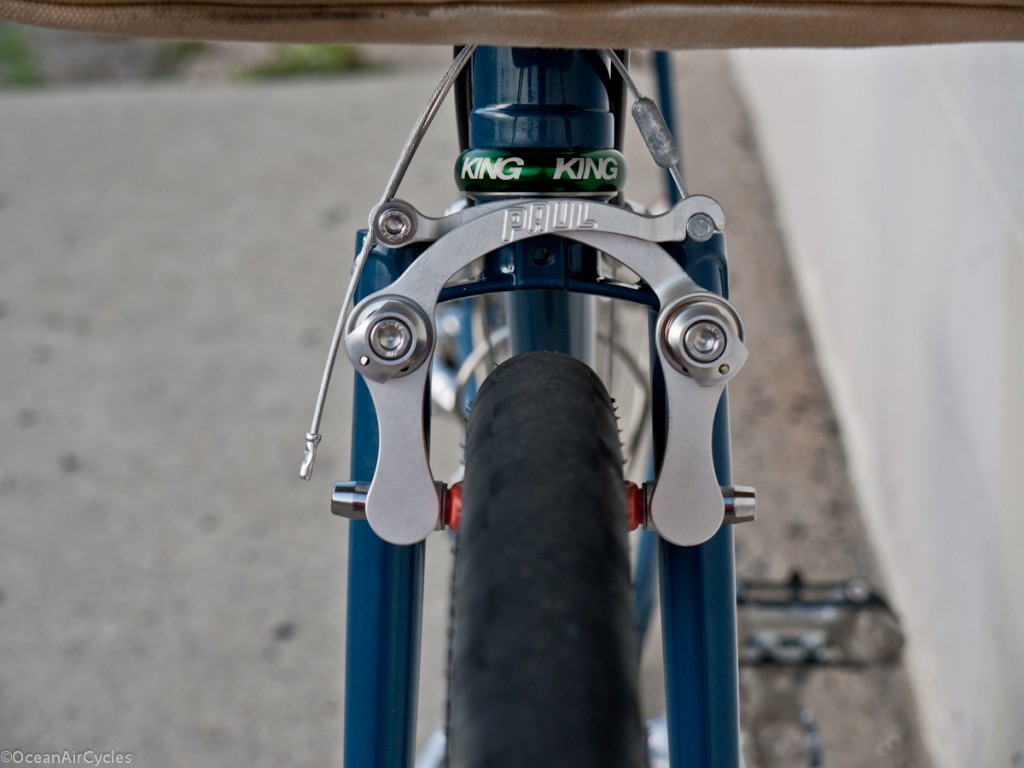
Wiring port for internal routing of lighting wires.  Crown mounted rack bosses.  Tons of room around the Jack Brown 33mm tires.  The Paul Racer brakes are so freaking awesome.

On a side note, I went with the SRAM brake levers on this build.  After years of wrestling with Shimano and Tektro levers, these things practically set up themselves.  The cables just floated through the routing ports without even having to twist, fiddle and hold a flashlight in your teeth to find the little hole.  I really like these.

I am really stoked after a couple of quick rides.  It is everything I expected.  There will be a bit of refinement on things like bridge and boss locations, but only a few mm, nothing that makes you scratch you head and go back to the drawing board.  The colors are fantastic.  Today number 3 and 4 are on their way.  Next build is No.3, then number 2.  It is going to be a crazy weekend.

Stay tuned, way more pictures to come.