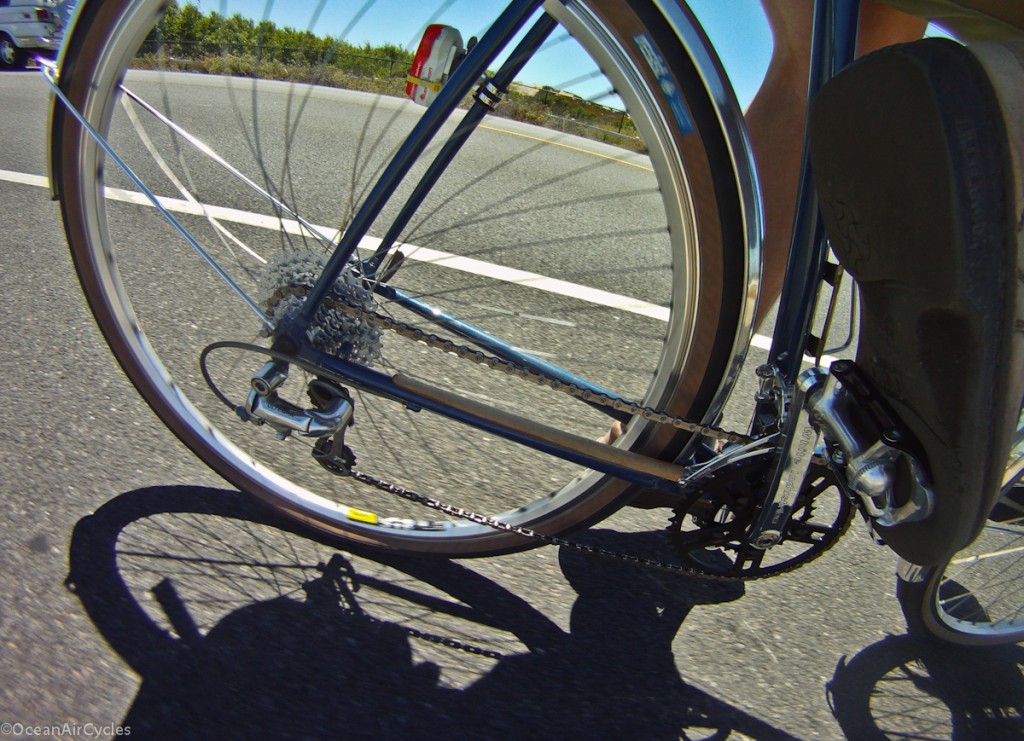
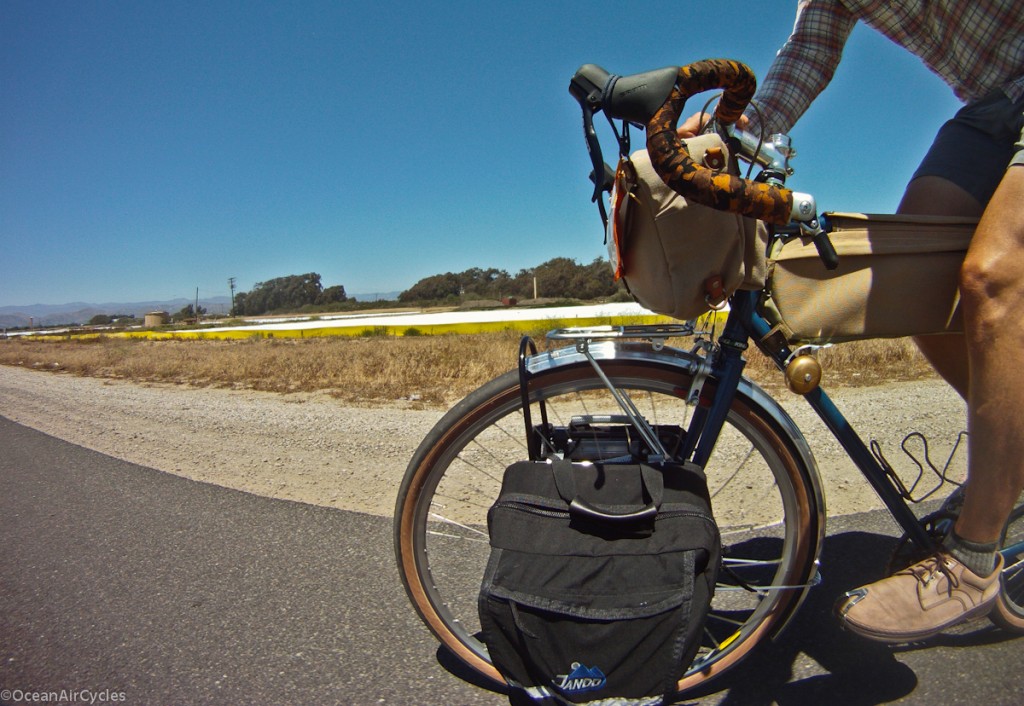
Electra Amsterdam

Once the word got out locally that I am the “bike guy”, I have started to get more and more general inquiries.   In particular from people looking to commute, or get around town, carry stuff on their bikes etc.  One of the most frequent questions I get is “what type of bike should I get?”.  I like this much more than the customer that comes in with a strong notion about a certain bike or set up.  I usually respond with the question, “what do you want the bike to do”?  Surprisingly this catches most people off guard.  The thing is, while a bike like our Rambler can be a 80% or more car replacement, go fast as you want, carry the average load, etc. it is a bit more than the casual rider may want.  Particularly if new or coming back to cycling after a long break.  Luckily the bicycle market place is starting to shift a bit from the race and extreme categories, with more practical offerings.  Many a bike snob would turn their nose up, but in reality these bikes are what will be helping to widen the pond for the transportational cyclist.

Today I had the chance to help a friend of a friend (see above for word getting out) with the assembly of an Electra Amsterdam.  This bike is honestly a refreshing build in a world of race and fashion bikes.
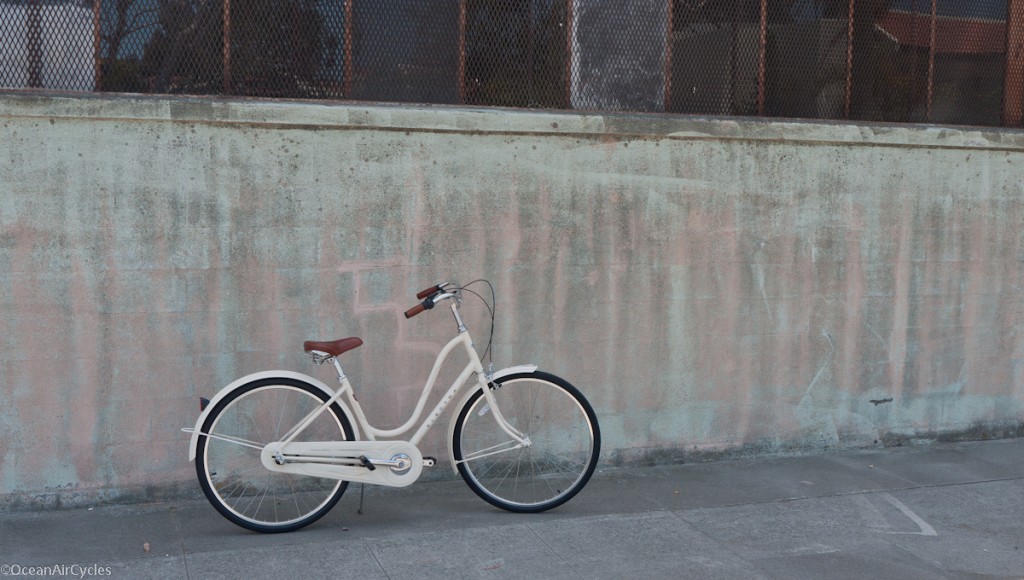
Many of the details you would expect to see on fancier bikes are all there and well addressed.  Out of the box, it comes with full coverage fenders, a full chaincase, wide comfortable tires.  The seat and controls are comfortable and stylish.  Front and rear brakes, 3 speeds.  This bike is honestly all that the average commuter will need.  Particularly in a small relatively flat town like ours. Just about anyone who can walk could use this bike to replace their car for all trips under 4 miles, and still get around in business attire without breaking a sweat

With a rack and some panniers, this could be the 80% car replacement for plenty of riders.  I believe strongly that the world needs more bikes like this, particularly in the US.  The tide is shifting, and I am happy to be part of the wave helping get riders on bikes like this.
 

Weekend Projects – Pedal Hacking

Over the holiday we spent some time with family on the central coast, a fringe benefit of which is access to an uncle’s machine shop.  The last few times up there, things were too busy to get any projects worked into the schedule, and this trip was the start of catching up.

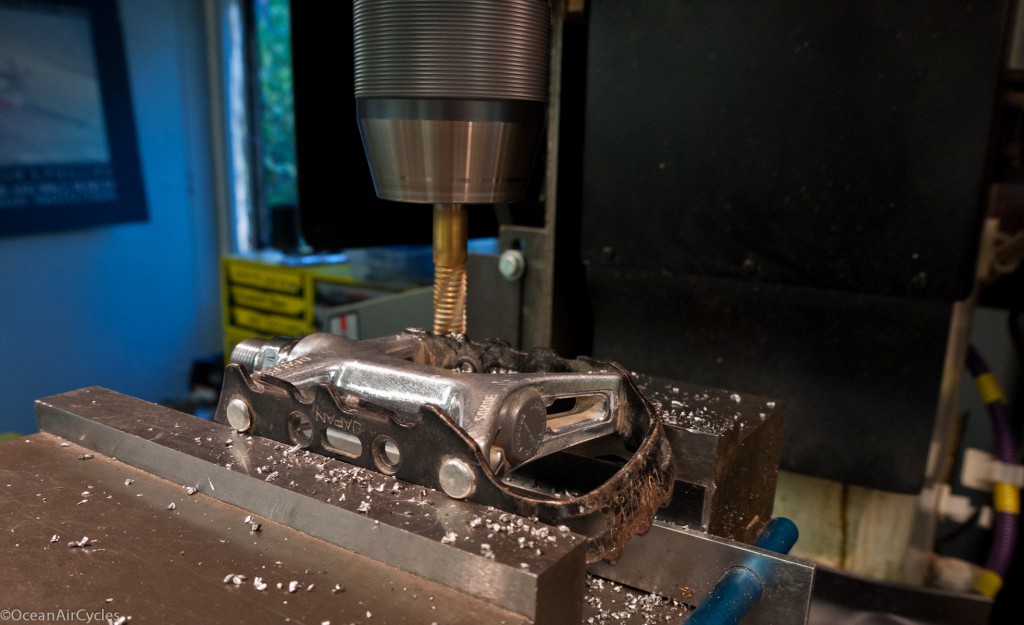
I have a love affair going on with the no longer made Sakae Low Fat pedals.  They have just about everything I thought I wanted in a pedal, wide, light-ish, easy to service, durable, a full cm wider than anything else on the market, etc.  The down side is that they have not been made for 15 years or more.  Needless to say I have a bit of a horde.  Then came the Specialized touring pedal, just an idle curiosity at first.  The Low Fat seemed so rough around the edges, even chewing holes in the bottoms of some of my shoes.  The touring pedals, also no longer made, seemed so much closer to what I wanted in an every day, practical sort of road pedal.  Much more refined, lacking traction spikes, my feet still never slipped, the finish was almost like jewelry, really nice.  But they were lacking too, while wide, the end shape was awkward to use with clips, straps and my Flintstone feet.  So close to perfect, missing the mark by a little as well.

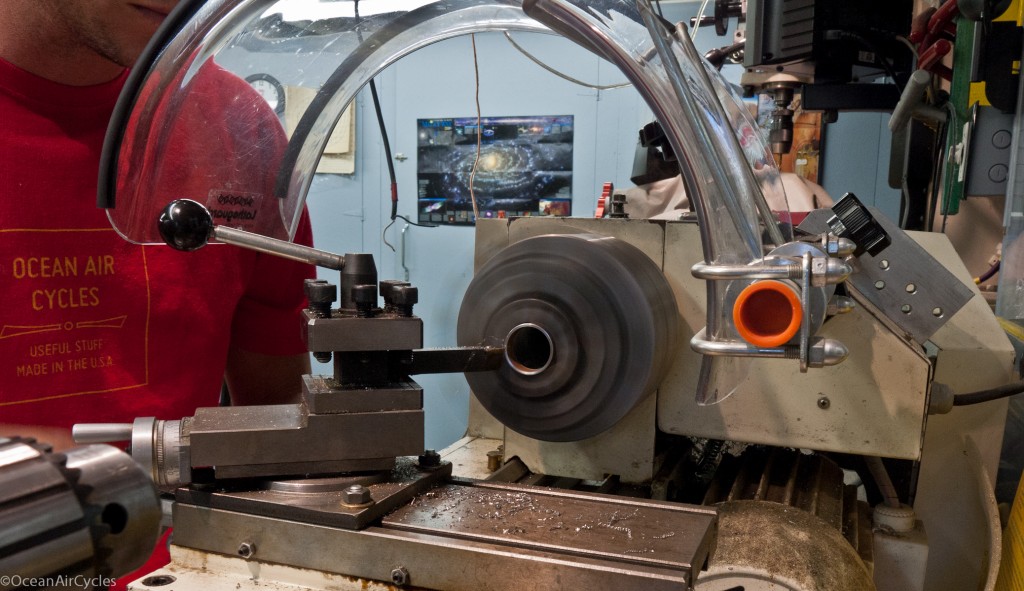
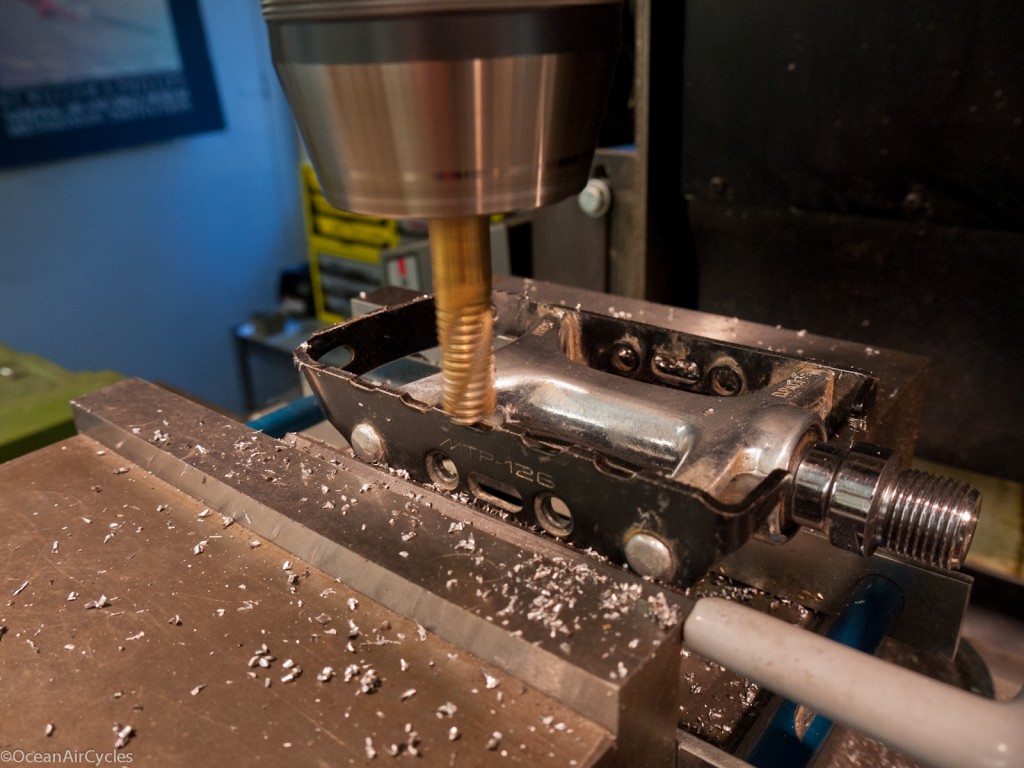
I decided it was time to start working out what I really wanted the pedals to be and make it a reality.  Using a beat up set of Low Fats as a starting point, it was off to the mill.  They were a bit awkward to clamp in the vise, the mill was still a better starting point than a file.  I knocked off all of the teeth, excepting the toe flips, and brought the edge of the cage a little closer to the pedal body.

There is still a bit of clean up, fitting of the toe cages, etc.  to get these ready to roll, but I am excited to give them a go.  Here you can see a pair before and after;

I was able to squeeze in one more project, and turn a couple of headset spacers for our tandem, another languishing project.

The project list is still long, I wish I had my own machine shop, more shop space in general, but am incredibly grateful to be able to visit and use my Uncle-in-law’s shop – Thanks Marty

Published Again

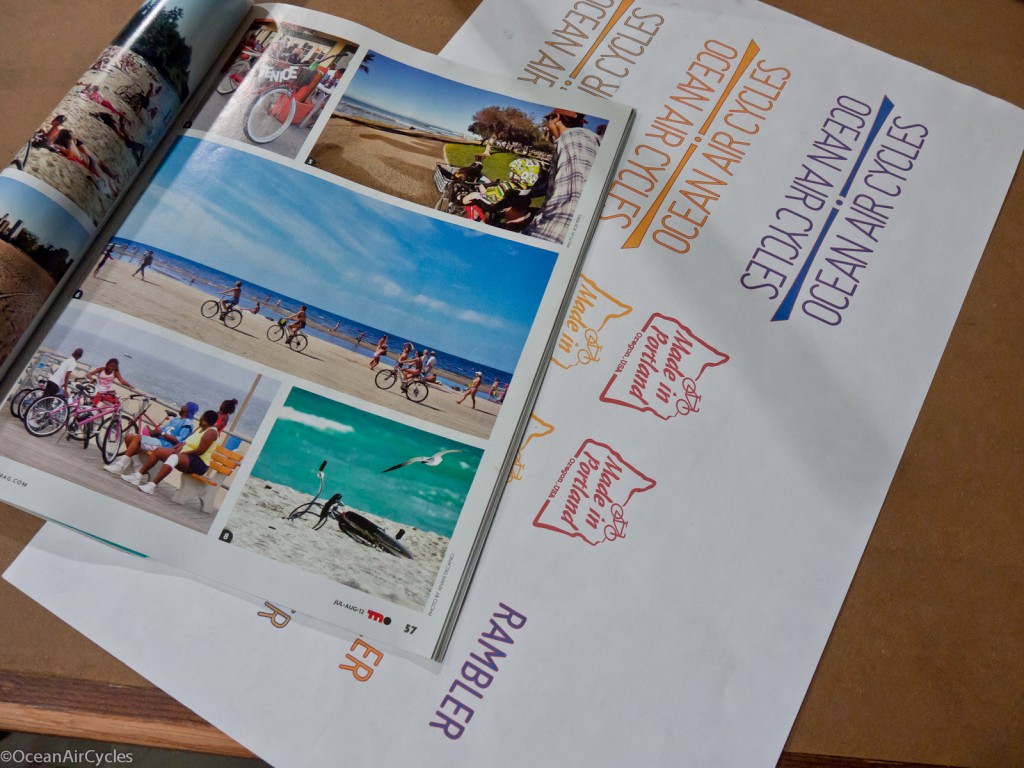
While photography used to be the main thrust of OAC, it has taken a bit of a back seat to getting the Ramblers and the rest of the product line in order and off to market.  There is a tiny bit of irony in that while the blog went a bit dormant, I actually have ended up having a couple of my photographs requested for use in print.  First up, the Summer issue of Momentum magazine, it should be on the stands or on its way to subscribers by now.  I pulled out the ruler to confirm, but it is close to 20% of the page, not bad

The magazine just happened to be on top of the 99% art for the decals when I took the pic of a pic 😉

I should also have a picture in the upcoming Environmental Initiatives publication for Patagonia.  That one is very exciting.  While the blog and my flickr accounts see a fair amount of traffic, it is extremely rewarding to have my work showing up in print.  Particularly in places that will have a more diverse exposure, and an audience beyond the small world of bike geeks.

Things are heating up, lots and lots of projects, the blog has taken a back seat for a bit, and I am sorry for that.  The next week or two should be pretty consistent, lots of pictures, a few bike build projects, and I may even find the time to get out and ride a bit.

Fender Shakedown Ride

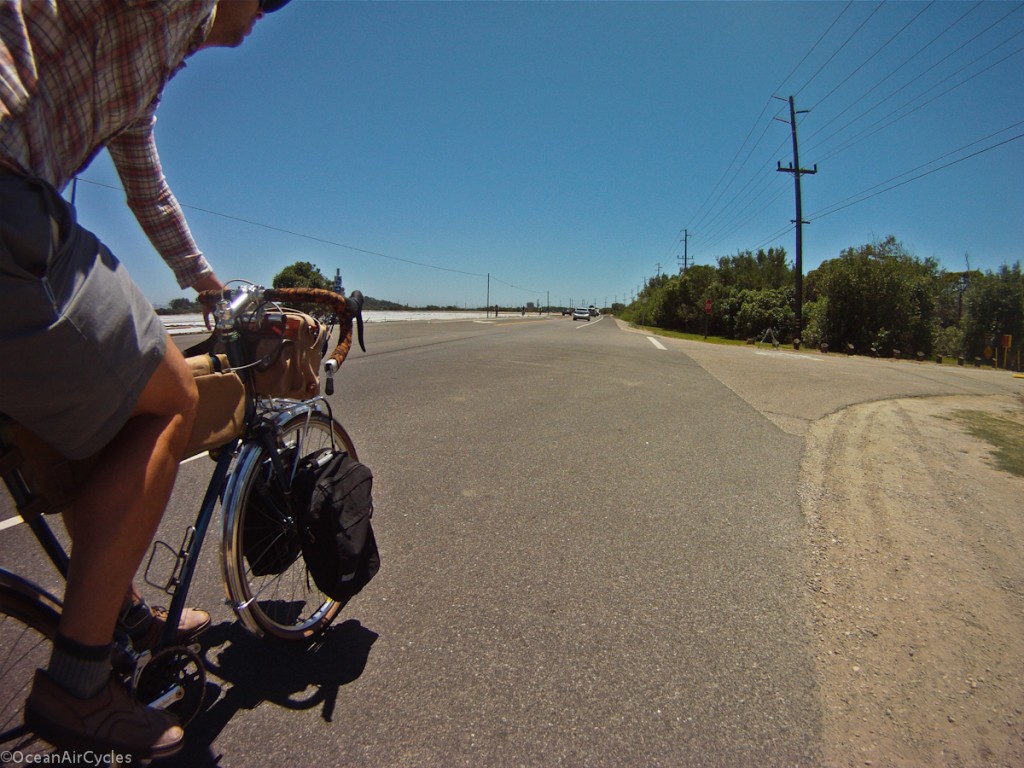
I took the Rambler out for a shakedown ride to the Farmers market.  Although, it was not quite “fender” weather.

In the last couple of days I was able to get the VO Zeppelin fenders onto Rambler No.1.  Overall I would say it went pretty well.  The VO fenders require a bit of re-shaping to get the fender line just right, no big deal though.  Mount up to the rear connection points went as planned, but there will be some fine tuning on bridge locations for the production run.  Likewise with the front, we knew the crown was a couple of mm low compared to the production spec.

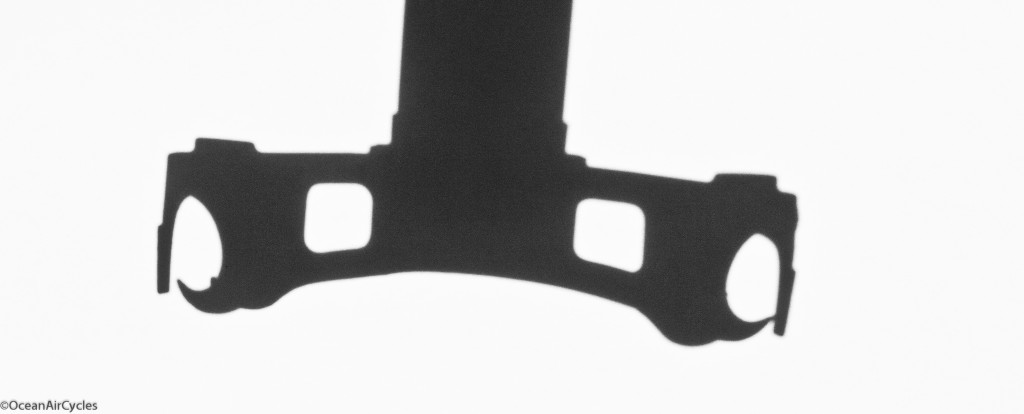
I ended up using the top mounted angle bracket for the front fender.  The daruma bolt was just grazing the top of the tire.  Production frames will have the crown about 5mm higher, and all should be good in the fender world.  Things fit with the 42mm Nomads and 52mm fenders, but it is tight.  This is not really the fault of the bike as there is still a few mm of space at the frame and brake contact points.  The trick is finding a 58mm fender for a 700c tire. Fit would be superb with 38mm tires or a slightly wider fender.  That sounds like another project for another day.

I have had a few questions about racks.  So far I have fit both the Bruce Gordon Lowrider and the Nitto Mark’s Rack with no modification to the racks.  Production frames will have the mid fork braze on located for an easy installation of both of these off the shelf racks.

The Mark’s rack is currently mounted to the crown with the center bracket.  There is plenty of room for the Paul brakes full range of motion.   With a little bit of strut bending the rack can be attached at four points to the bosses brazed into the crown.

In the long run I intend to offer a custom three-piece rack designed to incorporate the strong points of both of these racks into a singular modular system.